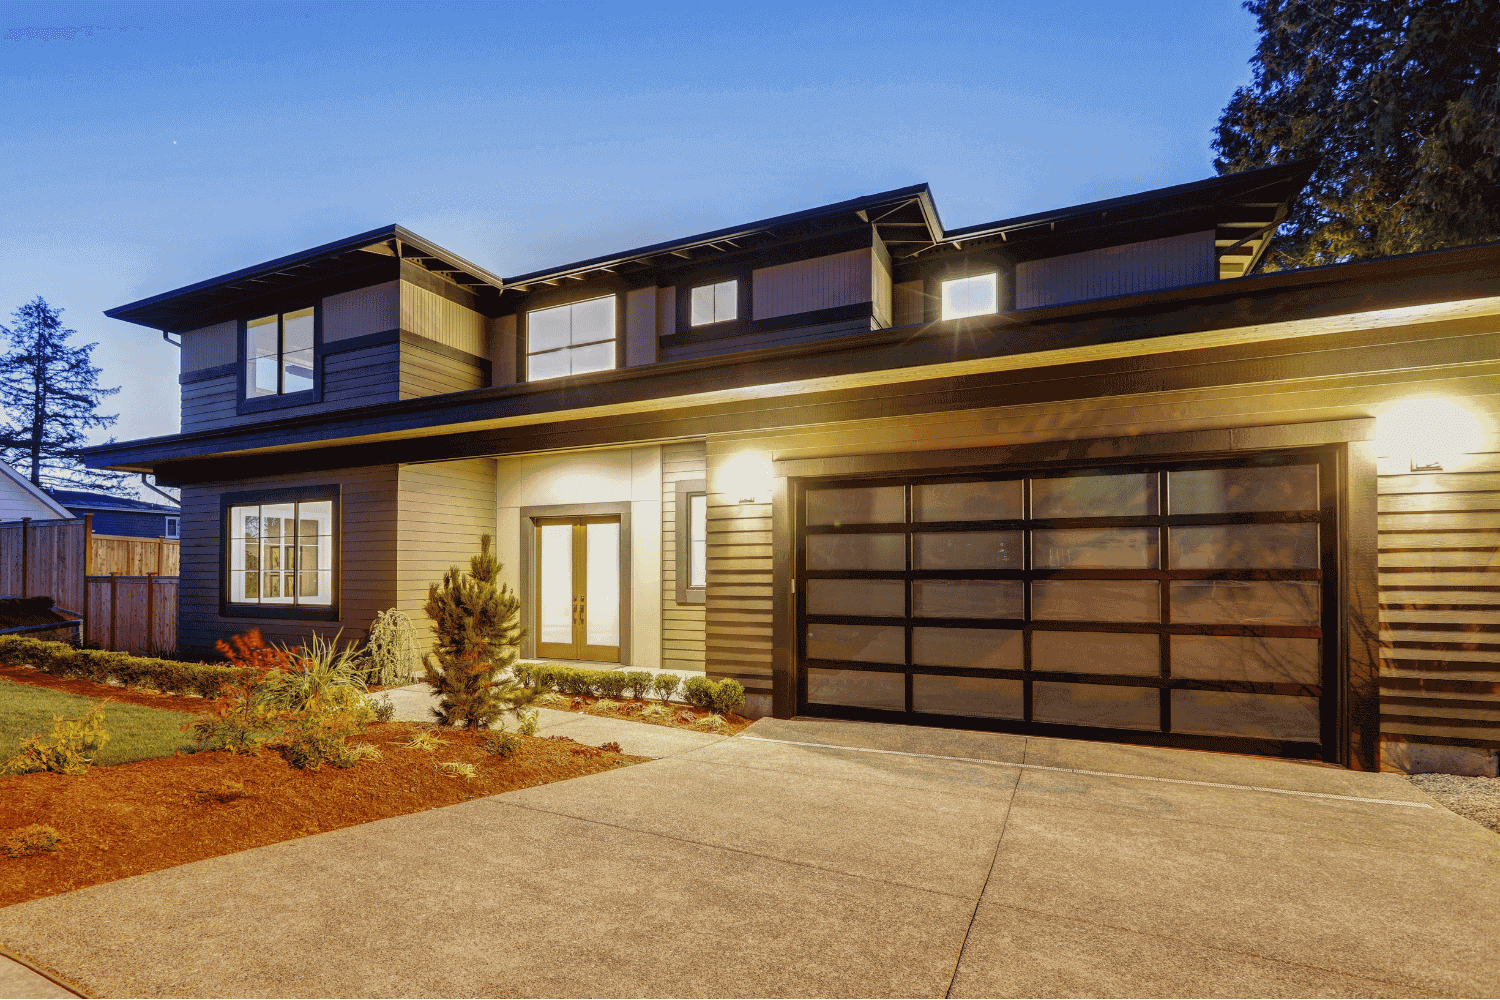
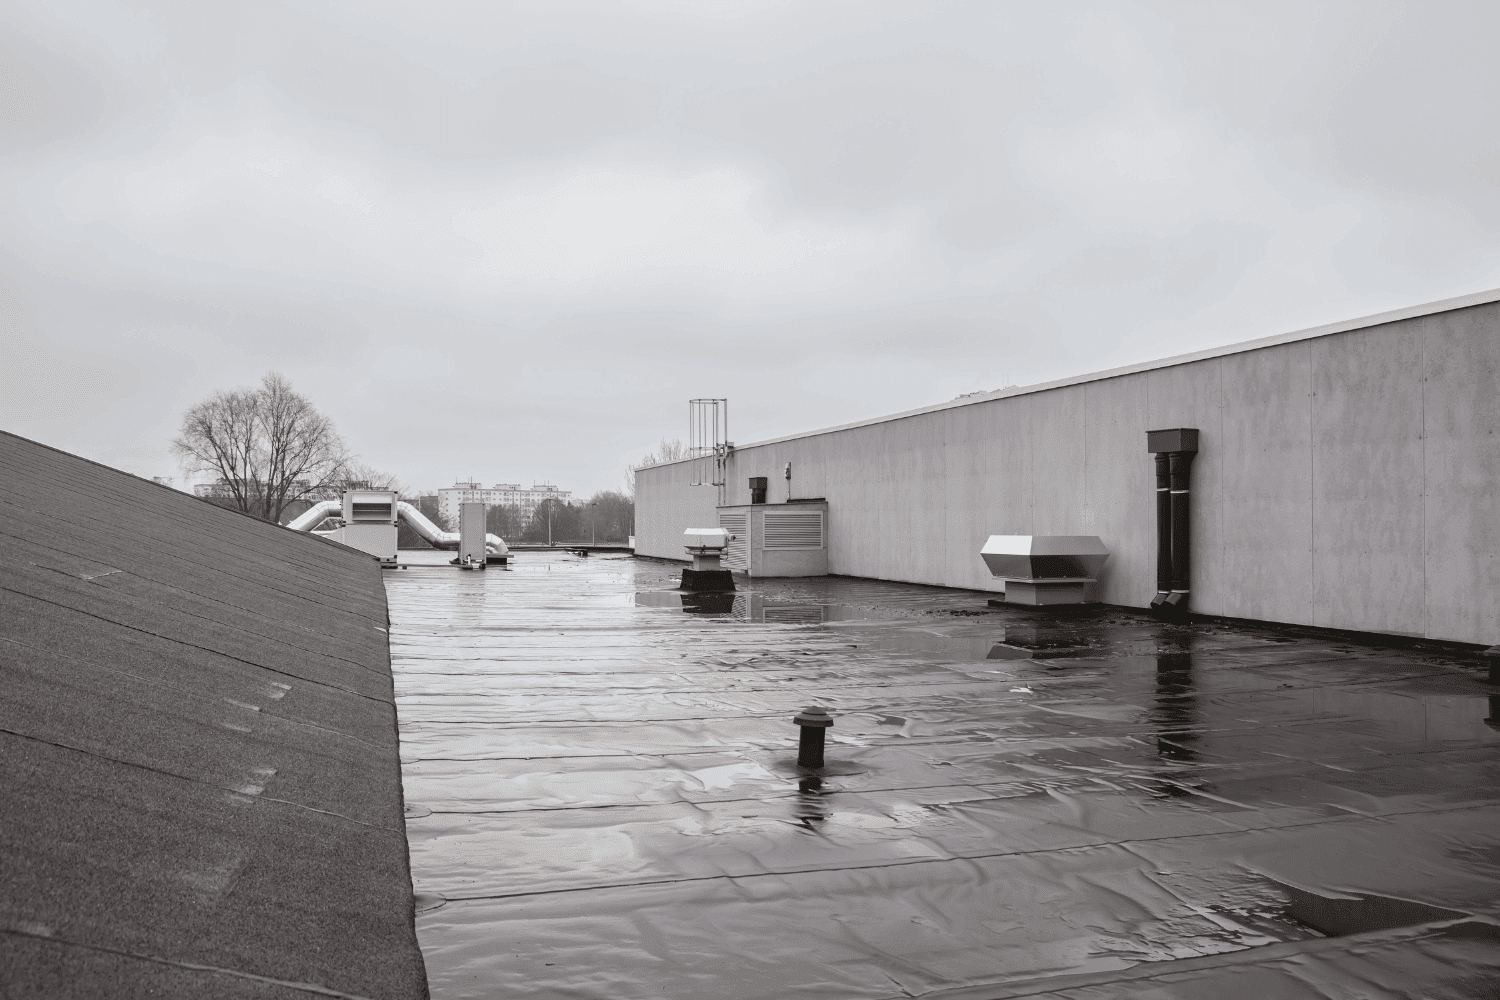
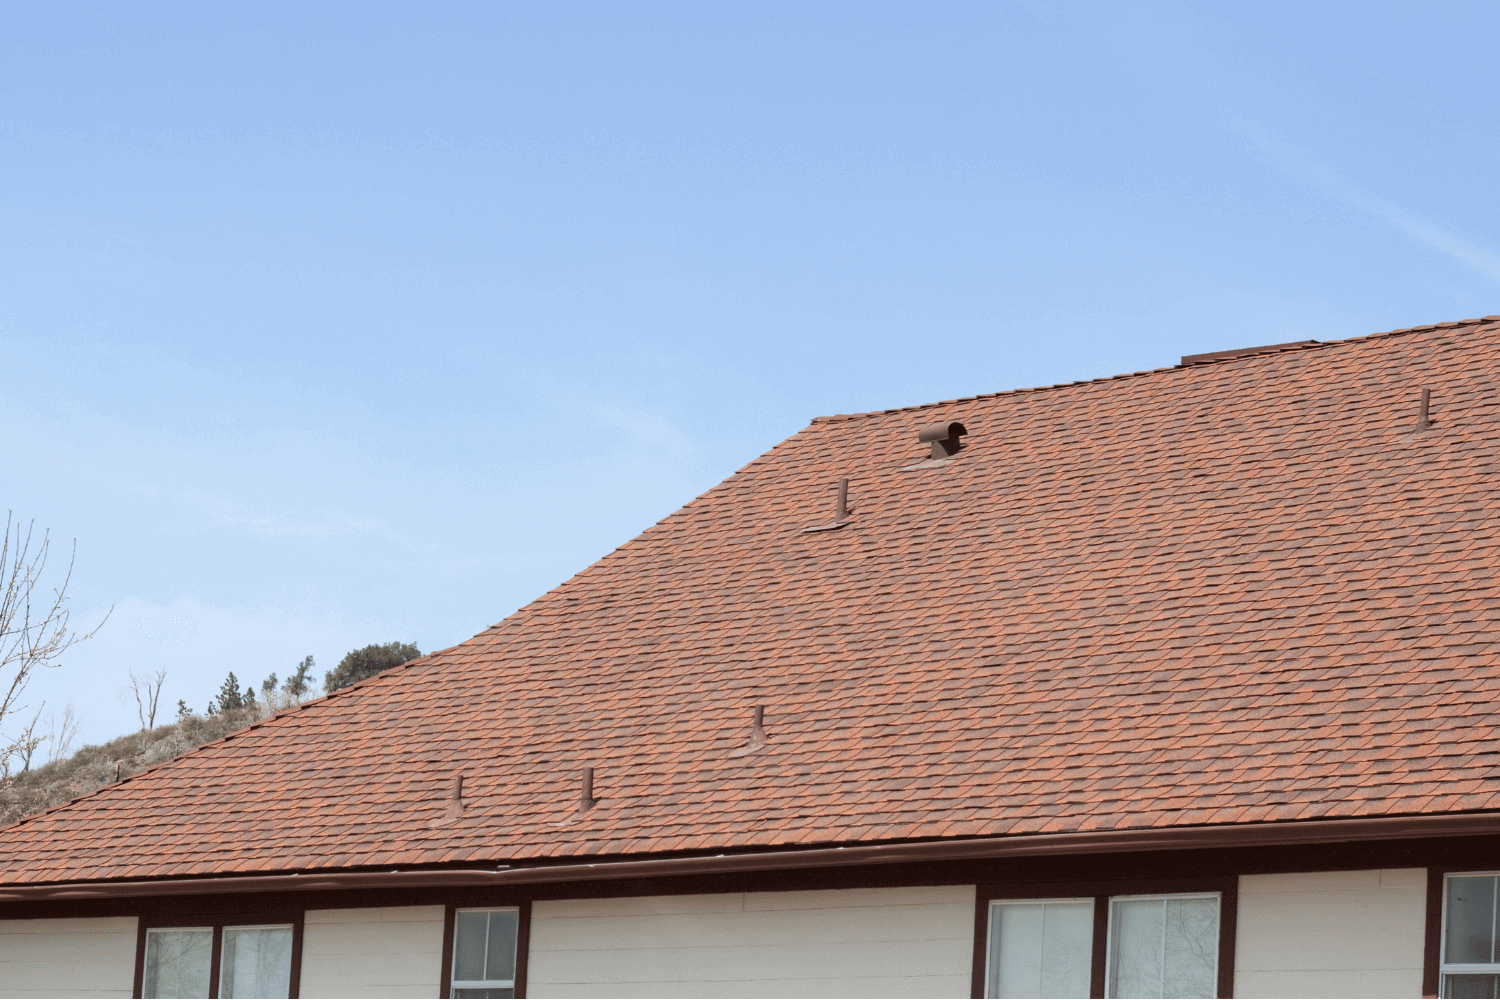
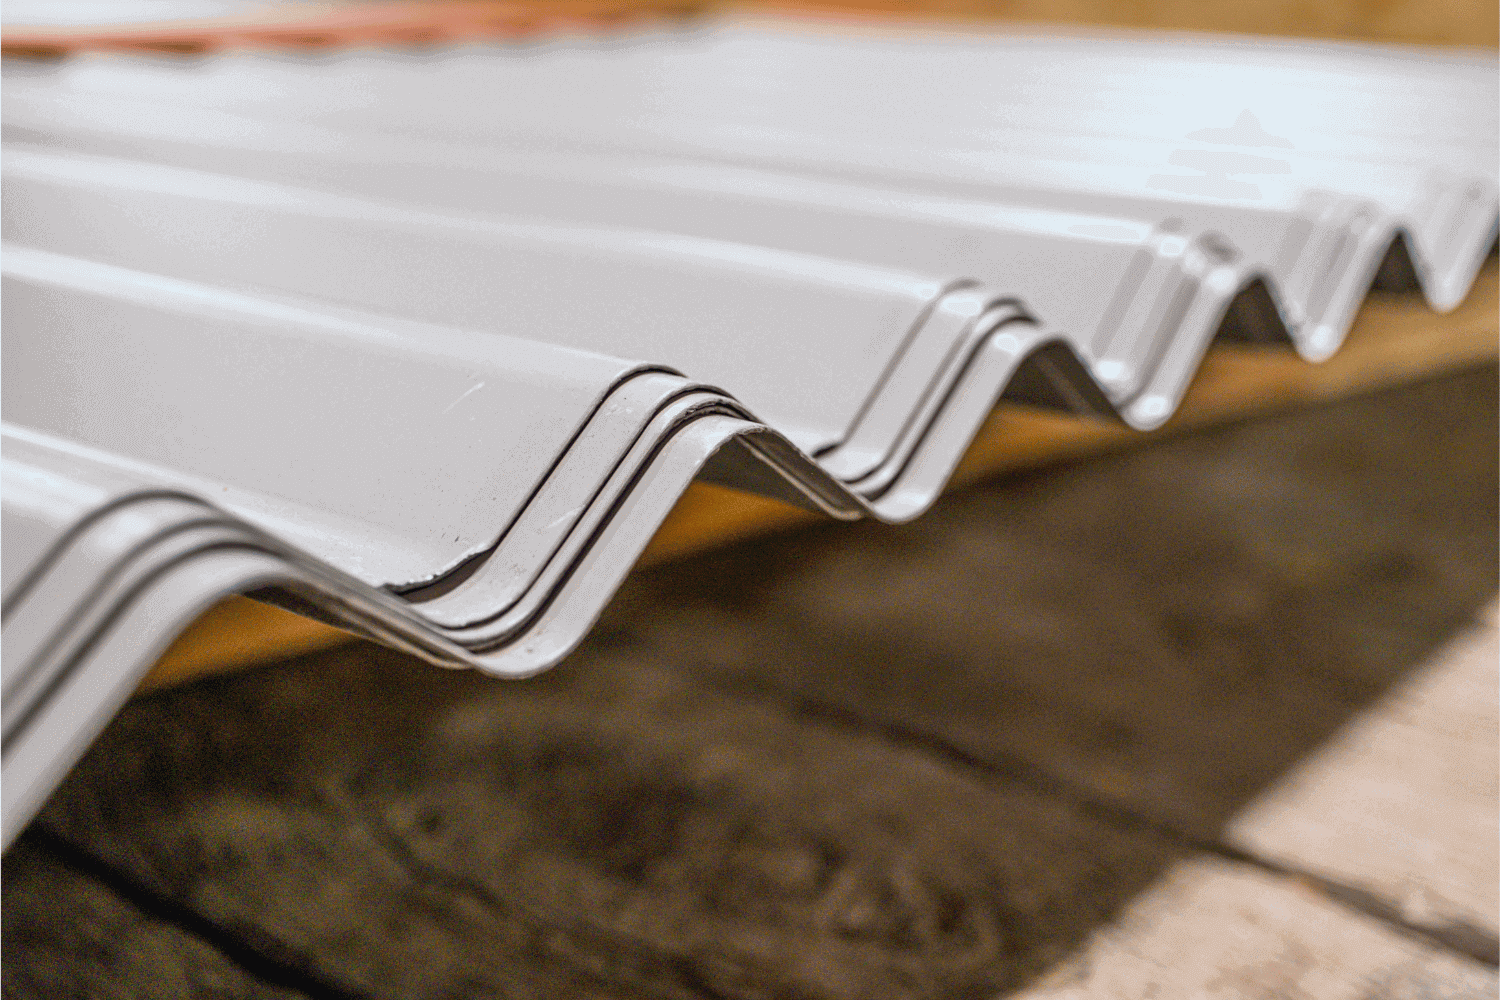
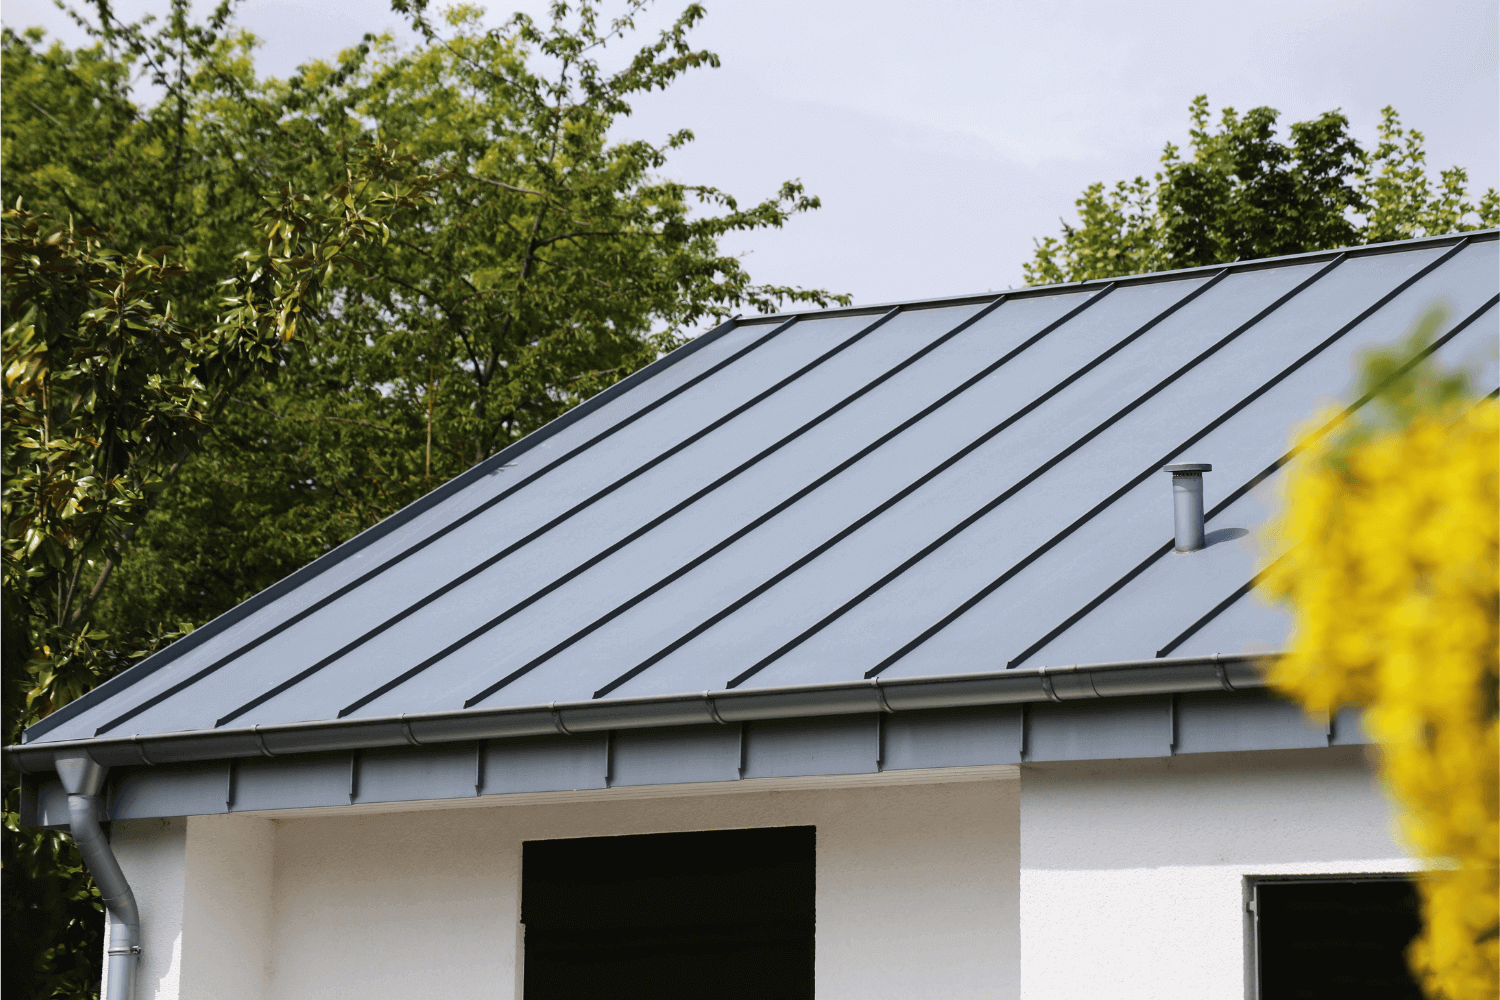
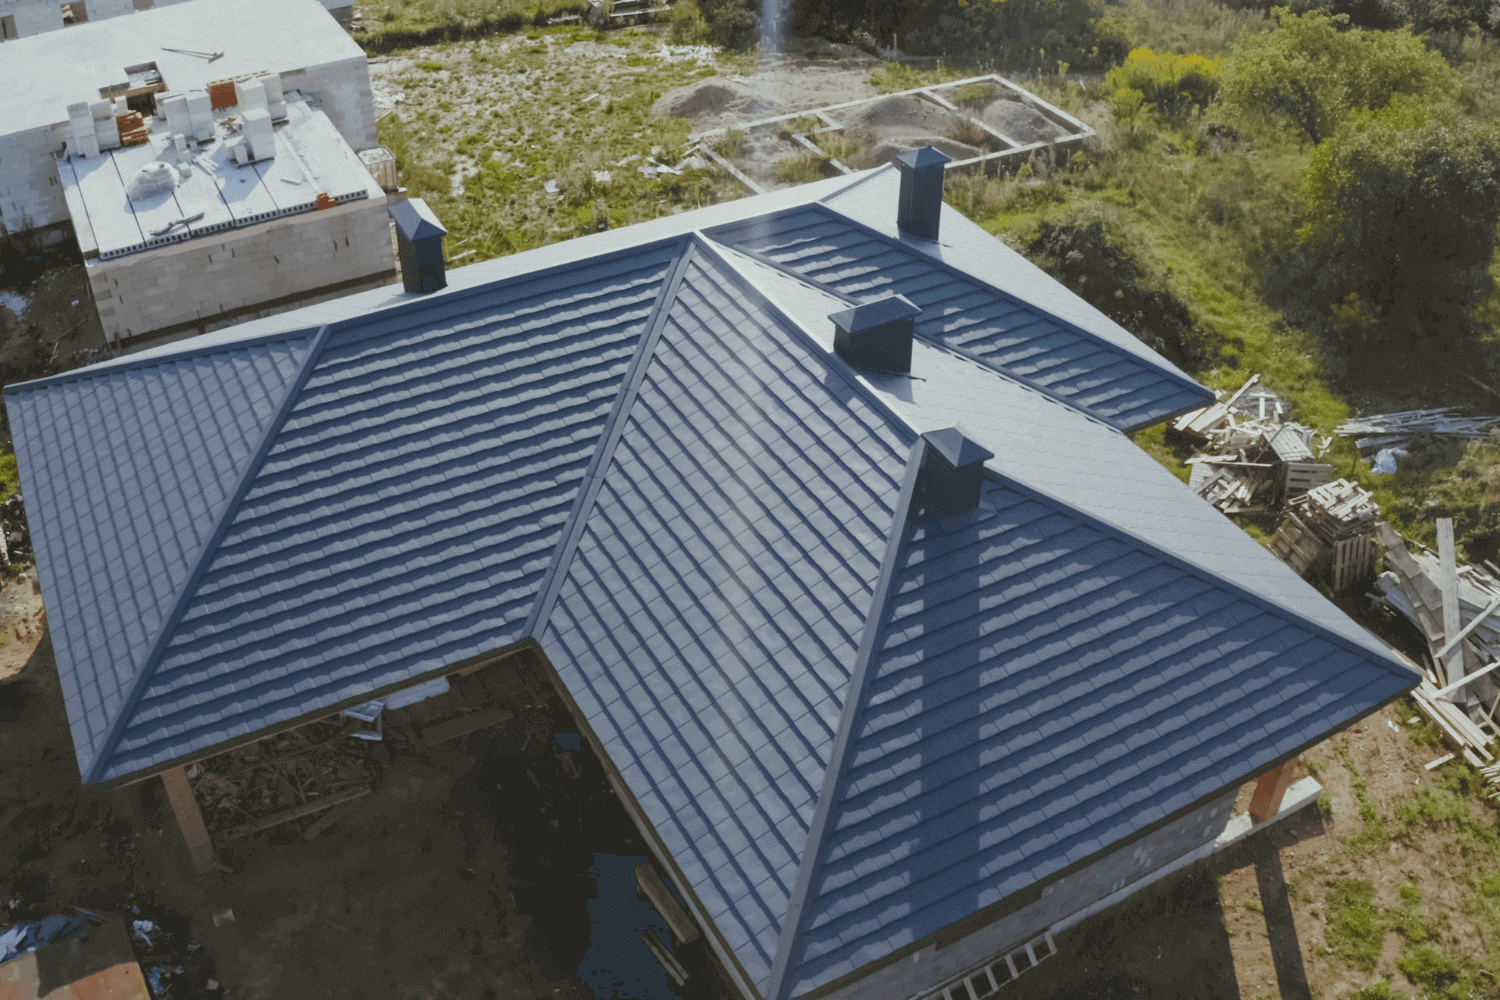
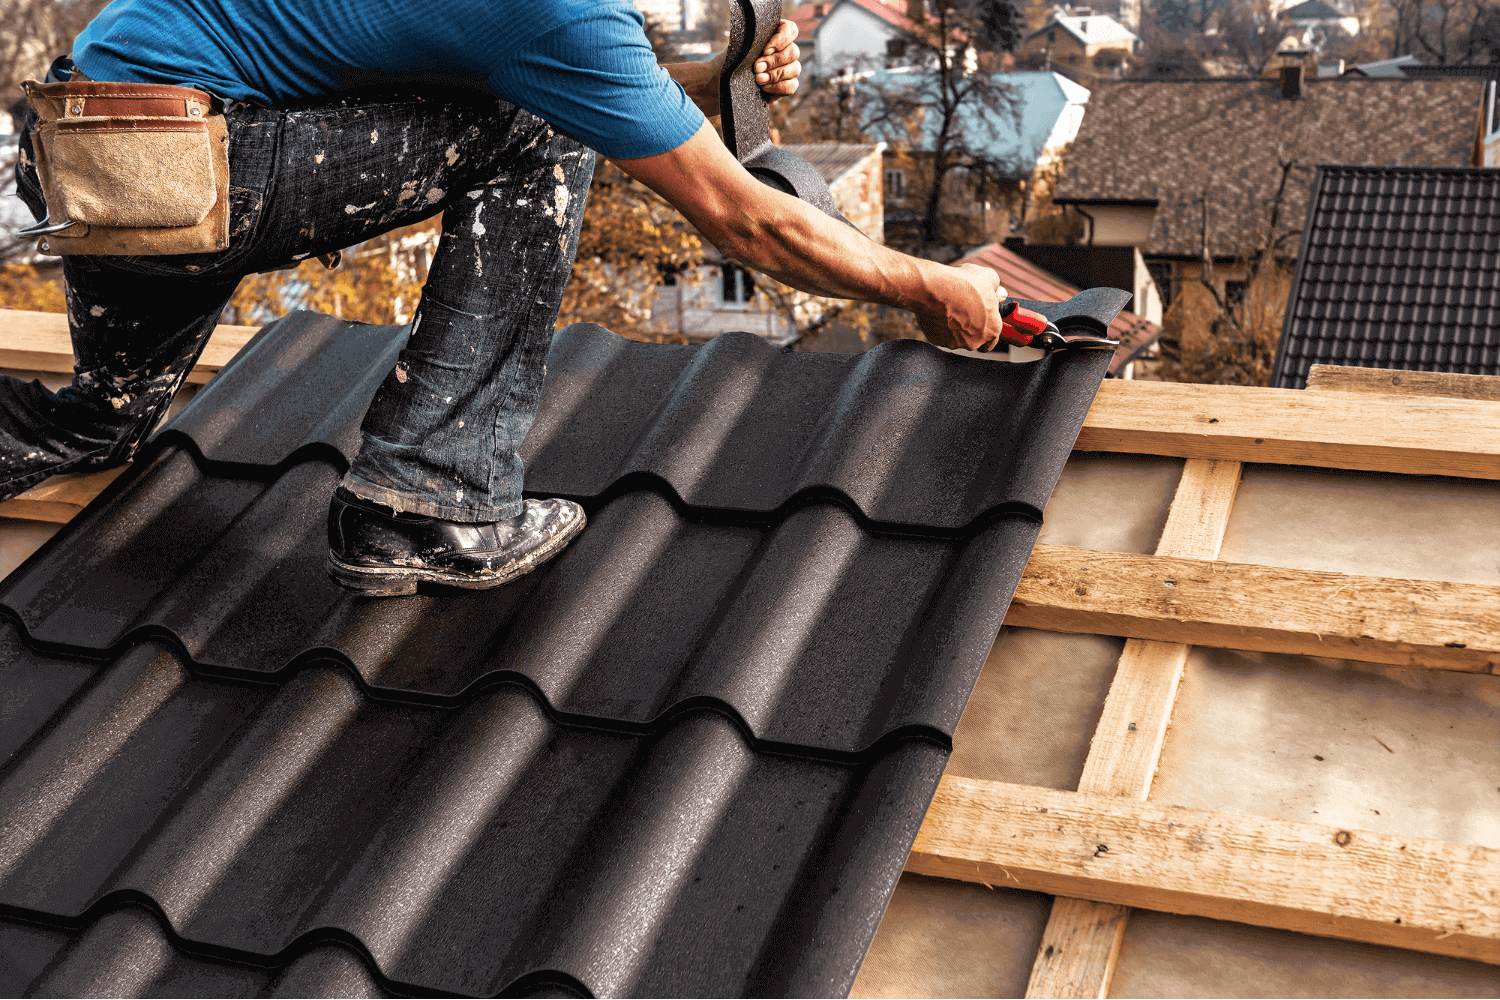
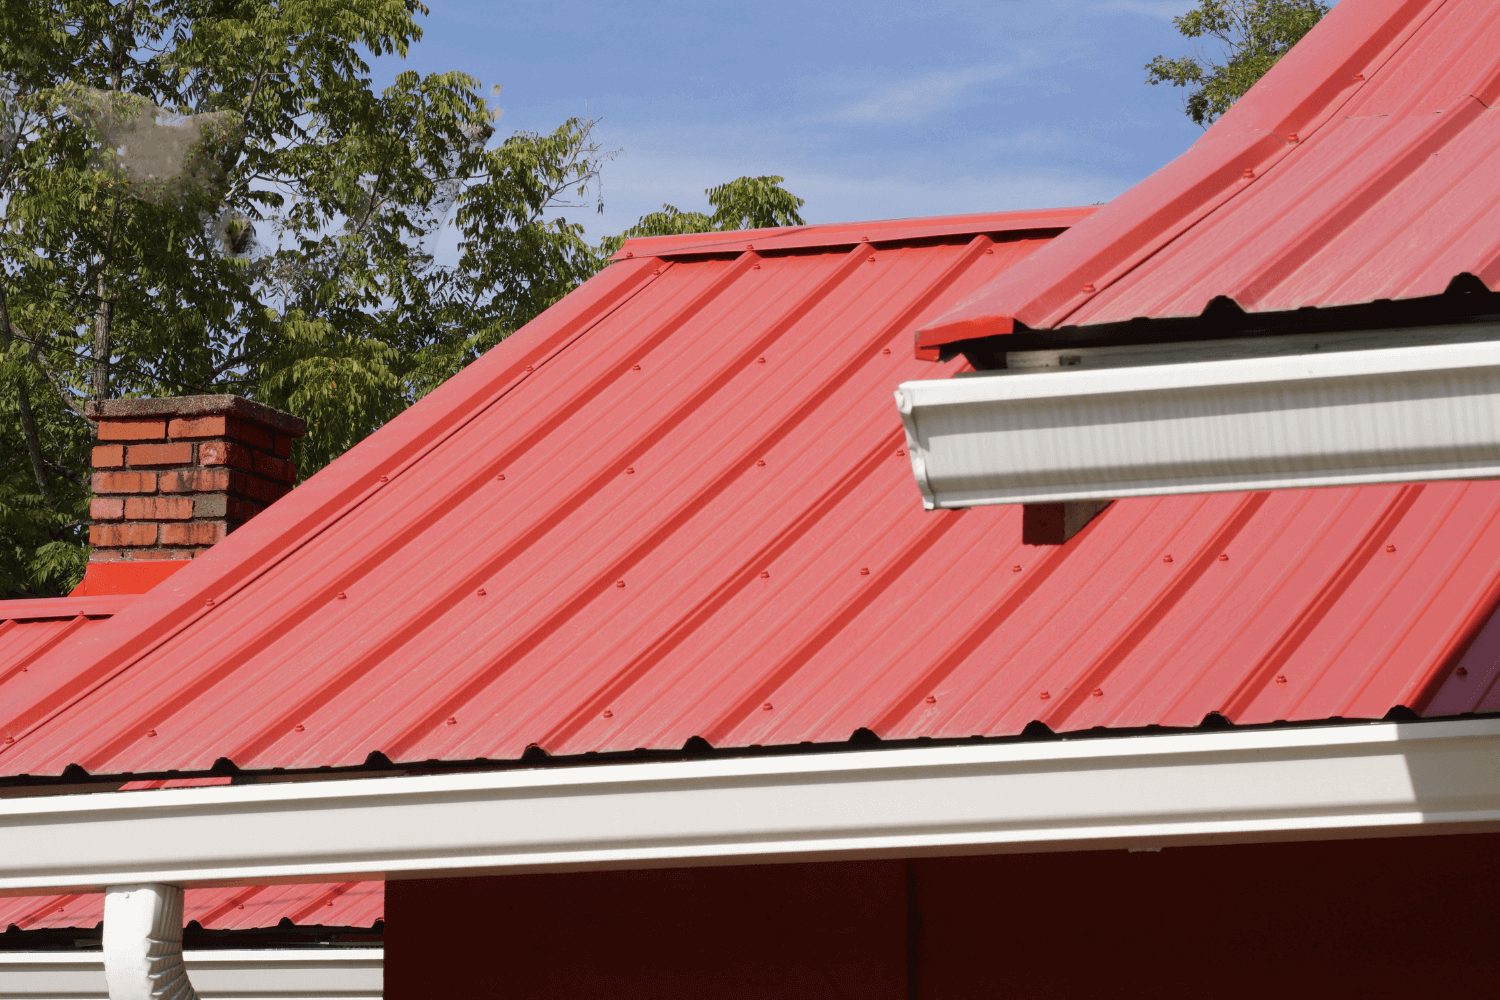
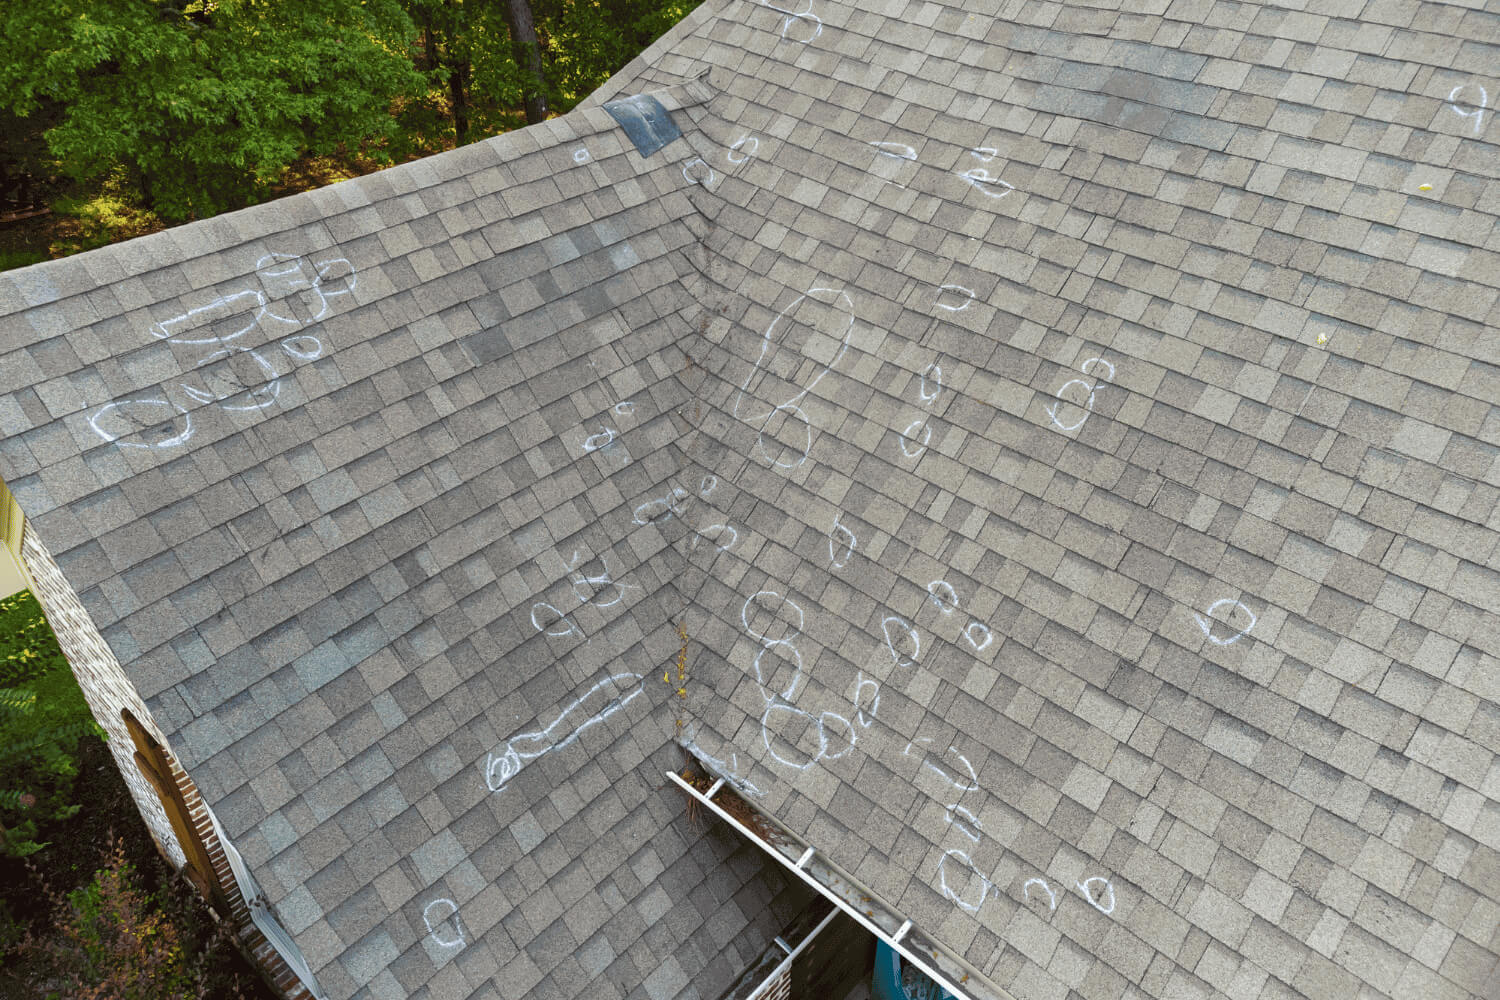
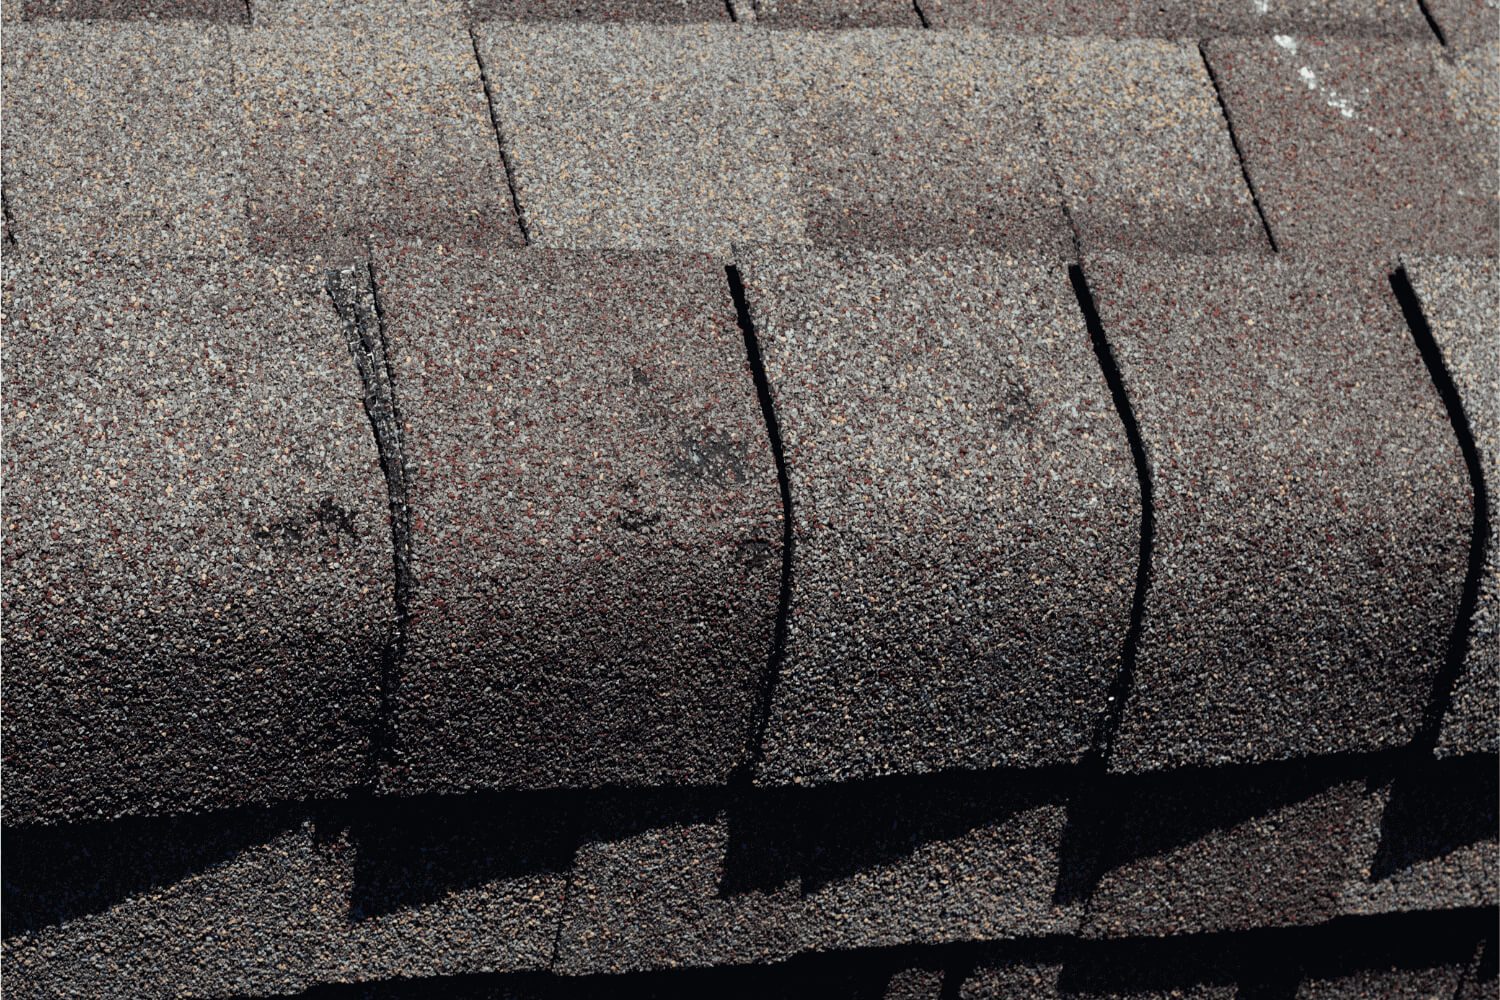
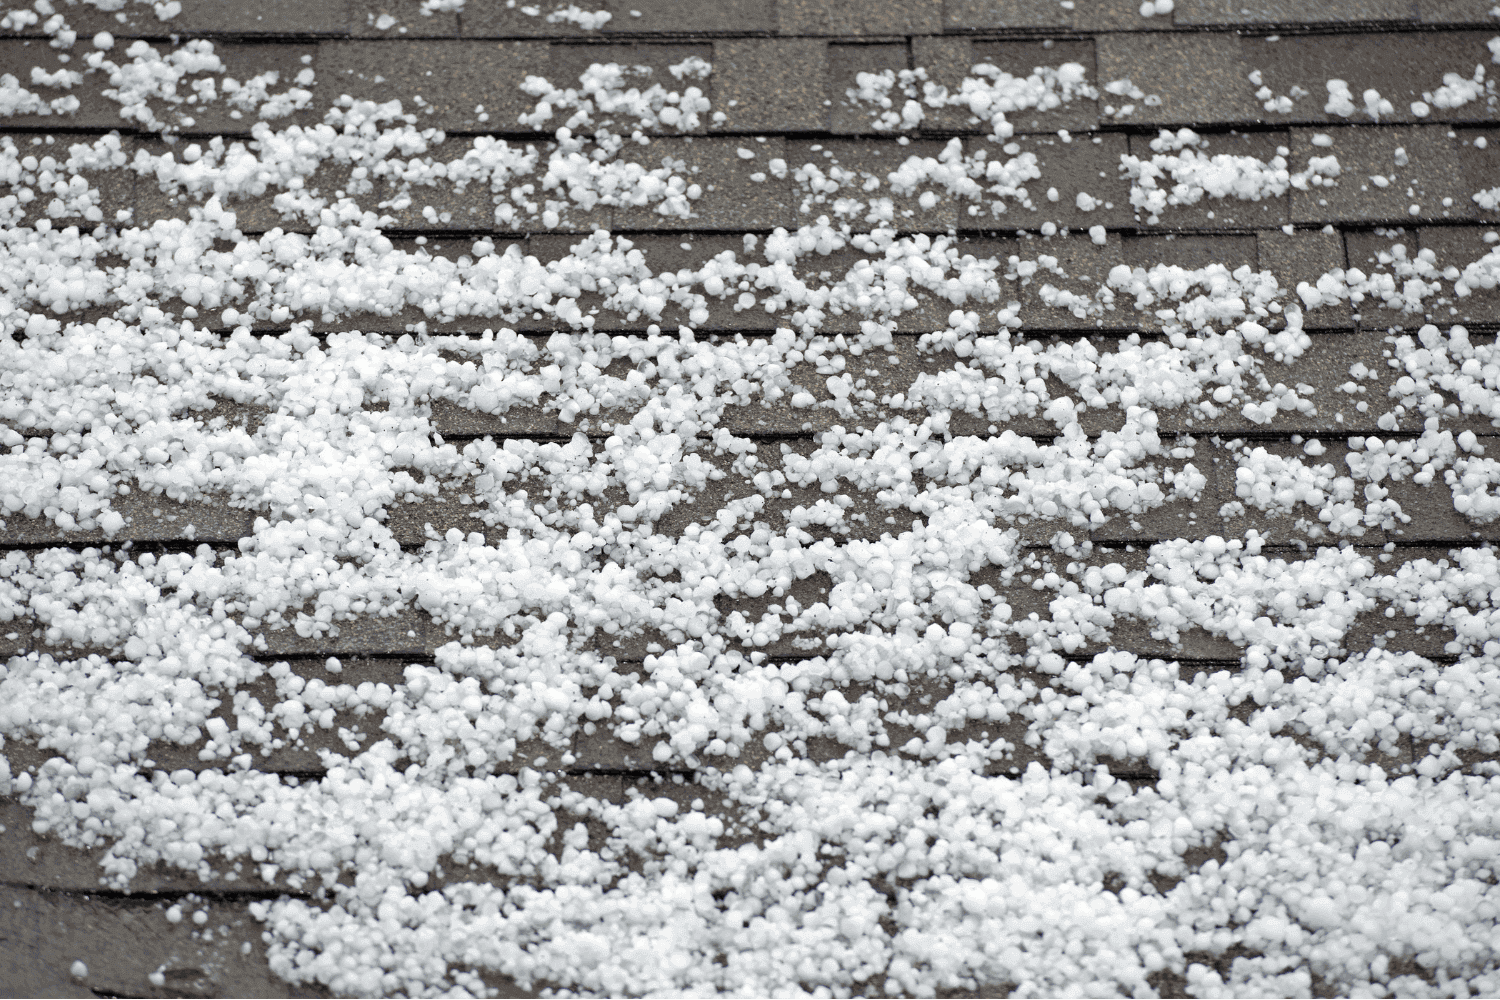
Benefits of installing new shingles over an old roof.

Pros and Cons of Installing Shingles Over Existing Roof

Pros and Cons of Installing Shingles Over Existing Roof

Can you install shingles over an existing roof? It’s possible, but it has its pros and cons. This article covers the benefits, drawbacks, and alternatives, so you can decide if installing shingles over an existing roof is the right choice for your home.

Key Takeaways

  • Installing new shingles over an existing roof can save costs and time but requires a thorough inspection of the underlying roof condition.
  • While this method provides immediate benefits, it poses significant risks, including potential leaks, structural strain, and reduced roof longevity.
  • Consultation with a roofing professional is essential for tailored recommendations and ensuring compliance with building codes and warranty conditions.

Can You Install New Shingles Over Existing Roof?

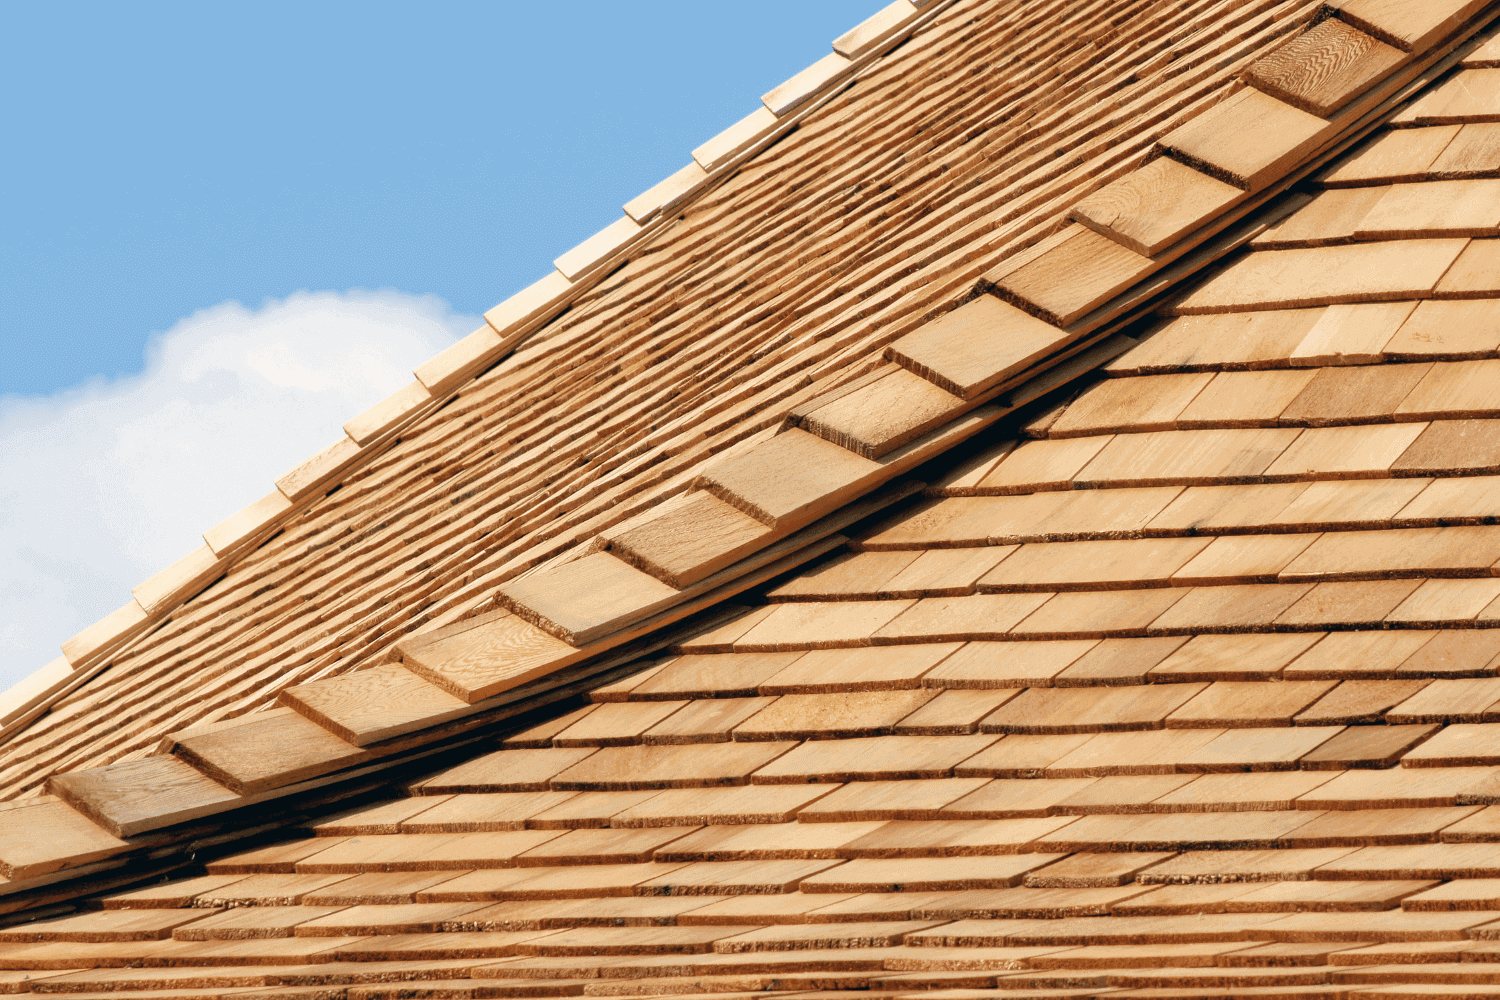
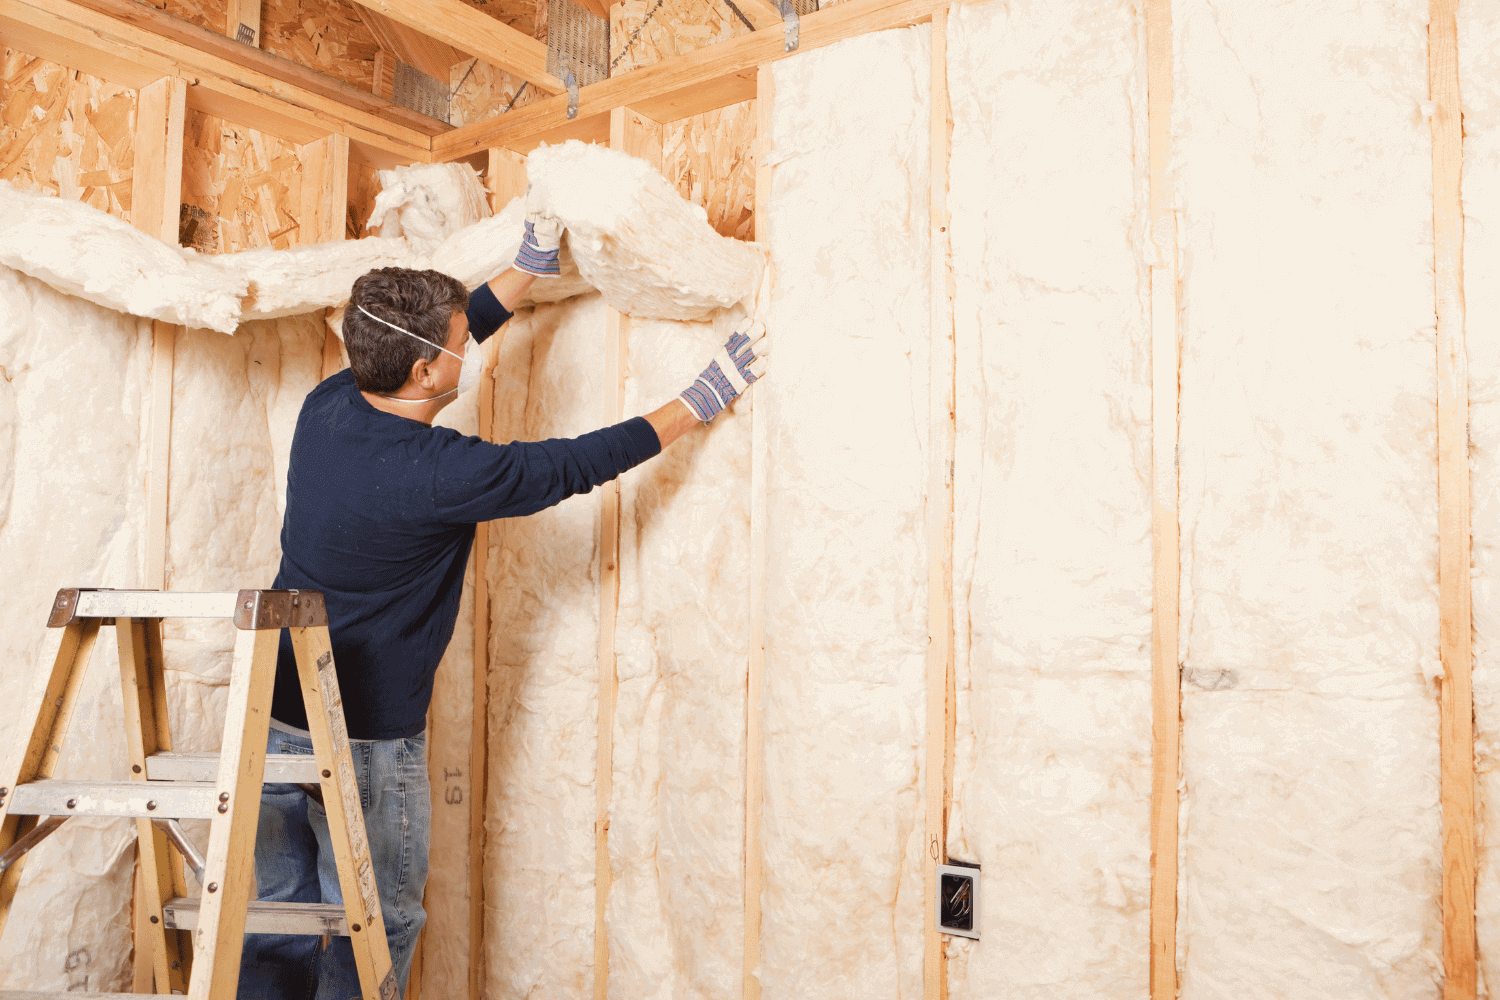
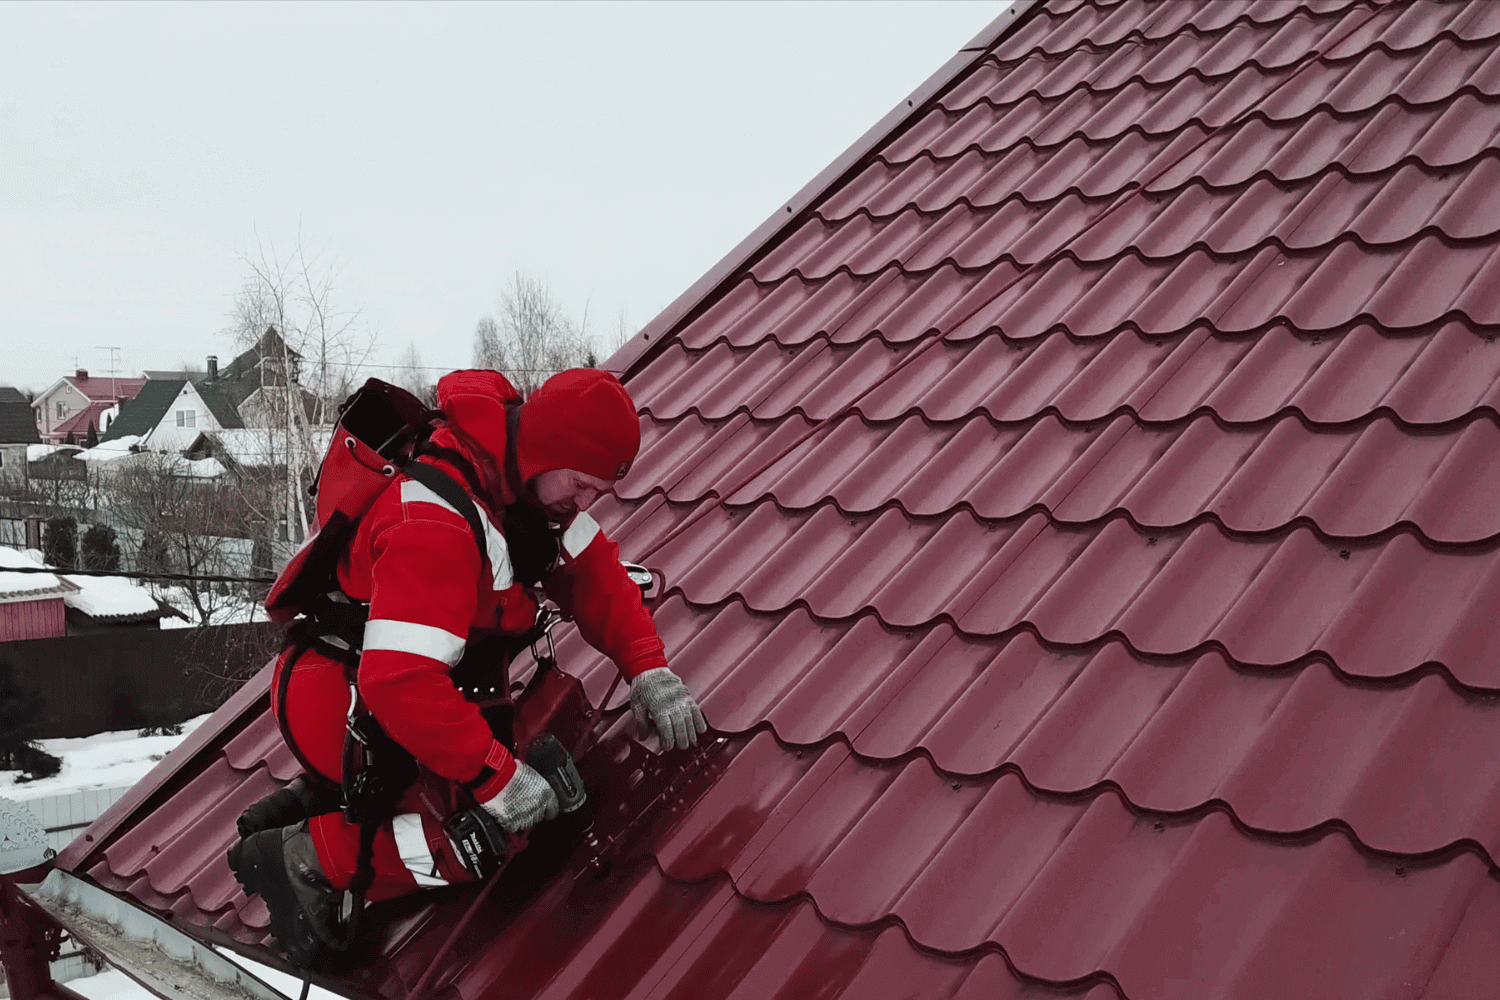
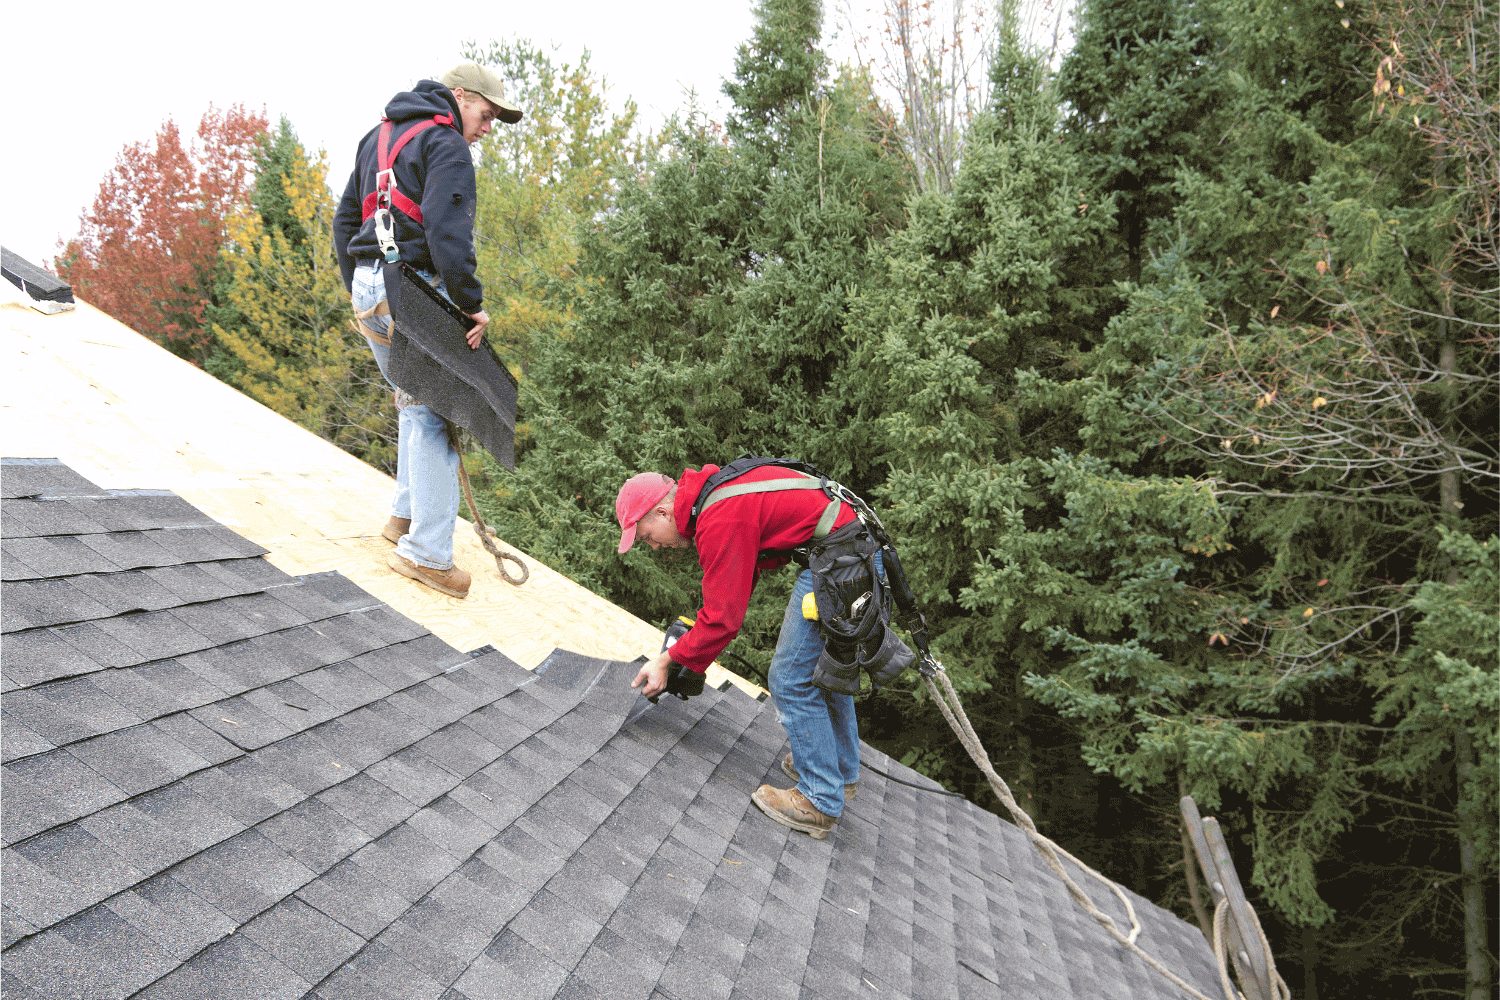
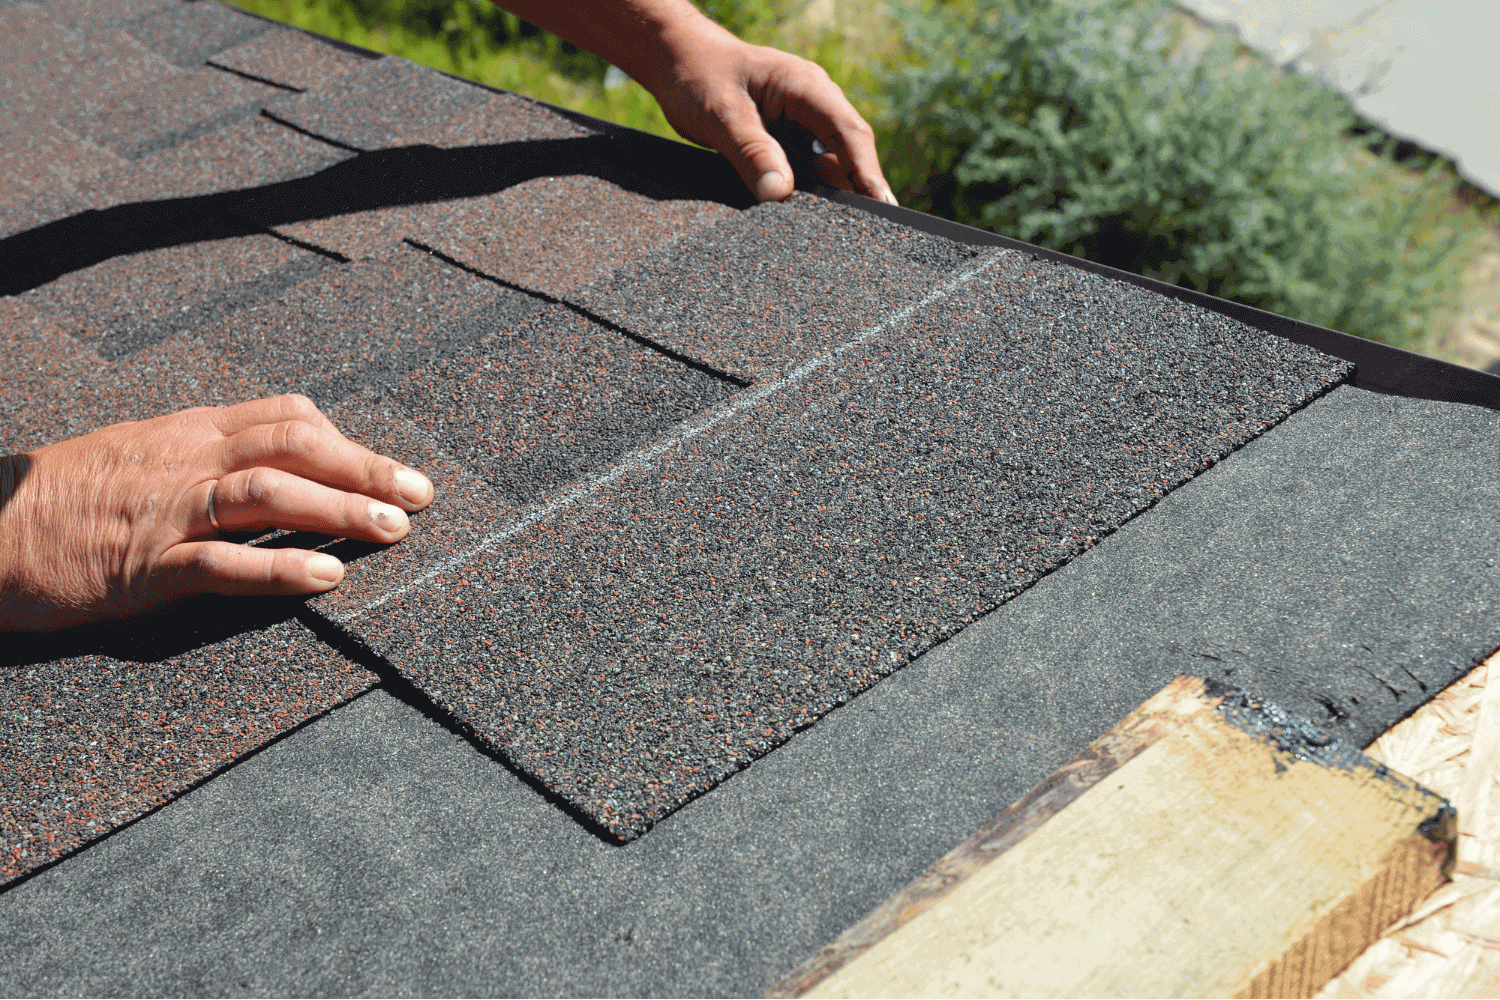
A roof being installed with new shingles over existing shingles.

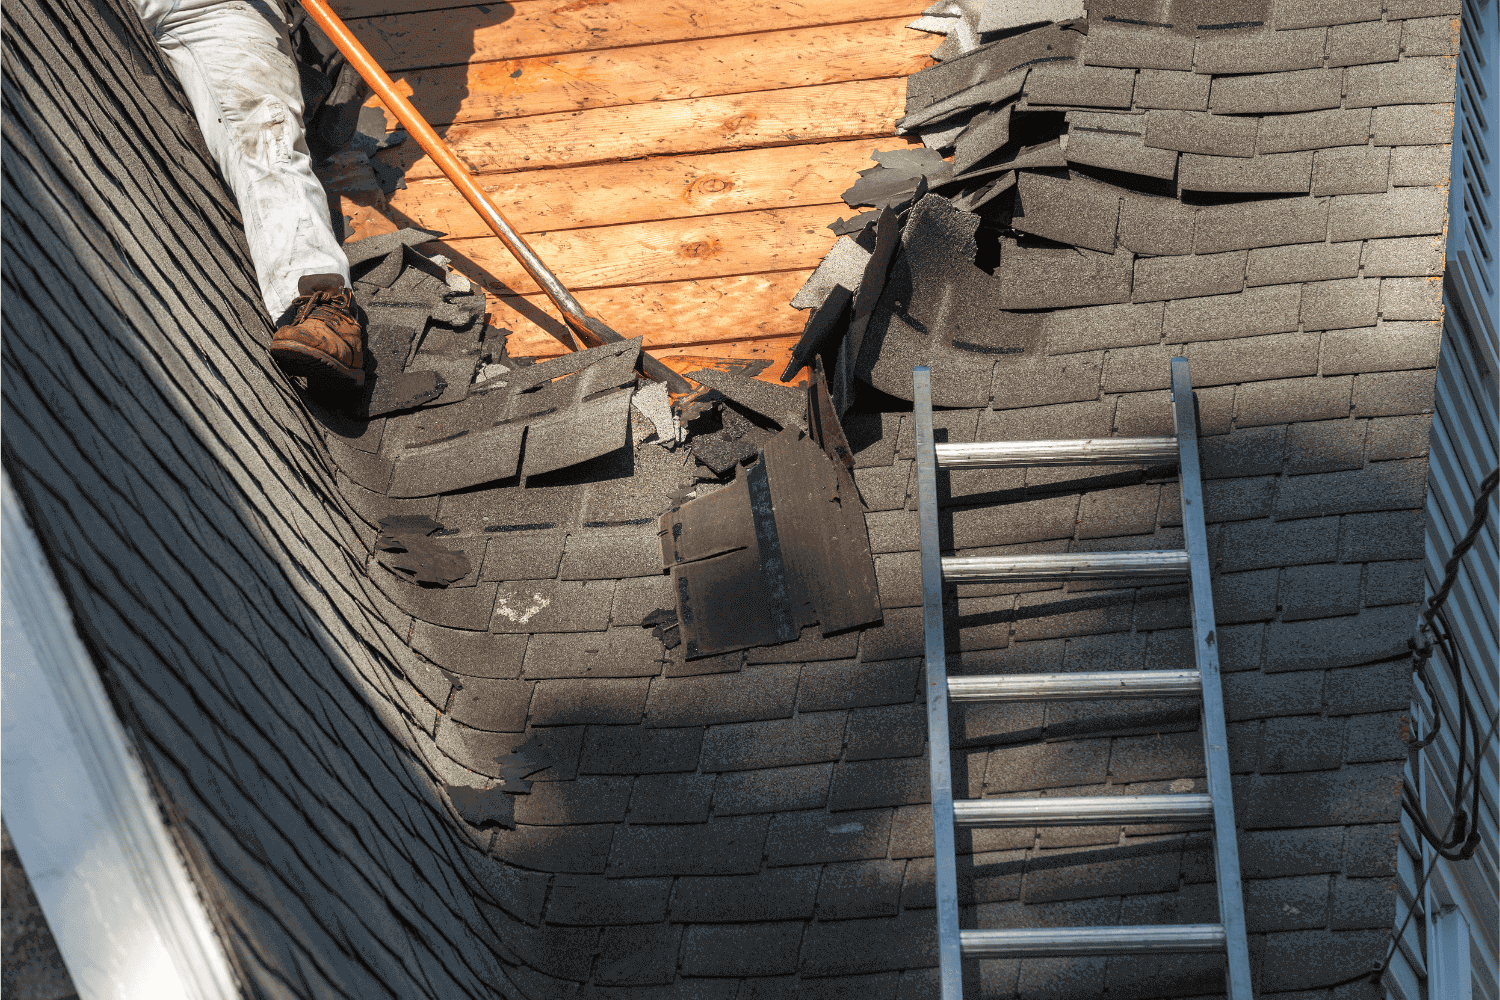
You can install new shingles on top of an existing asphalt shingle roof. However, this is only possible under the right conditions. This method, often called a nail-over or overlay, is popular among homeowners looking to save time and money. However, you must ensure that the existing shingles are near the end of their lifespan, flat, with few penetrations and small flashing issues. Before proceeding, have a local roofing contractor thoroughly inspect the integrity of the existing roof and metal flashing.

Since most roofs are not ideal candidates for a nail-over installation, a proper assessment is necessary. If the roof decking is compromised, it must be replaced before new shingles can be installed. This step is necessary because installing shingles over old ones can obscure potential issues, preventing a thorough inspection of the roof decking’s integrity. This can hide problems that could lead to significant damage down the line.

The decision to install new shingles over existing ones should not be taken lightly. While it can be a cost-effective and time-saving solution, the long-term implications must be carefully considered. Consulting a roofing professional helps you make the best choice for your situation, ultimately protecting your investment and home.

Benefits of Installing New Shingles Over an Old Roof

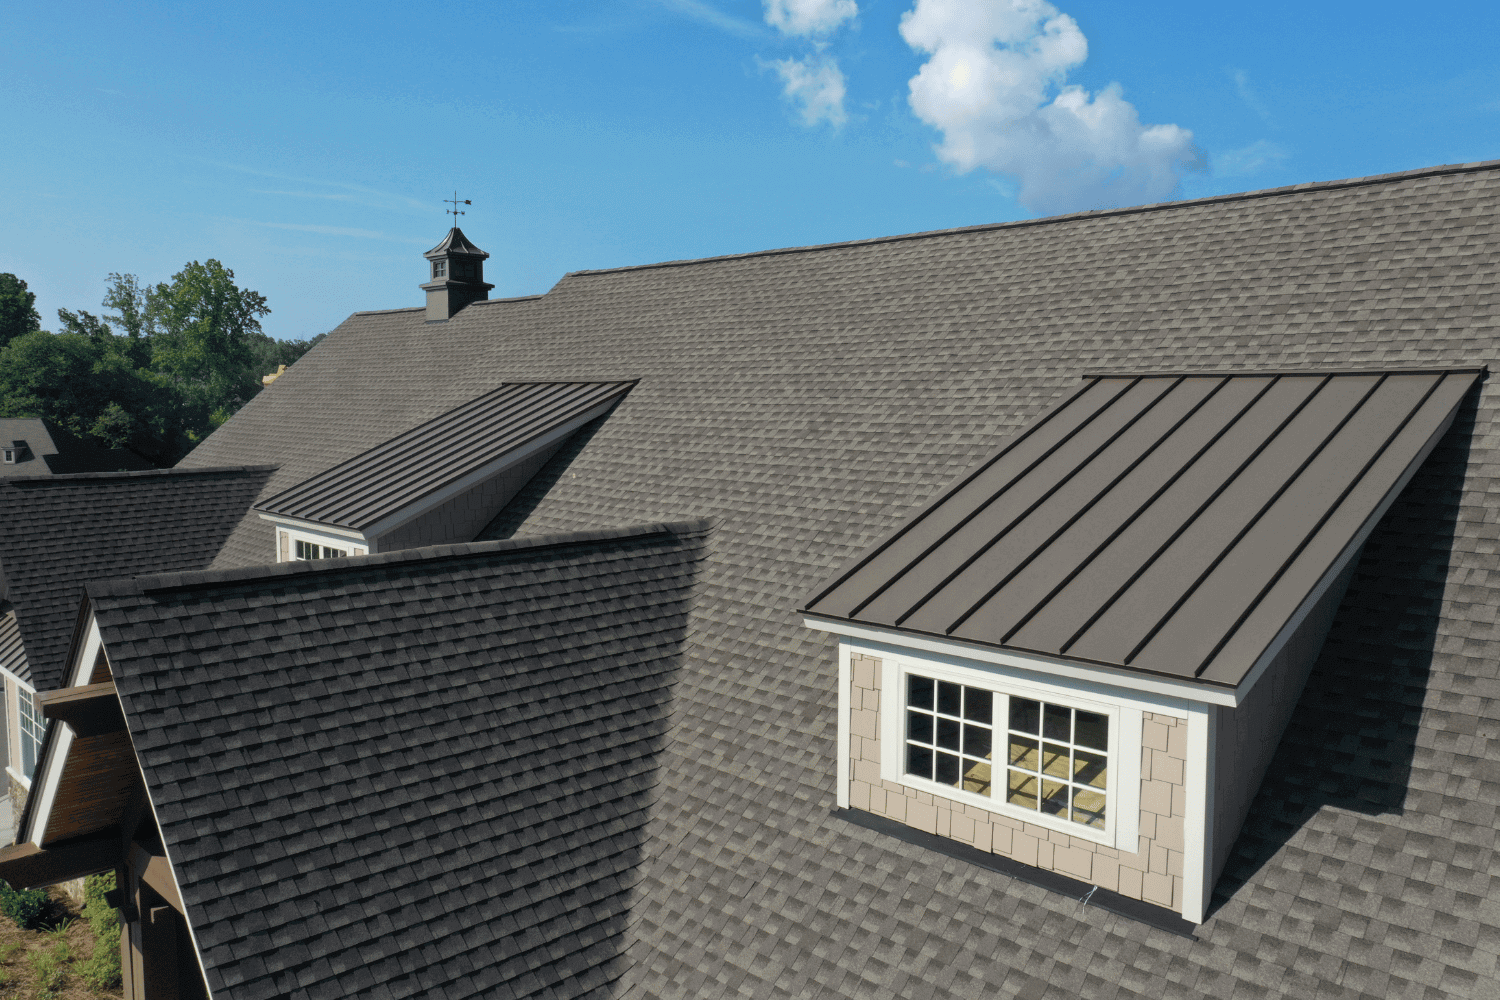
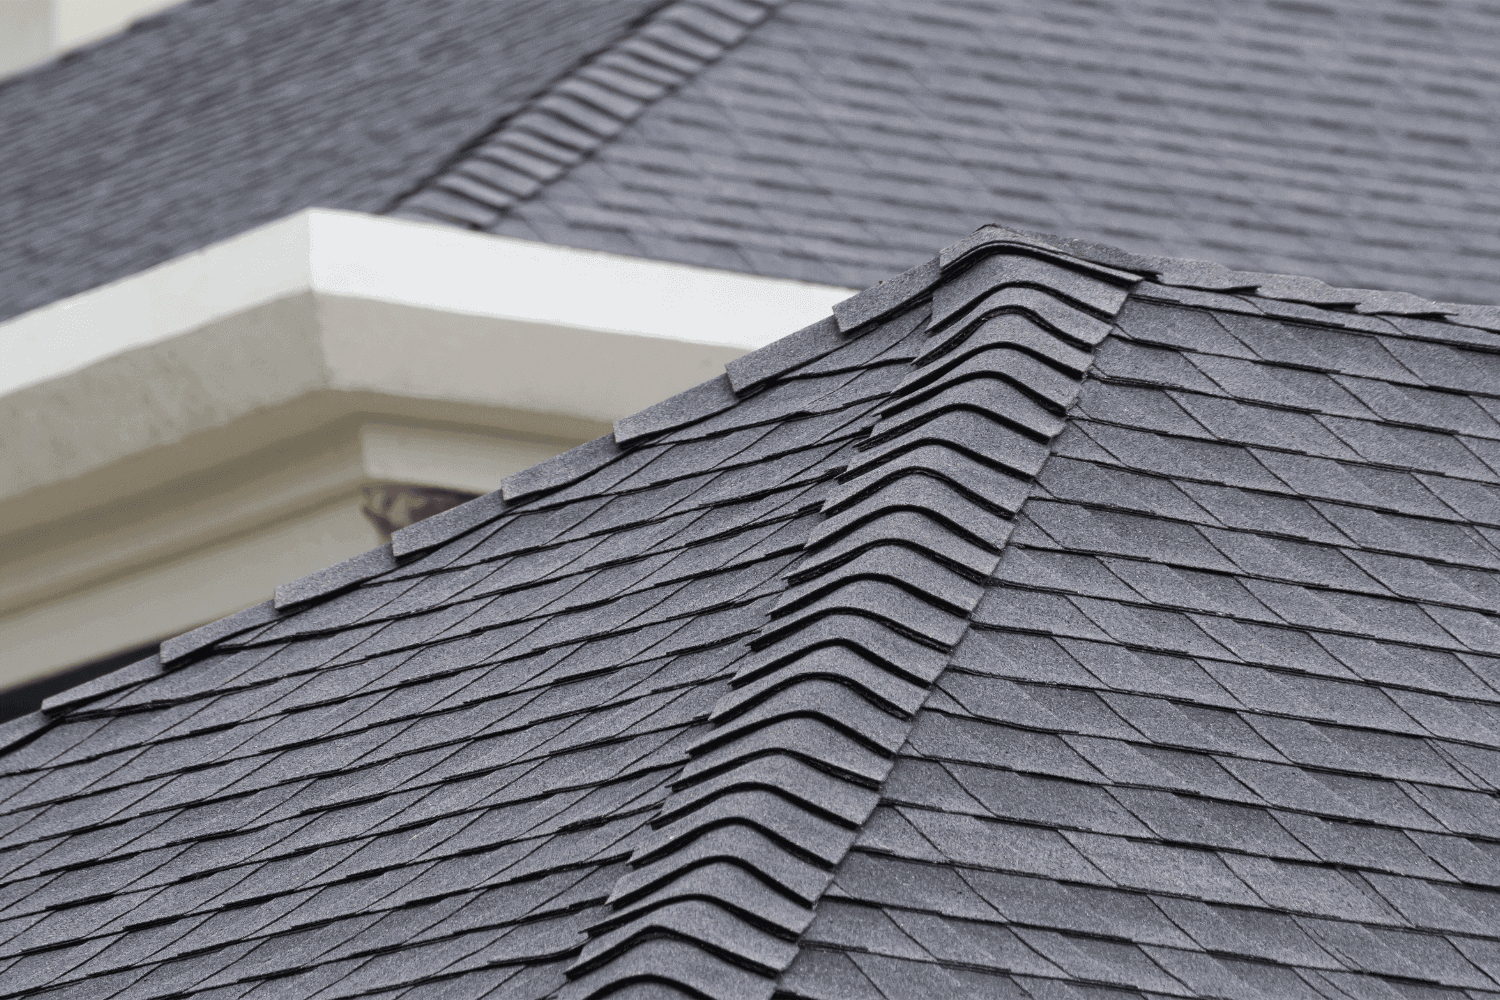
Benefits of installing new shingles over an old roof.

Installing new shingles over an old roof can offer several benefits, primarily revolving around cost savings, time efficiency, and weather protection. These advantages make it an attractive option for many homeowners.

Here are the details of each benefit.

Cost Savings

One of the most compelling reasons homeowners consider installing new shingles over existing ones is the potential for significant cost savings. Skipping the process of tearing off old shingles can save approximately 15% of the overall roofing cost. This reduction comes from eliminating the need to dispose of old shingles, which can constitute about 30% of the total roofing job time.

Additionally, avoiding disposal fees for old shingles can further reduce costs. This approach allows homeowners to allocate their budget to other essential home improvements without compromising the quality of their new roof.

Time Efficiency

Time efficiency is another significant advantage of installing new shingles over an existing roof. Layering new shingles over old ones is generally quicker than a full roof replacement that involves tearing off the old roof. This expedited installation can save homeowners valuable time, making it a less disruptive option for those who need their roofing project completed promptly.

Avoiding the tear-off process significantly reduces the overall installation time. This means less hassle and a quicker return to the comfort of your home without the prolonged inconvenience of a full roof replacement.

Weather Protection

Installing new shingles over an old roof can provide additional weather protection during the installation process. Retaining the old shingles creates a protective barrier against rain and other elements, safeguarding the roof structure and interior of the home while the new shingles are being installed.

This extra layer is particularly beneficial in preventing water damage to the roof deck and other structural components during the roofing project. By keeping the old shingles in place, you can ensure that your home remains protected from the elements until the new roof is fully installed.

Drawbacks of Installing New Shingles Over an Existing Layer

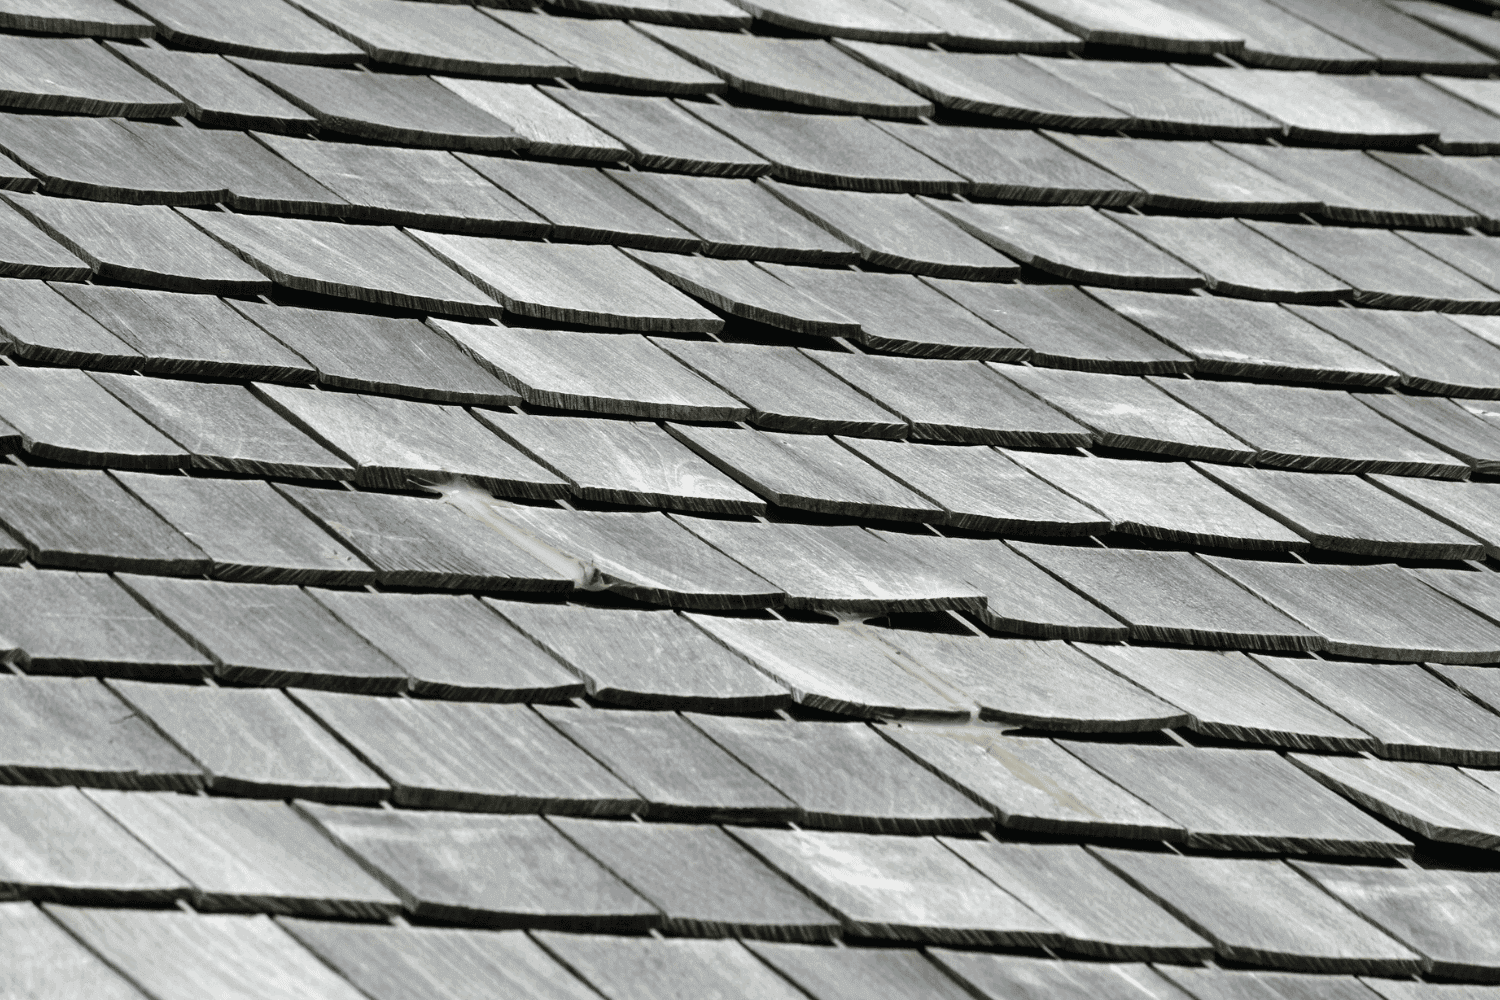
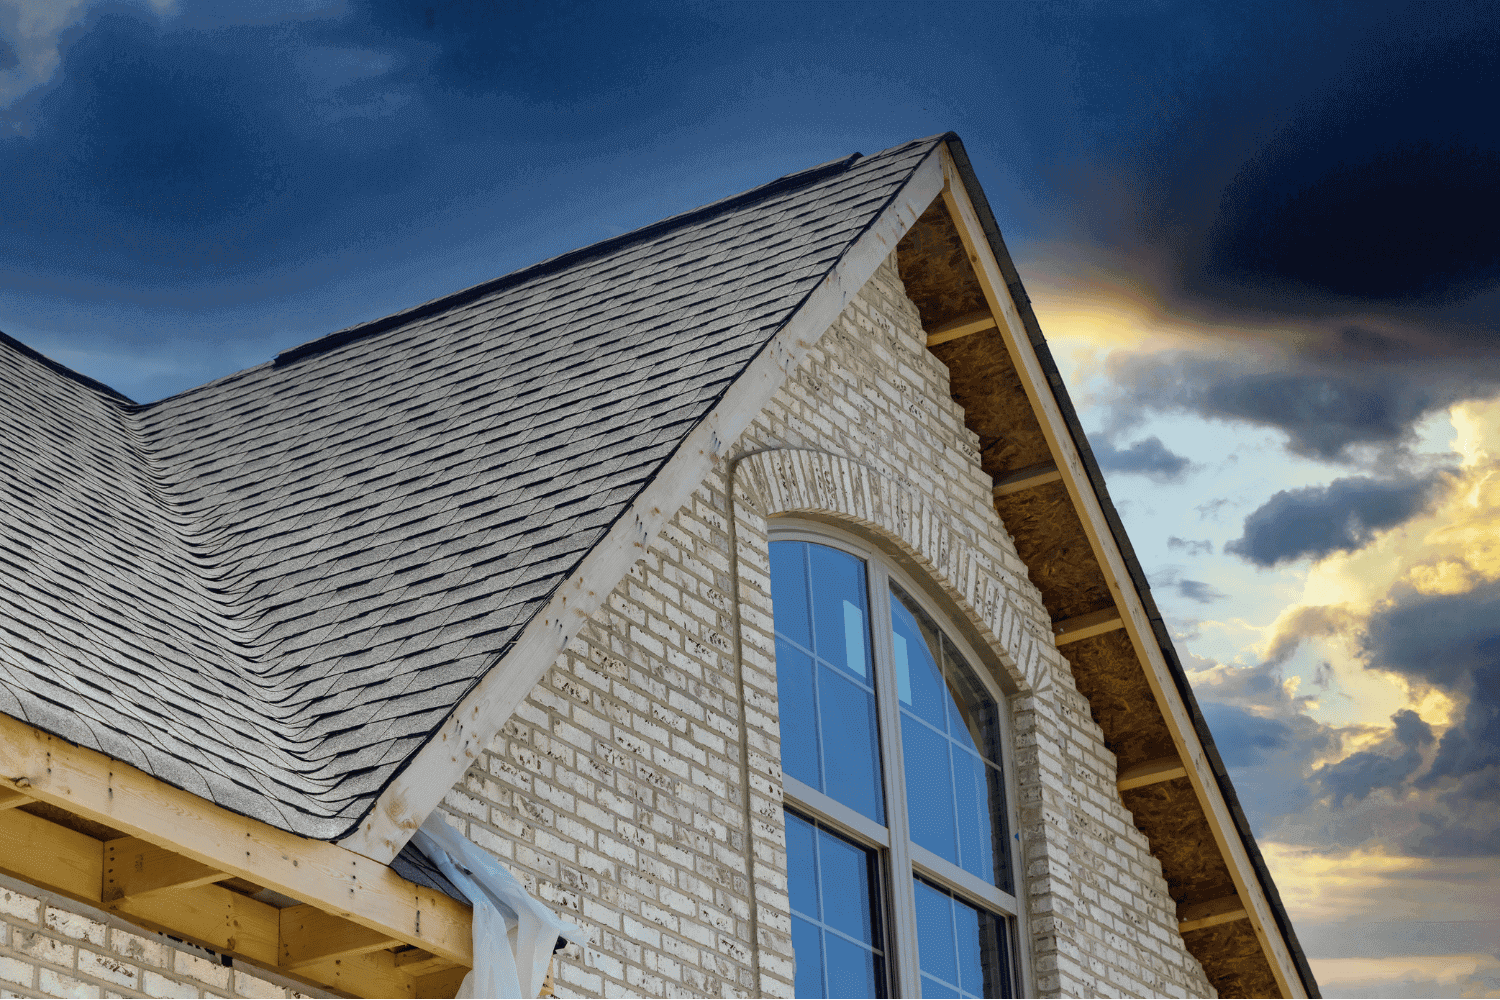
Drawbacks of installing new shingles over an existing layer.

While there are clear benefits to installing new shingles over an existing layer, there are also significant drawbacks to consider. These include inspection challenges, increased risk of leaks, and potential structural strain.

Let’s delve into these issues.

Inspection Challenges

One of the primary drawbacks of installing new shingles over an existing layer is the difficulty in conducting thorough inspections. A double layer of shingles obstructs the ability to assess the roof deck for damage during inspections. Home inspectors often find it challenging to identify if the underlying wood needs repair when old shingles remain in place.

Two layers of shingles complicate the inspection process, making it difficult to spot underlying damage and increasing the challenges of future repairs. This can lead to undetected issues that might escalate over time, resulting in more extensive and costly repairs.

Leak Risks

Placing new shingles over old ones also increases the risk of leaks. This practice can prevent the proper installation of leak barriers, making the roof more susceptible to leaks. Overlaying shingles can also shorten the roof’s lifespan due to improper installation and hidden damage, leading to a higher likelihood of water infiltration.

Future repairs can become complicated as roofers may miss underlying issues, leading to more extensive damage if not properly managed. Certified roofing experts can identify and resolve potential issues effectively, but multiple shingle layers still pose significant challenges.

Structural Strain

Adding a new layer of shingles increases the overall weight on the roof, which can strain the existing roof structure. This additional weight can lead to serious problems, including potential structural strain and even collapse in extreme cases.

Covering up existing roof problems with new shingles does not repair current issues; it merely obscures them, allowing defects in the old shingles to telegraph through to the new layer and compromise its integrity.

Additionally, the uneven surface of the old roof can make it harder to secure and mount the new shingles properly, further compromising the roof’s structural integrity. This can result in a less durable and reliable roofing system, increasing the likelihood of future problems.

Impact on Roof Longevity and Performance

Impact on roof longevity and performance.

Installing new shingles over an existing roof can significantly impact the longevity and performance of the roof. These impacts include a reduced lifespan, energy efficiency concerns, and complications with future repairs.

Reduced Lifespan

Adding layers of shingles can significantly impact the roof’s effective lifespan. Multiple roofing layers can lead to quicker material degradation, reducing the overall lifespan of the roof. This accelerated deterioration can result in a premature need for roof replacement, negating the initial cost savings of installing new shingles over old ones.

Layered shingles are likely to shorten the lifespan of a roof compared to a single layer of shingles. Homeowners should carefully weigh this downside against the immediate benefits of cost and time savings.

Energy Efficiency Concerns

Installing multiple layers of shingles can negatively impact a roof’s energy efficiency. The extra layers can hinder effective ventilation, potentially leading to increased energy costs for heating and cooling. In warmer climates, multiple layers of shingles can retain heat, exacerbating attic ventilation issues and increasing air conditioning costs.

Homeowners should consider the long-term implications on energy efficiency when deciding whether to install new shingles over existing ones. The potential increase in energy costs may offset the initial savings from avoiding a full roof replacement.

Future Repairs

The presence of multiple shingle layers can complicate future repairs and maintenance. Home inspectors may report the presence of two layers, leading to identified problems that complicate repairs. The additional layers can decrease the home’s value and complicate the sale process, making future repairs even more challenging.

Considering these complications is crucial when deciding to install new shingles over existing layers to avoid future issues. Homeowners should weigh the immediate benefits against the potential long-term challenges.

Building Codes and Regulations

Adhering to building codes and regulations is essential when considering installing new shingles over an existing roof. These codes ensure safety and compliance with local guidelines.

Code Variations

Building codes vary significantly across different regions, impacting roofing projects. It is crucial for homeowners to familiarize themselves with local building codes before starting a roofing project. These regulations can influence the number of allowable shingle layers and other essential aspects of the roofing process.

Understanding these variations ensures that your roofing project complies with local guidelines and avoids potential legal or safety issues.

Fire Safety

Certain building codes include fire safety regulations that dictate the number of allowable shingle layers. Fire safety is a critical consideration when selecting roofing materials, especially regarding multiple layers of shingles. Compliance with these regulations prevents potential fire hazards and protects your home.

Homeowners should consult with a roofing professional to ensure that their roofing project adheres to all relevant fire safety codes and regulations.

Warranties and Insurance Considerations

Installing new shingles over old roof shingles can have significant implications for warranties and insurance coverage.

Understanding these considerations is crucial for protecting your investment.

Manufacturer Warranties

Many manufacturer warranties become void if new shingles are installed over an old shingle layer. Some manufacturers may not cover issues arising from improper installation when new shingles are placed over existing ones. This can complicate warranty claims and leave homeowners without coverage for potential roofing issues.

Homeowners should carefully review their warranty terms and consult with manufacturers before deciding to install new shingles over old ones.

Insurance Implications

Insurance policies typically restore roofs to their original state, which may not include upgrades if shingles are layered. Many insurance companies have specific policies regarding roofs with multiple layers, leading to potential coverage issues for homeowners if they need to file a claim after installing a layered roof.

Understanding your insurance policy is important before deciding to install new shingles over an existing roof. This way, you are aware of any potential coverage limitations or exclusions.

Alternatives to Shingling Over Existing Roof

Alternatives to shingling over an existing roof.

For homeowners who are hesitant about installing new shingles over an existing roof, there are viable alternatives to consider regarding shingle roofs.

These alternatives can offer better long-term investment, durability, and overall value.

Full Roof Replacement

Replacing the entire roof allows for a fresh installation, potentially improving home value. A certified roofing specialist can evaluate the current state of your shingles and recommend the most appropriate roofing solutions. The average cost of a complete roof replacement typically ranges around $11,500 for an average-sized home.

While a full roof replacement involves higher upfront costs, it can provide a more durable and reliable roofing system, reducing the need for future repairs and maintenance.

Metal Roofing Over Shingles

Yes, it is possible to put metal roofing over existing asphalt shingles, depending on local building codes. Metal roofing offers long-term benefits, such as a lifespan of about 50 years and the elimination of the need to tear off the existing roof. Additionally, metal roofing is lightweight, which can be advantageous when adding it over existing shingles.

This option can provide a durable and energy-efficient solution for homeowners looking to upgrade their roofing system without the hassle of a full roof replacement.

Consulting a Roofing Professional

Consulting a professional roofing contractor is essential for determining the best course of action for roof repairs. A qualified roofing contractor can provide valuable insights on whether to overlay shingles based on the roof’s condition.

Professional Assessment

A certified roofing expert should thoroughly inspect the existing roof to ensure it can support additional shingles. The condition of the current shingles and financing options should be assessed before deciding to layer shingles. This assessment can identify any underlying issues that need to be addressed before proceeding with the installation of new shingles.

Homeowners can greatly benefit from the insights provided by a professional assessment. A roofing expert can recommend the most suitable solutions based on the unique conditions of the roof, ensuring that the new installation meets all necessary standards and prolongs the roof’s lifespan.

Customized Solutions

Roofing professionals can tailor solutions to meet specific homeowner needs based on the unique conditions of the roof. Different roof conditions—such as existing damage, age, and local environmental factors—necessitate unique approaches to roofing solutions. Consulting a professional provides homeowners with tailored recommendations that optimize the roof’s performance and longevity.

A certified roofing expert’s thorough inspection is crucial for identifying potential issues and determining the best course of action. This personalized approach ensures that the roofing project addresses all potential challenges, providing peace of mind for the homeowner.

Summary

Deciding whether to install new shingles over an existing roof involves weighing the benefits and drawbacks carefully. While there are clear advantages in terms of cost savings, time efficiency, and weather protection, there are also significant concerns related to inspection challenges, leak risks, structural strain, and impacts on roof longevity and performance. Adhering to building codes and understanding the implications for warranties and insurance are crucial considerations.

Ultimately, consulting a roofing professional for a thorough assessment and customized solutions is essential. This ensures that you make an informed decision that best suits your specific roofing needs and circumstances. By considering all these factors, you can protect your investment and ensure the long-term health of your home.

Frequently Asked Questions

Can you install new shingles over an existing roof?

You can install new shingles over an existing asphalt shingle roof, but it’s essential to have a roofing professional conduct a thorough inspection first. This will ensure the longevity and integrity of your new roof.

What are the benefits of installing new shingles over old ones?

Installing new shingles over old ones can save you money, reduce installation time, and provide better weather protection during the process. This approach can be an efficient solution for roof maintenance.

What are the drawbacks of installing new shingles over an existing layer?

Installing new shingles over an existing layer can lead to inspection challenges, increased risk of leaks, and additional strain on the roof structure, ultimately reducing the roof’s longevity and energy efficiency. It’s essential to weigh these drawbacks carefully before proceeding.

How do building codes affect the decision to install new shingles over an existing roof?

Building codes often limit the installation of new shingles over existing ones to a maximum of two layers for safety. It is crucial to be aware of and adhere to local regulations to ensure compliance and avoid potential hazards.

What are the alternatives to installing new shingles over an existing roof?

You can consider a full roof replacement or installing metal roofing over existing shingles, as both options provide long-term durability and value.

A professional roofing contractor installing impact resistant shingles on a house

Best Impact Resistant Roof Shingles: Protect Your Home Today

Best Impact Resistant Roof Shingles: Protect Your Home Today

Looking to protect your home from severe weather? Impact resistant roof shingles are your best defense against hail, high winds, and debris. In this guide, we’ll explore how these shingles work, their benefits, and what materials to consider.

Key Takeaways

  • Impact-resistant shingles provide enhanced protection against severe weather, significantly extending roof lifespan to 30-50 years and reducing the need for replacements.
  • The performance of impact-resistant shingles is measured using the UL 2218 test, with Class 4 being the highest rating, indicating superior durability against hail and wind.
  • Investing in impact-resistant roofing can lead to lower homeowners insurance premiums and considerable long-term savings through reduced repair costs.

The Best Impact Resistant Roof Shingles: Protect Your Home Today

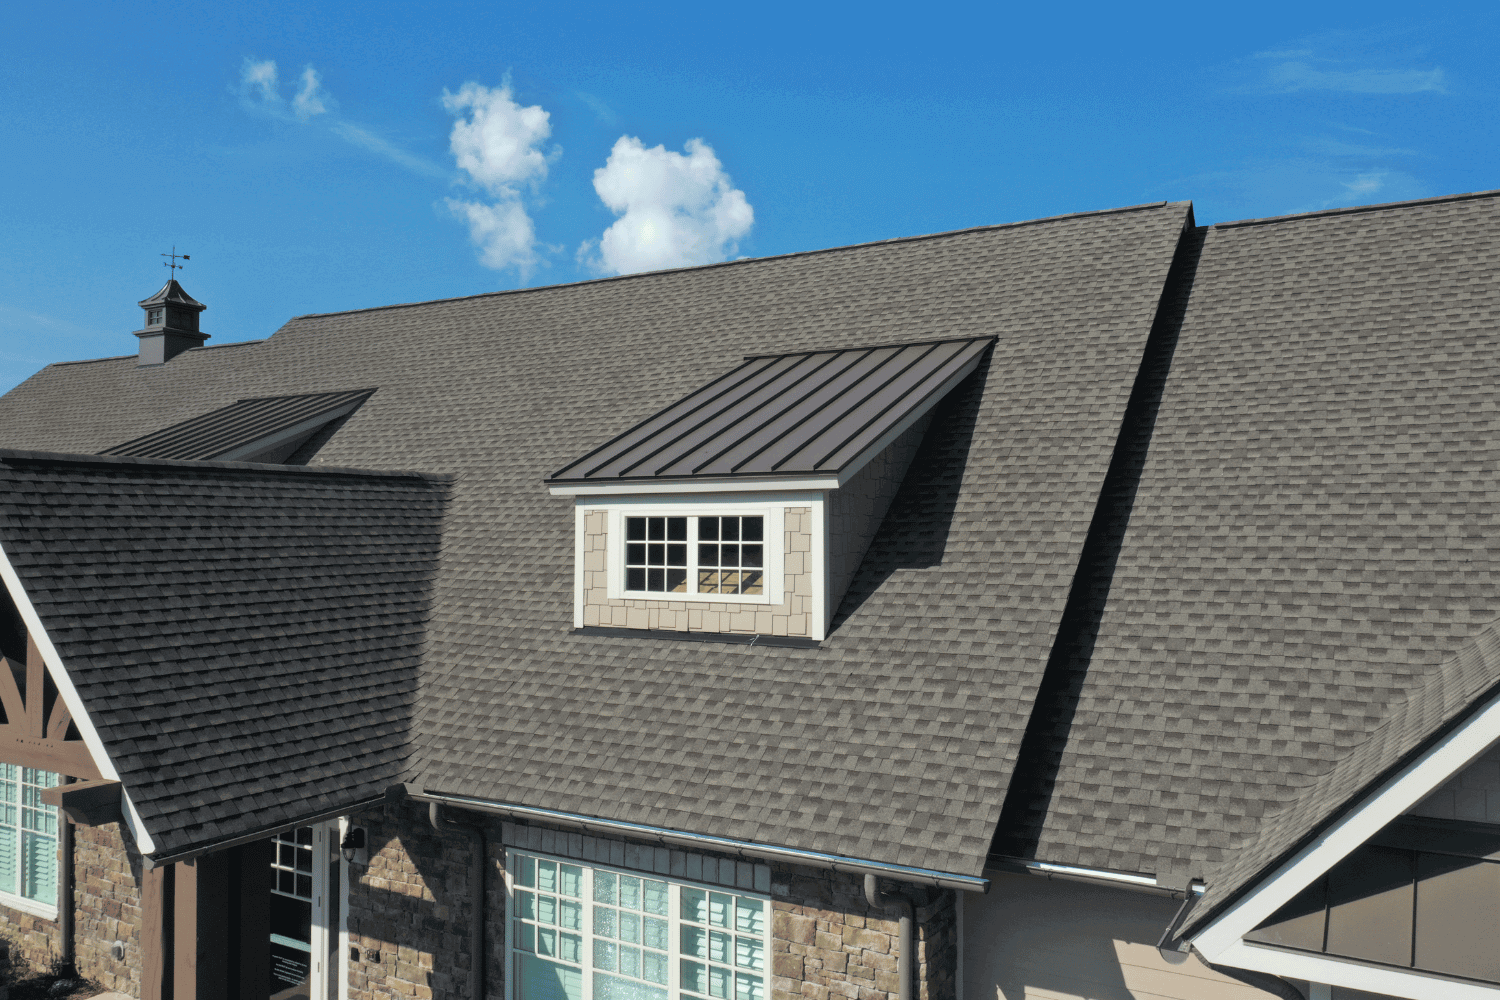
A house with impact resistant roof shingles, showcasing their protective features

If you’ve ever experienced the gut-wrenching aftermath of a severe storm, you understand the critical role your roof plays in safeguarding your home. Impact-resistant shingles are specifically engineered to endure severe weather conditions, enhancing the overall strength and longevity of a roof. These shingles can help maintain a home’s structural integrity by providing reliable protection against hail and strong winds.

The durability of impact-resistant shingles can extend their lifespan to 30 to 50 years, significantly reducing the need for replacements. For those living in areas with a high likelihood of severe weather events, these shingles are particularly beneficial. Consider local weather patterns and storm frequency when selecting impact-resistant shingles.

Different types of impact-resistant roofing materials, such as metal, asphalt, slate, concrete, and clay, offer unique benefits and cost considerations. Each material provides its own set of advantages, but the primary goal remains the same: to protect your home effectively. This guide will help you understand how to choose the best impact-resistant shingles for your needs.

Introduction

Roof damage from hail, airborne debris, and high winds is a growing concern for homeowners, making it crucial to consider impact-resistant roofing solutions that can withstand more extreme weather. These shingles are designed to protect homes from severe weather conditions such as hailstorms and strong winds. The right shingles can significantly reduce damage risk and keep your home safe.

Understanding Impact Resistant Roof Shingles

A close-up of impact resistant shingles demonstrating their texture and durability

Impact-resistant shingles are specifically engineered to endure severe weather conditions, enhancing the overall strength and longevity of a roof. The unique composition and design of these shingles make them the most durable option available. Consider the weather common to your local area when deciding on shingles.

What Are Impact Resistant Shingles?

Impact-resistant roof shingles are designed with a thicker base mat and more flexible materials than traditional options. These shingles are constructed with advanced materials that enhance their durability compared to standard shingles. Their unique composition and design make impact-resistant shingles the most durable option available.

Asphalt shingles modified with rubberized polymers enhance their resistance to impact. Composite shingles combine asphalt with synthetic materials for better durability and impact resistance. These advancements in shingle design and construction have led to better protection from hail and high winds.

How Impact Resistance Is Measured

The UL 2218 test, known as the steel ball test, evaluates shingles by dropping a steel ball from a specified height to assess their impact resistance. Shingle ratings vary from Class 1 to Class 4, reflecting the level of impact they can withstand based on standardized tests. Class 4 is the highest rating for impact-resistant shingles. This classification indicates superior durability.

To attain a Class 4 rating, shingles must endure the impact of a 2-inch steel balls dropped from 20 feet multiple times. To pass the UL 2218 test, shingles must show no ruptures or cracks after impact.

Typically rated Class 4, impact-resistant shingles are a reliable choice for severe weather protection.

Benefits of Installing Impact Resistant Shingles

A photo illustrating the benefits of installing impact resistant shingles

Impact-resistant shingles provide enhanced protection against severe weather, including hail and wind. These shingles can prevent costly roof damage, especially in areas prone to severe weather. They typically last about 50% longer than standard shingles, reducing the frequency of roof replacements.

Installing impact-resistant roofing can provide peace of mind and a sense of security.

Enhanced Durability

Shingles classified as Class 4 can endure impacts from a 2-inch steel ball dropped from 20 feet without cracking. Impact-resistant asphalt roofing shingles are designed to withstand the impact of hail. Certain Class 4 impact-resistant shingles can endure winds reaching up to 130 mph.

Hail-resistant shingles, with higher impact resistance ratings than traditional asphalt shingles, are engineered to withstand greater impacts and reduce storm damage, offering unparalleled durability.

Financial Benefits

Investing in impact-resistant roofing can potentially lead to lower homeowners insurance premium due to the reduced risk of damage. Homeowners can save on potential repair costs, which can average around $4,250 for hail damage. Switching to impact-resistant roofing can reduce insurance premiums by 5% to 35%.

Many homeowners report significant financial savings and peace of mind after switching to impact-resistant shingles. Insurance companies offer discounts as an added bonus, making the initial investment more palatable in the long run.

Environmental Advantages

The long lifespan of impact-resistant shingles means less waste in landfills, providing eco-friendly benefits that make a positive environmental impact while protecting your home.

Types of Impact Resistant Roofing Materials

Various types of impact resistant roofing materials displayed together

Impact-resistant roofing materials typically include recycled or recyclable materials that enhance sustainability. Among common types of roofs that are considered impact-resistant is metal roofing. Each material provides its own set of advantages, but the primary goal remains the same: to protect your home effectively.

Asphalt Shingles vs. Hail Resistant Shingles

Hail-resistant shingles are designed to endure severe weather conditions better than traditional asphalt shingles. They typically undergo rigorous testing, such as UL 2218, to assess their ability to endure impacts from hail and debris, distinguishing them from traditional asphalt shingles.

Impact-resistant roof shingles are designed with a thicker base mat and more flexible materials than traditional options. Synthetic roofing materials are designed to imitate traditional options while providing better durability and impact resistance.

Metal, Slate, Concrete, and Clay Options

Metal, slate, concrete, and clay roofs are impact-resistant and while they cost more than asphalt or composite shingles, they can also last significantly longer. Concrete and clay roofs provide significant durability against impacts and generally have a longer lifespan than asphalt shingles.

Each material brings unique benefits, from aesthetic appeal to longevity.

Choosing the Right Impact Resistant Shingles for Your Home

Choosing the right impact-resistant shingles is essential for ensuring your home is protected against severe weather conditions. Proper installation of impact-resistant roofs is also crucial for their performance and longevity.

Professionally installed impact-resistant roofs ensure compliance with local building codes and regulations, enhancing durability.

Factors to Consider

Homeowners should evaluate their local climate when selecting roofing materials, as different shingles perform better in varying weather conditions. Homeowners in hail-prone regions are specifically advised to consider Class 4 impact-resistant shingles for optimal protection.

Budget constraints could also guide the selection of shingles, as higher-rated impact-resistant options typically carry a higher cost.

Consulting a Professional Roofing Contractor

Schedule an inspection with a professional roofing contractor to determine if your roof is impact resistant. An experienced roofing contractor ensures your impact-resistant roof complies with local regulations and building codes.

Installation and Maintenance of Impact Resistant Roofs

A professional roofing contractor installing impact resistant shingles on a house

Proper installation of impact-resistant shingles involves specific guidelines, such as ensuring a solid substrate and proper nailing techniques to enhance durability.

Regular inspections and maintenance later on, such as clearing debris and checking for shingle damage, are essential to extend the life of impact-resistant roofs.

Proper Installation Techniques

Hiring experienced contractors ensures not just proper installation but also compliance with warranty requirements for the shingles. The installation process significantly influences the roof’s overall performance. Selecting experienced contractors is crucial for ensuring proper installation and compliance with local building codes.

Homeowners should obtain written estimates and contracts to ensure transparency and accountability in the roofing process. Detailed written contracts covering scope, materials, and payment schedules are essential for clarity and accountability in roof installation. Proper installation techniques enhance the performance and longevity of impact-resistant roofing materials.

Routine Maintenance and Inspections

Professional routine inspections can identify potential issues early, keeping the roof in optimal condition. Regular inspections, ideally every three to five years, prevent minor issues from escalating into costly repairs. Maintaining clean gutters and removing debris can greatly enhance the lifespan of an impact-resistant roof.

Clearing debris from gutters and downspouts is vital maintenance for preventing roof damage. Regular maintenance is key to ensuring the longevity and performance of your impact-resistant roof.

Are Impact Resistant Shingles Worth the Investment?

Although the higher initial cost of impact-resistant shingles may deter some homeowners, the long-term savings and peace of mind often outweigh the initial expense.

Impact-resistant shingles can lead to lower future roof repair costs and longer lifespan, providing considerable long-term financial savings.

Cost Analysis

Impact-resistant shingles typically have a higher upfront cost compared to standard asphalt shingles, ranging from 10% to 25% more. The main downside of Class 4 impact-resistant shingles is their higher upfront cost. However, the initial costs may be justified in areas frequently hit by hail and windstorms, as these shingles can save on repair costs in the long run.

The location, type of shingles, and choice of roofing contractor significantly influence overall cost and potential savings. While impact-resistant shingles have a higher cost than standard roofs, they can potentially reduce overall expenses due to fewer repairs needed.

Summary

Billions of dollars in damage each year are caused by hail impacts, underscoring the financial consequences of traditional roofing materials. Homeowners increasingly face severe weather threats, making impact-resistant shingles a crucial investment for home protection.

Impact-resistant shingles offer unparalleled protection against severe weather, providing peace of mind and long-term financial benefits. Their enhanced durability, combined with potential insurance discounts and environmental advantages, make them a smart investment for any homeowner. Protect your home today with impact-resistant shingles and enjoy the security and savings they bring.

Frequently Asked Questions

What are impact-resistant shingles?

Impact-resistant shingles are specially designed with thicker base mats and flexible materials to withstand severe weather conditions like hail and high winds, providing enhanced protection for your home. Their strength makes them a reliable choice for maintaining roof integrity during harsh weather.

How is the impact resistance of shingles measured?

The impact resistance of shingles is measured using the UL 2218 steel ball test, which evaluates durability by dropping a steel ball from a specified height. Shingles are then rated from Class 1 to 4, with Class 4 indicating the highest level of impact resistance.

What are the financial benefits of installing impact-resistant shingles?

Installing impact-resistant shingles can significantly lower home insurance premiums by 5% to 35%, while also reducing the likelihood of costly repairs. This results in substantial long-term savings for homeowners.

What types of materials are used for impact-resistant roofs?

Impact-resistant roofs typically utilize materials such as asphalt, metal, slate, concrete, and clay, each providing distinct advantages in terms of durability and weather resistance. Selecting the right material can enhance both the longevity and protection of your roof.

Are impact-resistant shingles worth the investment?

Impact-resistant shingles are typically worth the investment due to their long-term benefits, including reduced repair costs and potential discounts on insurance, while providing robust protection against extreme weather.

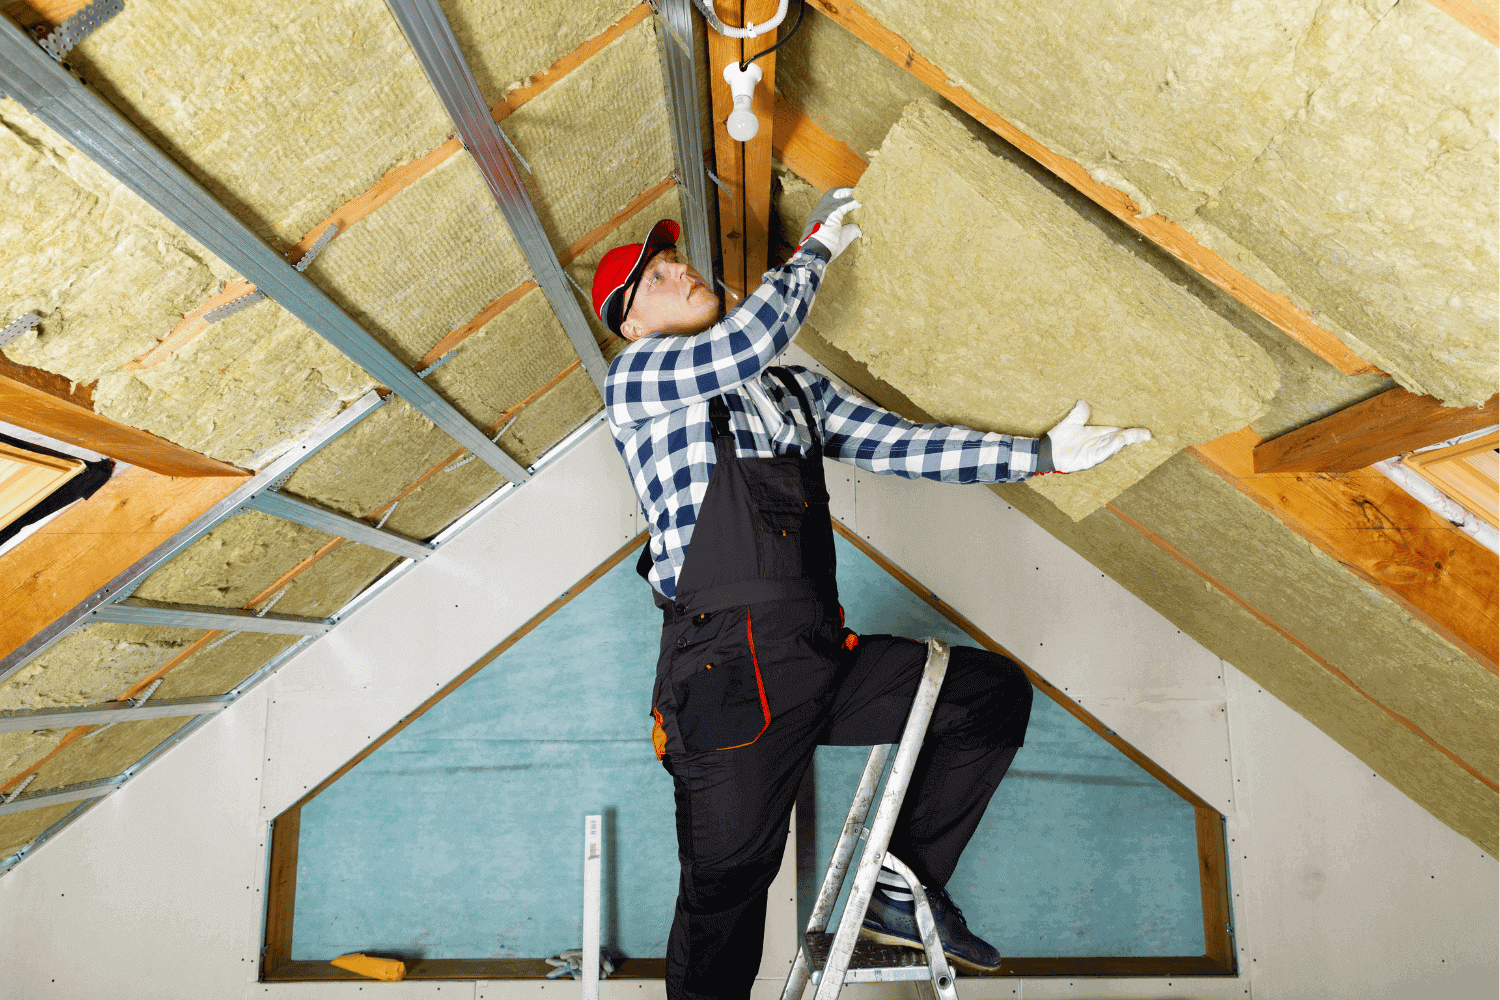
The importance of proper insulation in a home.

What is Home Insulation? A Comprehensive Guide

What is Home Insulation? A Comprehensive Guide

Home insulation reduces heat transfer, keeping your home comfortable year-round and saving energy. It acts as a barrier to heat flow, cutting utility bills by maintaining stable indoor temperatures. This guide covers what home insulation is, its types, benefits, and tips for choosing and installing the right insulation.

Key Takeaways

  • Home insulation acts as a thermal barrier, significantly improving energy efficiency and maintaining comfortable indoor temperatures by minimizing heat transfer.
  • Various insulation materials like fiberglass, foam, cellulose, and mineral wool offer unique benefits and applications; selecting the right type is crucial for maximizing insulation effectiveness.
  • Proper insulation reduces energy costs, enhances indoor air quality, and contributes to sustainability, making it essential for both comfort and energy efficiency in the home.

What is Home Insulation? A Comprehensive Guide

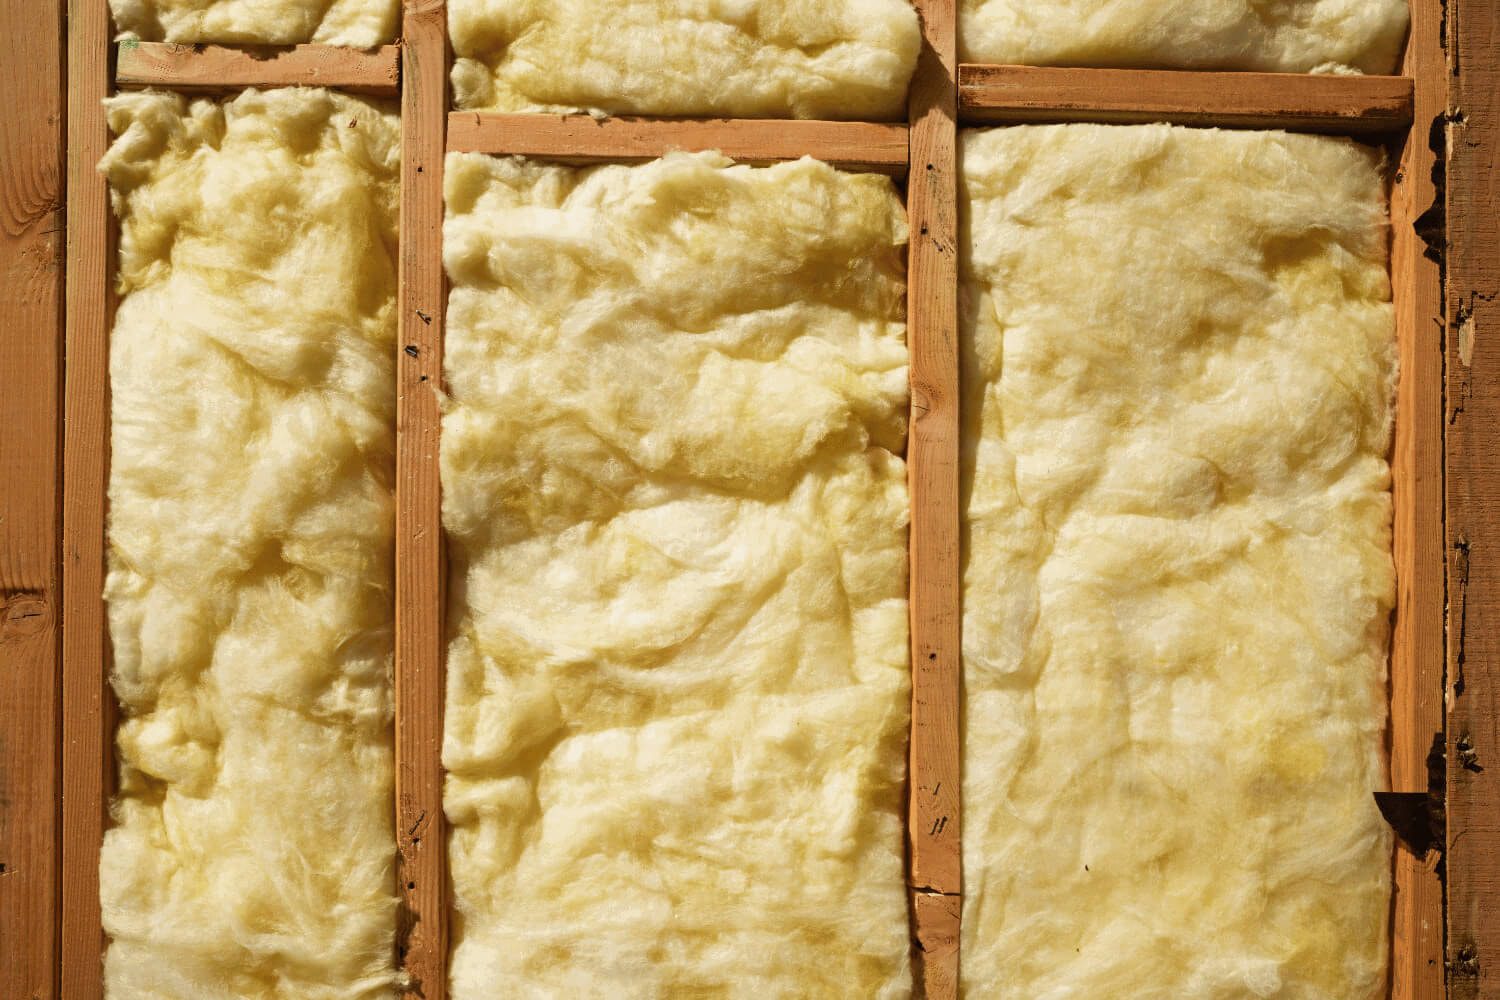
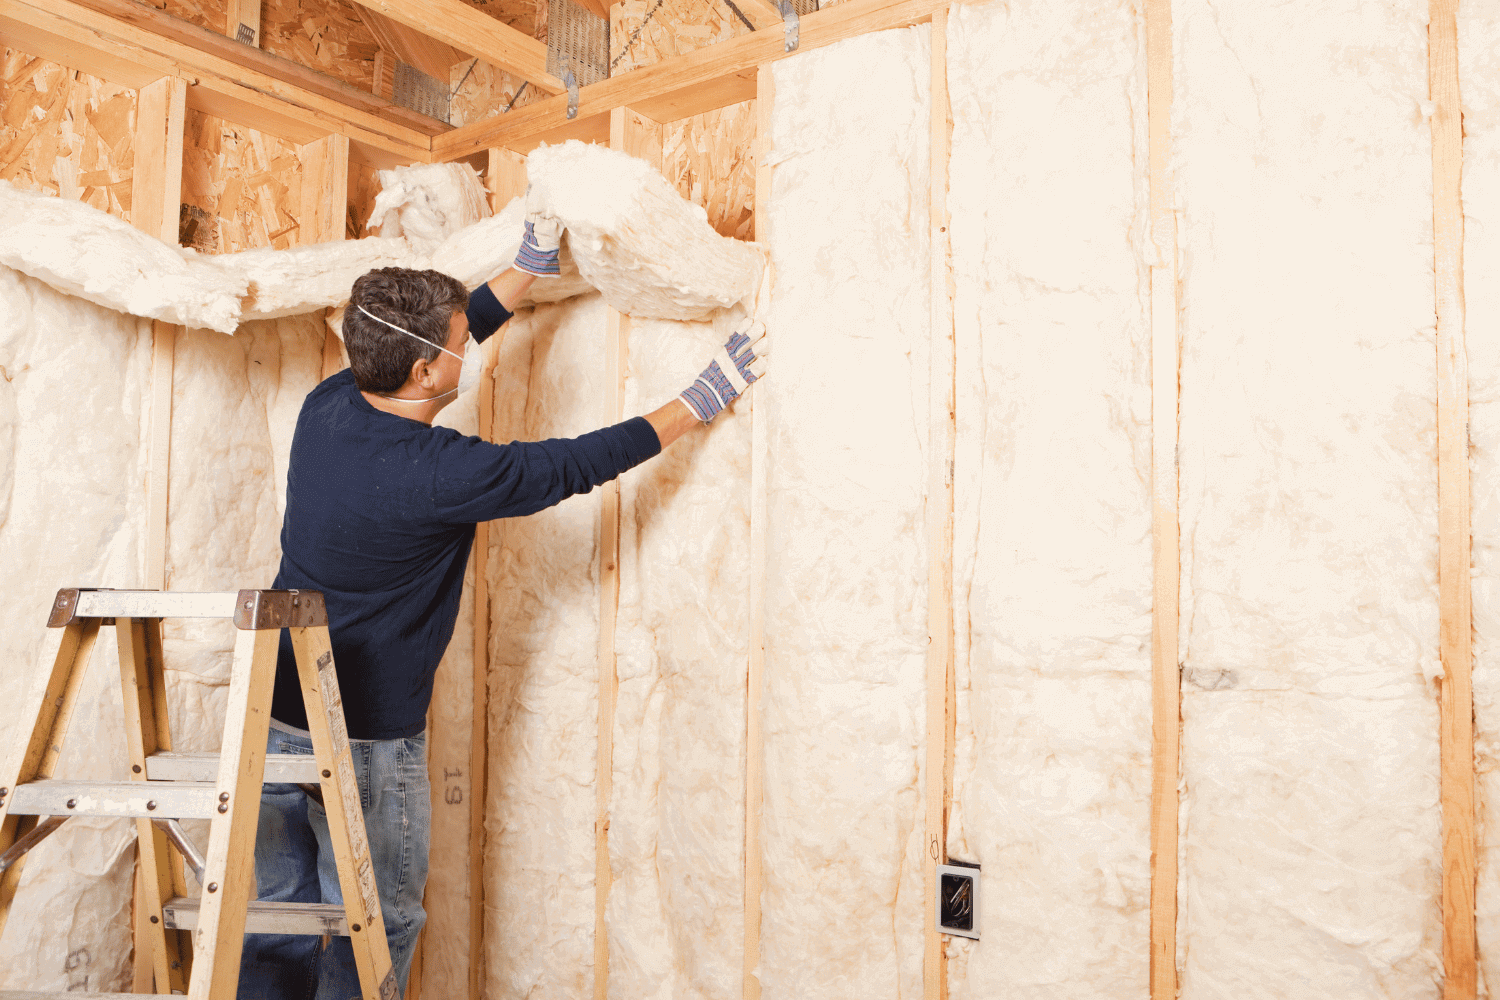
What is home insulation? An illustration showing various insulation materials.

Home insulation is a material designed to reduce heat loss or gain within buildings. This vital function ensures that your house insulation remains comfortable throughout the year, regardless of external weather conditions. Insulation minimizes energy consumption for heating and cooling, making it a cornerstone of energy-efficient living.

Insulation functions by forming small air cavities that reduce heat transfer. These air pockets slow down heat movement, improving your home’s thermal performance. This helps maintain a stable indoor temperature, easing the demand on heating and cooling systems.

Proper insulation offers numerous benefits beyond comfort, including lower energy bills, enhanced indoor air quality, and increased Home value.

Introduction

Home insulation is a term that encompasses a variety of materials and techniques used to reduce the transfer of heat into and out of a home. This process not only enhances energy efficiency but also significantly improves comfort levels for the occupants. The aim of this comprehensive guide is to provide you with an in-depth understanding of home insulation, covering its types, benefits, and installation processes.

This guide examines various insulation materials, their unique properties, and the key areas in your home that need insulation. By understanding these elements, you’ll be able to make informed decisions to improve your home’s energy efficiency and comfort.

Understanding Home Insulation

Insulation reduces heat loss or heat gain in buildings, acting as a thermal barrier that keeps heat out during hot weather and retains warmth during cold seasons. This is essential for maintaining a comfortable indoor environment year-round and enhancing energy efficiency by minimizing heat transfer.

Thermal insulation reduces heat transfer by creating small air cavities that slow heat flows. This lessens the need for a heating system and cooling, thereby lowering energy consumption.

Selecting the right insulation involves considering factors like the R-value, which indicates thermal resistance, and your home’s specific needs. Effective insulation minimizes energy consumption, enhances comfort, and maintains a stable indoor temperature, ensuring your home stays comfortable and efficient year-round.

Types of Home Insulation Materials

Types of insulation materials including fiberglass and foam insulation.

When it comes to home insulation, there is a wide array of materials available, each with unique properties and applications. These materials not only serve thermal purposes but can also provide acoustic, fire, and impact protection.

Common insulation materials include:

  • Fiberglass
  • Foam
  • Cellulose
  • Recycled denim
  • Cork
  • Mineral wool
  • Thermal insulation materials

These materials not only serve thermal purposes but can also provide acoustic, fire, and impact protection.

Selecting the appropriate insulation material depends on the areas you need to insulate and your priorities. Often, combining multiple insulation options can achieve better energy efficiency.

In the following subsections, we will delve into the characteristics and applications of some of the most commonly used insulation materials.

Fiberglass Insulation

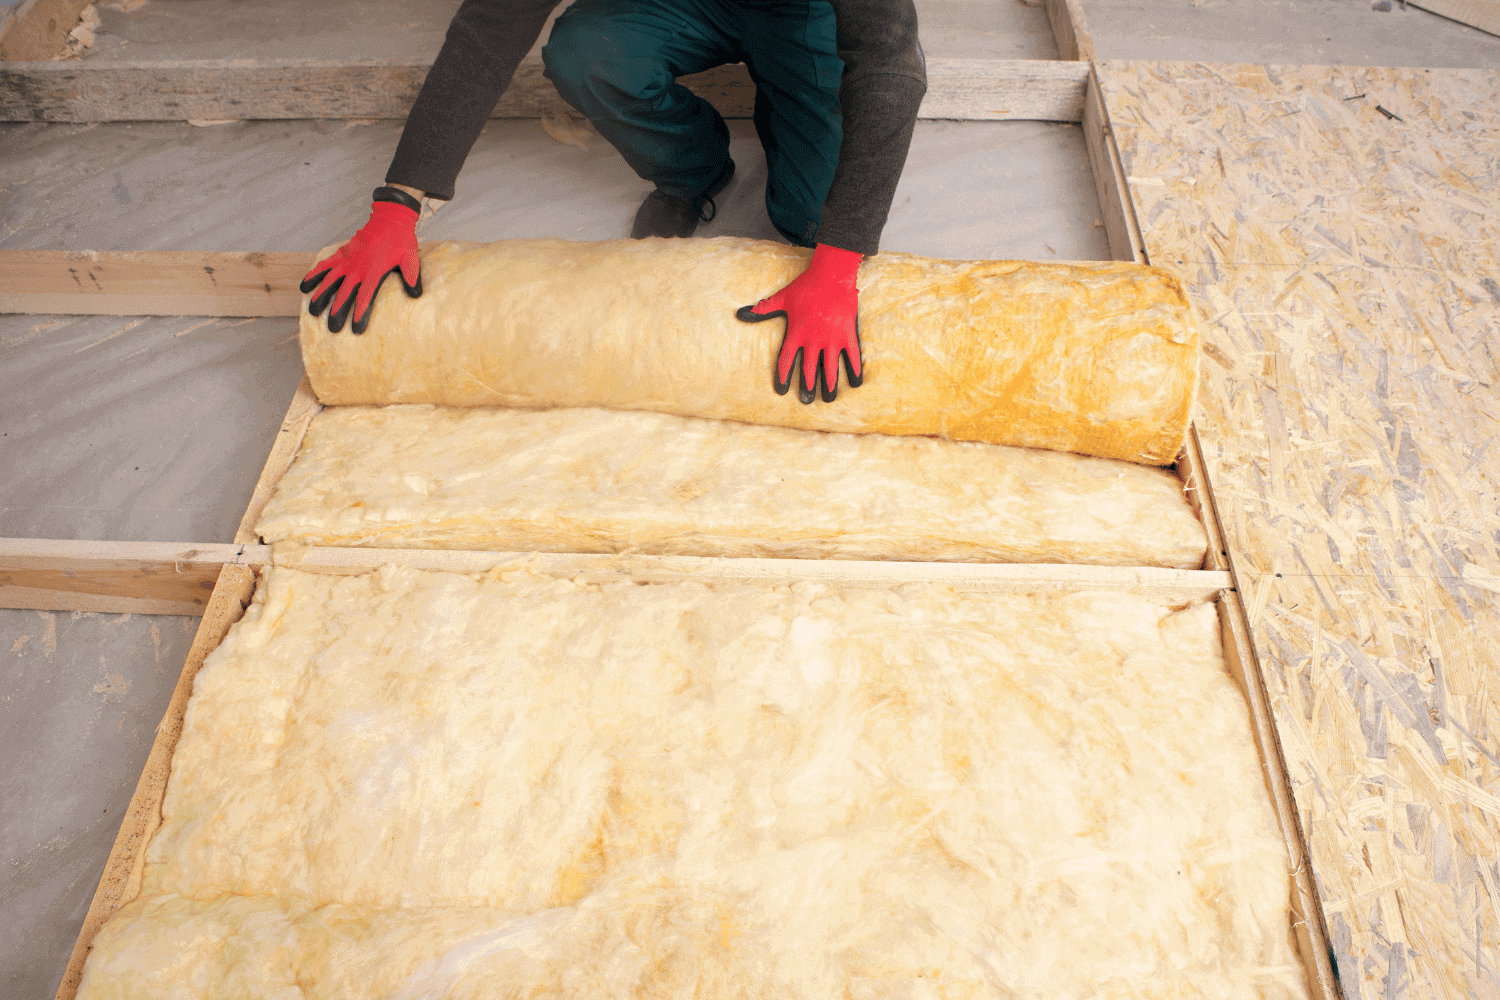
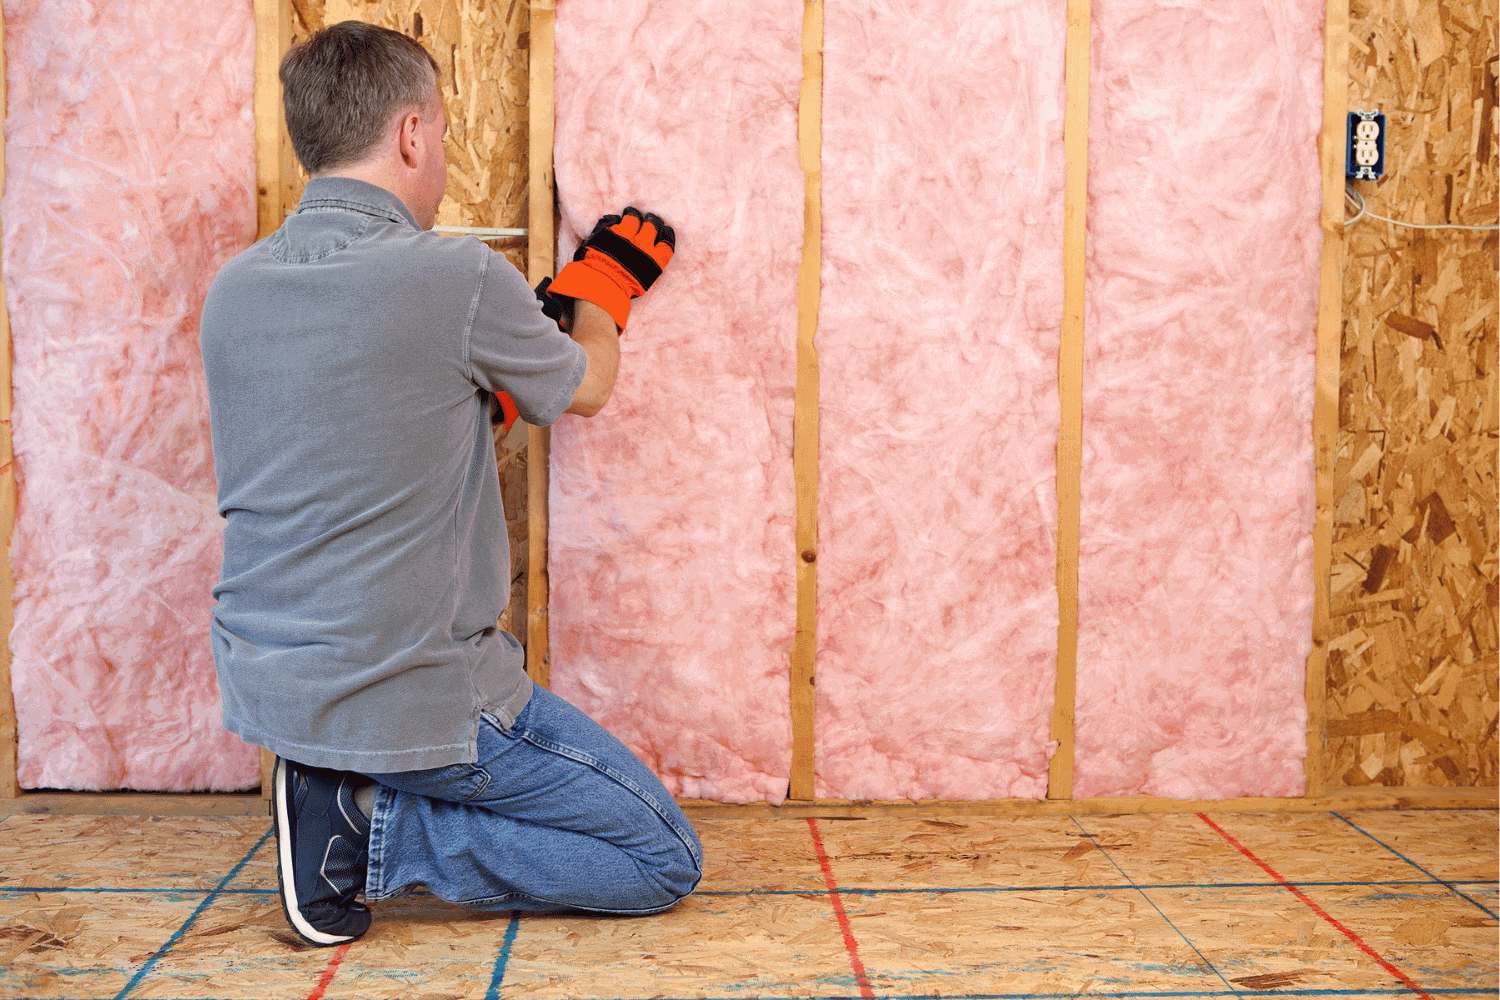
Fiberglass insulation is one of the most widely used insulation materials, known for its versatility and effectiveness. It is made of plastic reinforced by tiny glass fibers, which provide good thermal resistance. Fiberglass insulation is commonly available in batts, rolls, and loose-fill forms, making it suitable for a variety of applications, including attics and walls.

The installation process for fiberglass insulation typically involves cutting the material to fit, rolling it out, pushing it into the cavity, and fluffing it to ensure it fills the space completely. This insulating material is an excellent choice for homeowners looking to enhance their home’s energy efficiency and comfort.

Foam Insulation

Foam insulation, available in rigid foam and spray foam forms, offers substantial thermal resistance and is ideal for various applications. Spray foam insulation consists of water-blown and organic chemical compounds from petroleum extracts, making it a robust option for enclosed walls, unfinished attic floors, and open wall cavities.

Closed-cell foam insulation has a higher density and R-value compared to open-cell foam, making it more effective but also more expensive. Rigid foam boards, on the other hand, are typically used for insulating exterior walls, attics, and structural elements. These materials provide excellent thermal performance and contribute significantly to a home’s energy efficiency.

Cellulose Insulation

Cellulose insulation is made from 75-85% recycled paper fiber, treated with fire retardants for safety. This eco-friendly option is often more effective than fiberglass at reducing air leakage and maintaining heat retention. Cellulose insulation is available in loose-fill and blown-in forms, making it suitable for various applications, including enclosed existing walls and open new wall cavities.

The installation of cellulose insulation can involve techniques like blown-in, loose-fill, dense pack, and wet applied methods. This versatility makes cellulose insulation a popular choice for homeowners looking to improve their home’s thermal performance and sustainability.

Mineral Wool Insulation

Mineral wool insulation, commonly made from rock wool, is renowned for its fire resistance and soundproofing capabilities. This versatile insulation material provides excellent thermal performance, making it an ideal choice for enhancing energy efficiency in buildings.

Rock wool’s fire-resistant properties make it a safe option for various building applications. Additionally, its soundproofing abilities help reduce noise transmission, contributing to a quieter and more comfortable home environment.

The Importance of Proper Insulation

The importance of proper insulation in a home.

Proper insulation is crucial for maintaining a comfortable and energy-efficient home. It can lead to significant energy savings, often paying for itself within a year. Insulation keeps indoor temperatures stable, reducing the need for heating and cooling and lowering energy costs.

In addition to energy savings, proper insulation enhances indoor air quality by minimizing the entry of outdoor pollutants, which is particularly beneficial when insulating the attic. Investing in eco-friendly insulation options further contributes to a healthier environment and reduced energy consumption.

Beyond energy efficiency, effective insulation also improves home comfort by reducing external noise, controlling humidity, and preventing drafts. These benefits collectively enhance the overall living experience, making proper insulation an essential aspect of home improvement.

How Insulation Impacts Energy Efficiency

How insulation impacts energy efficiency.

Insulation acts as a radiant barrier to heat flow, effectively slowing down the movement of heat and maintaining a consistent indoor temperature. This thermal resistance helps reduce the workload on heating and cooling systems, enabling them to operate more efficiently and consume less energy.

Investing in proper insulation can lead to significant cost savings on energy bills, with potential reductions of 15% to 30%. In cold climates, adequate thermal insulation is essential to mitigate heat losses and ensure efficient energy use.

By enhancing your home’s energy efficiency, insulation not only saves money but also contributes to a more sustainable future.

Key Areas for Home Insulation

Insulating critical areas of your home is essential for maximizing energy efficiency. Key areas that require insulation include crawl spaces, attics, exterior walls, and basement walls. These areas are often the primary sources of heat loss and can significantly impact your home’s overall thermal performance.

Specific insulation recommendations vary based on the area’s needs and the type of insulation used. In the following subsections, we will explore the importance of insulating attics, walls, basements, and crawl spaces, along with the best practices for each.

Attic Insulation

Attic insulation is crucial for retaining heat within the living space below and preventing energy loss. Loose fill insulation and blown-in insulation are particularly effective for attics, as they can be applied to irregularly shaped spaces. Blown-in insulation is installed using special equipment that blows the insulation into the target cavity, ensuring comprehensive coverage.

Common issues with inadequate attic insulation include energy loss and difficulty maintaining comfortable temperatures within the home. By addressing these issues, attic insulation can significantly enhance your home’s energy efficiency and comfort.

Wall Insulation

Proper wall insulation is essential for minimizing heat transfer and enhancing thermal resistance in homes. Insulating exterior wall insulation prevents heat loss, reduces energy bills, and improves overall comfort. Blow-in insulation can be added to existing exterior walls with minimal disruption, making it a convenient option for homeowners.

Insulating both exterior and interior walls is vital for maintaining a consistent indoor temperature and reducing energy costs. Proper wall insulation leads to improved comfort and significant energy savings.

Basement and Crawl Space Insulation

Effective insulation in basements and crawl spaces helps maintain stable indoor temperatures and prevents moisture-related issues. Insulating these areas can prevent mold growth, protect the home from structural damage caused by dampness, and lower humidity levels.

In unventilated crawl spaces, insulating the foundation walls is often more effective than insulating the floor above. By addressing insulation in these areas, homeowners can enhance their home’s overall energy efficiency and comfort.

R-Value and Its Significance

The R-value measures an insulation material’s effectiveness in resisting heat flow, making it a crucial factor in selecting suitable insulation materials. Higher R-values indicate better thermal resistance, which translates to superior thermal performance and energy efficiency.

The effectiveness of insulation depends on factors like local climate and installation quality. Specific R-value recommendations vary by building type and location, ensuring that the insulation meets the specific needs of the home. Understanding R-values helps homeowners make informed decisions about their insulation choices.

DIY vs. Professional Installation

When it comes to home insulation, homeowners often face the dilemma of choosing between DIY and professional installation. While some insulation tasks can be tackled as DIY projects with proper research and planning, others may require professional expertise. DIY-friendly options include batts, rolls, and loose-fill materials, which can be relatively easy to install with the right tools and knowledge.

However, the DIY route is not without its challenges. Inexperienced DIYers may face safety risks due to improper handling of insulation materials without the right protective gear. Moreover, mistakes during installation can lead to higher long-term expenses, negating any initial cost savings.

For those unsure about their skills or the complexity of the project, hiring a professional can ensure high-quality installation and peace of mind.

Signs Your Home Needs More Insulation

Signs your home needs more insulation.

Recognizing the signs that your home needs more insulation is crucial for maintaining energy efficiency and comfort. Common indicators include high energy bills, cold surfaces, and drafts. Inconsistent room temperatures can also signal inadequate insulation, leading to discomfort and increased heating and cooling costs.

Additional indicators are cold walls and ceilings in winter, drafts around windows and doors, and ice dams on the roof. Promptly addressing these issues can improve thermal performance and lower energy costs.

Benefits of Upgrading Attic Insulation
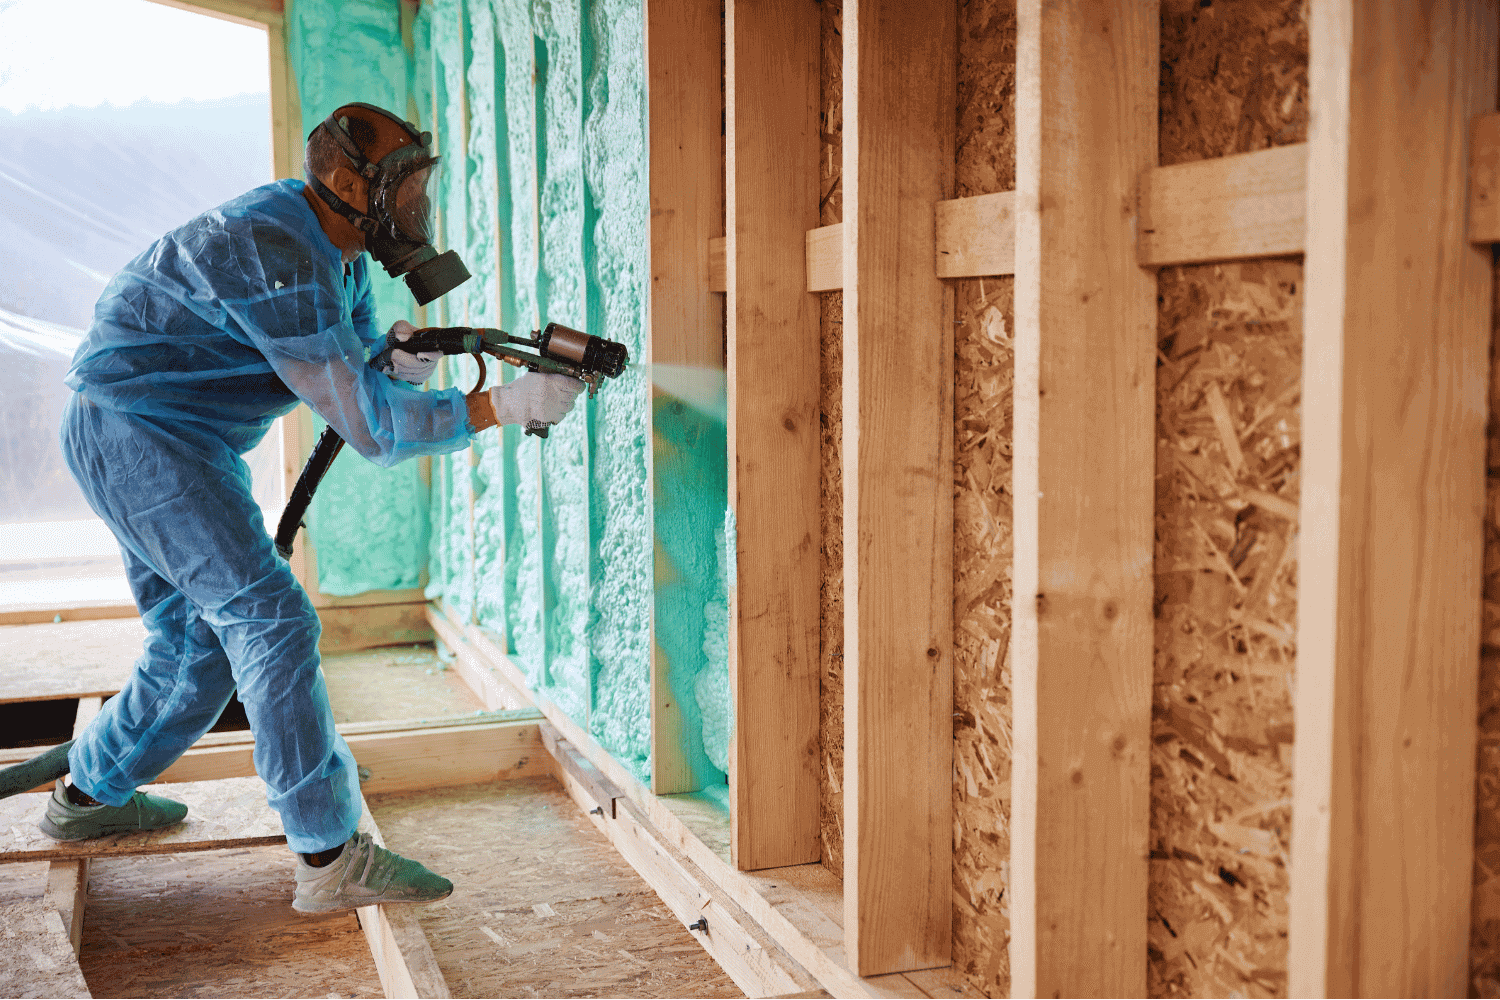
Upgrading attic insulation offers numerous benefits that extend beyond just energy savings. Improved insulation contributes to greater home comfort by stabilizing indoor temperatures and reducing drafts. By preventing heat loss or gain through the attic, homeowners can maintain a more consistent and comfortable living environment year-round.

Additionally, proper attic insulation can lower energy bills by trapping air and creating a barrier between the cold air in the attic and the warm air in the home. This not only reduces HVAC usage but also extends the lifespan of heating and cooling systems by reducing their workload.

Eco-Friendly Insulation Options

Eco-friendly insulation options are gaining popularity among homeowners seeking sustainable solutions. Historically, insulation materials included animal fur and natural fibers. Now, natural fiber insulation from renewable resources like cotton and hemp offers excellent thermal regulation and is chemical-free.

Eco-conscious insulation materials include recycled denim and sheep’s wool. Other examples are cork and cellulose. These materials not only reduce landfill waste but also perform comparably to traditional options.

Advancements in spray foam insulation have also led to eco-friendly formulations that utilize bio-based or recycled materials. By choosing eco-friendly insulation, homeowners can contribute to a healthier environment and enhance their home’s sustainability.

Summary

In summary, proper home insulation is a key component of energy-efficient living. By understanding the various types of insulation materials, their benefits, and installation methods, homeowners can make informed decisions to enhance their home’s comfort and energy efficiency. Whether opting for DIY or professional installation, the right insulation solutions can lead to significant energy savings and a more sustainable home. Consider upgrading your insulation today to enjoy a more comfortable and eco-friendly living environment.

Frequently Asked Questions

What are common signs that my home needs more insulation?

If you notice high energy bills, cold walls, drafts, or inconsistent temperatures, it’s a clear indication that your home may require additional insulation. Addressing these issues can enhance comfort and improve energy efficiency.

What is R-value, and why is it important?

R-value indicates how well insulation resists heat flow, with higher values signifying greater thermal resistance and energy efficiency. Understanding R-value is crucial for making informed decisions about insulation to enhance comfort and reduce energy costs.

Can I install insulation myself, or should I hire a professional?

Hiring a professional for insulation installation is recommended to ensure quality and safety, as they can avoid potential mistakes that may arise from a DIY approach.

What are some eco-friendly insulation options?

Eco-friendly insulation options include recycled denim, sheep’s wool, cork, cellulose, and sustainable spray foam. These materials not only provide effective insulation but also contribute to environmental sustainability.

How can upgrading attic insulation benefit my home?

Upgrading attic insulation significantly improves home comfort by stabilizing indoor temperatures and reducing energy bills, while also preventing problems like ice dams. This investment enhances overall energy efficiency for your home.

An overview of minimum roof slope for shingles, featuring various types of roofs

Minimum Roof Slope Shingles: Essential Guidelines You Need to Know

Minimum Roof Slope Shingles: Essential Guidelines You Need to Know

Wondering if your roof’s slope is suitable for shingles? This article covers everything you need to know about the minimum roof slope shingles required for optimal performance and durability. Follow these essential guidelines to help you avoid water damage and maintain a strong roof over your head.

Key Takeaways

  • Minimum roof slope is critical for effective shingle installation, with 2:12 as the common requirement for asphalt shingles, and slopes starting from 3:12 recommended for best performance.
  • Proper measurement of roof slope is essential; using tools like tape measures and pitch estimator cards helps ensure compliance with building codes and prevents water damage.
  • Choosing the right roofing system based on slope is vital, with low slopes often requiring alternative materials like TPO membranes and adherence to local building codes to maintain integrity.

Understanding Minimum Roof Slope for Shingles

An overview of minimum roof slope for shingles, featuring various types of roofs

The minimum roof slope is crucial for effective shingle installation. It refers to the lowest angle at which shingles can function properly, typically described using a rise-over-run ratio. Grasping this concept goes beyond technical compliance; it protects your home from water damage and ensures the longevity of your roofing materials.

Asphalt shingles, popular in North America for their resilience and ease of installation, are influenced by roof slope. The aesthetic and functional aspects of a roof depend significantly on its slope. Knowing the minimum slope requirements for different shingles can prevent future issues.

What is Minimum Roof Slope?

Minimum roof slope is the lowest angle at which shingles can perform effectively, measured using a rise-over-run ratio. This slope is determined by dividing the inches of vertical rise by the horizontal run, usually over 12 inches. This ratio ensures your roofing materials function optimally, maintaining proper drainage and durability, especially when considering the normal roof slope.

For example, a minimum roof pitch for asphalt shingles generally cannot be installed on low slope or flat roofs. Different roof slopes have different applications and limitations; understanding these can help in making better decisions about roofing materials and installation methods.

Importance of Minimum Roof Slope

Meeting minimum roof slope requirements helps prevent water damage and ensures the longevity of asphalt shingles. Proper roof slope ensures effective drainage, minimizing the risk of leaks and structural damage. Adhering to these specifications is essential for the effectiveness of your roofing system.

Not meeting these requirements can lead to water pooling, significantly increasing the risk of leaks and structural issues. The roof pitch impacts safety and durability by influencing how well it handles precipitation. Understanding and adhering to minimum slope requirements is a critical aspect of roofing design and maintenance.

Common Minimum Slope Requirements

The common minimum slope requirement for asphalt shingles is 2:12 for effective water drainage. While some adhesive-backed shingles can be installed on slopes as low as 2:12, generally, asphalt shingles are recommended for slopes starting from 3:12, with additional protection like an ice and water shield.

Asphalt shingles can be used on slopes as steep as 21:12, with necessary special asphalt shingle installation methods to ensure their effectiveness. Local building codes often mandate specific minimum pitch requirements to ensure safety and product performance, making it crucial to check these standards before you install asphalt shingles.

Measuring Roof Slope

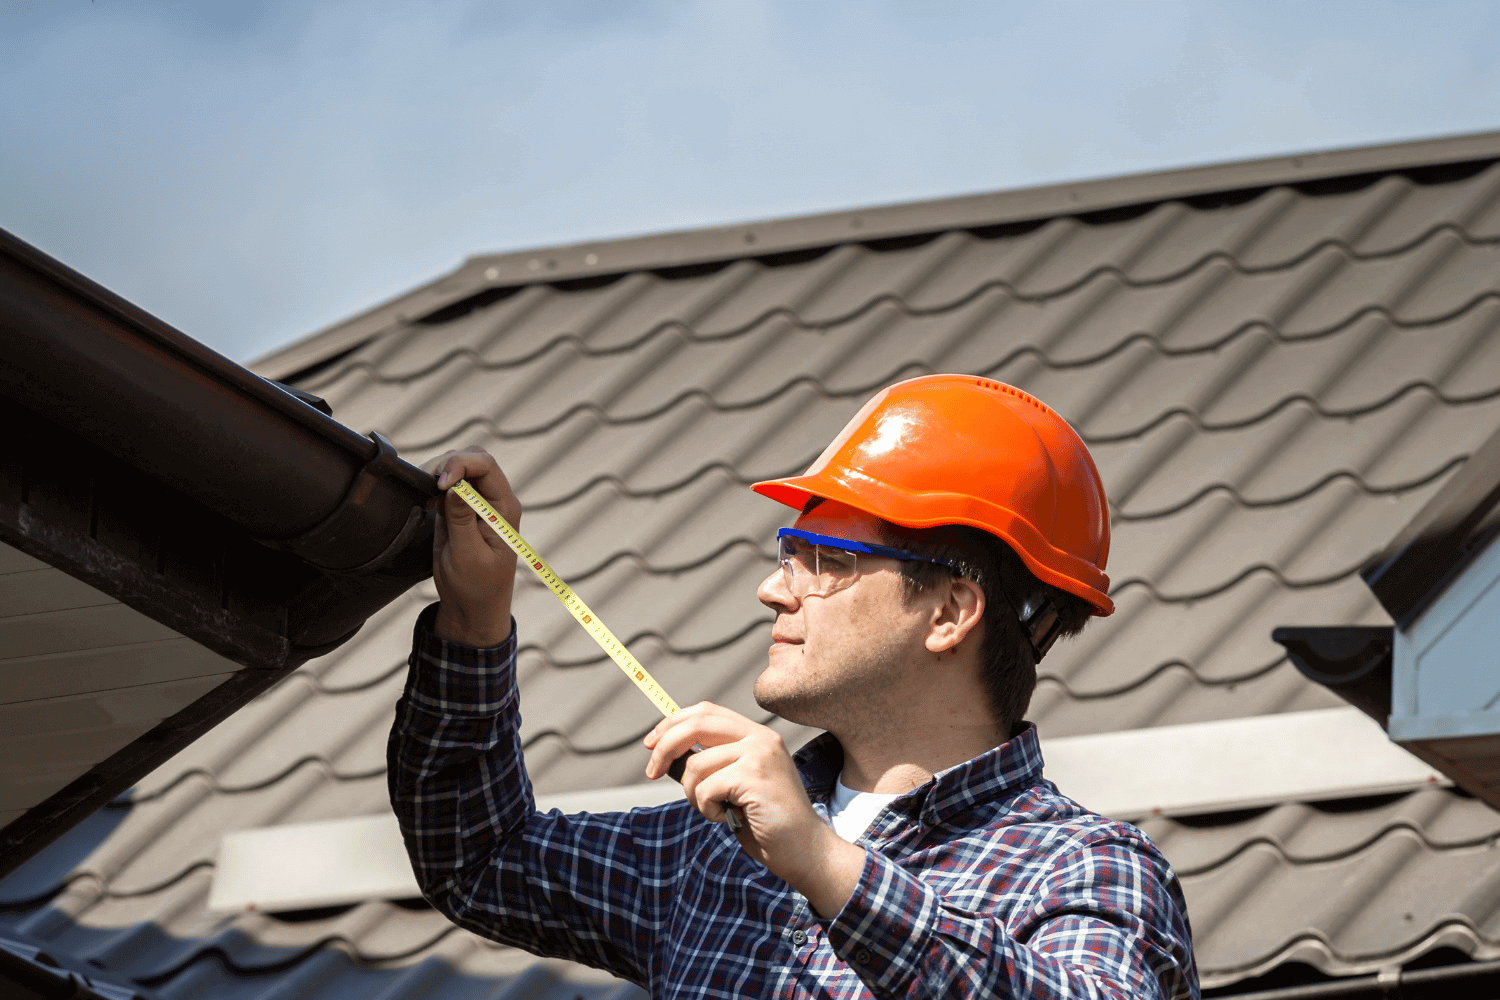
A person measuring the roof slope with a tool, demonstrating the process of measuring roof slope

Accurately measure the roof slope to ensure a successful roofing project. This process involves specific tools and a methodical approach to obtain precise measurements, crucial for proper shingle installation and preventing potential water damage.

Incorrect measurements can lead to improper installation, causing long-term issues that could have been easily avoided.

Tools Needed for Measurement

You’ll need essential tools to measure roof slope accurately, such as tape measures, pitch estimator cards, and smartphone applications. Tape measures ensure precise distance and rise measurements, while pitch estimator cards offer quick and accurate slope calculations.

Using these tools ensures compliance with minimum slope requirements and helps in preventing future roofing issues.

Step-by-Step Guide to Measure Roof Slope

Gather your tools: a level, pencil, ladder, and a flat surface device. A pitch locator can also be useful for accurately determining roof slope.

Mark a point on the roof and measure the vertical rise from this point to the roof rafter. Express this as a ratio over a 12-inch run. This method provides a clear and precise measurement of the roof slope, ensuring you meet the required minimum slope for your materials.

Best Practices for Low Slope Roofs

Best practices for low slope roofs, showing proper installation techniques with asphalt shingles

Low slope roofs require specialized techniques to ensure shingle performance. Most asphalt shingle manufacturers recommend a minimum slope of 3:12 to prevent water pooling.

Alternative materials and building code compliance are also important for low slope roof installations.

Special Techniques for Low Slope Installation

Special installation techniques are needed for low slope roofs to prevent water damage. Applying a double layer of underlayment is a common method to safeguard against water penetration, acting as a barrier against seepage and damage.

Poor drainage on low slope roofs can cause premature deterioration and structural damage from water pooling. Taking these precautions during installation is vital for the longevity and effectiveness of the shingle roof.

Alternative Materials for Low Slopes

For very low slope roofs, where asphalt shingles may fail, TPO membranes are a recommended alternative. These materials offer a durable and watertight solution, especially in heavy rainfall or snow-prone areas.

Selecting the right roofing material involves considering budget, climate, and personal style preferences.

Building Code Compliance

Adhering to local building codes is crucial for roof integrity. These codes often mandate specific minimum roof pitch requirements for safe and effective shingle installation. Compliance safeguards your investment and ensures the safety and durability of your roofing system.

Consequences of Insufficient Roof Slope

Consequences of insufficient roof slope, illustrating water pooling on a flat roof

Not meeting the minimum roof slope requirements can lead to poor water drainage and increased likelihood of leaks. These problems can escalate into severe structural damage, affecting your home’s stability and safety.

Water Damage Risks

Insufficient roof slope can cause slow water drainage, increasing the risk of lateral water movement and moisture penetration. This can lead to severe water damage, impacting both the roofing materials and underlying structure, especially in low sloped roofs.

Meeting minimum slope requirements protects your investment and ensures the safety and comfort of your family.

Warranty Voids

One less obvious consequence of not meeting minimum slope requirements is the potential voiding of roofing warranties. Manufacturers set these guidelines to ensure product performance, and not adhering to them can nullify your warranty.

This leaves homeowners vulnerable to significant out-of-pocket repair expenses.

Choosing the Right Roofing System for Your Slope

Different roofing systems suitable for various slopes, featuring asphalt shingles and metal roofing

Selecting the appropriate roofing system based on your roof’s slope ensures durability and functionality. Different slopes require different materials, and understanding these nuances aids in making an informed decision.

Asphalt Shingles for Steeper Slopes

Asphalt shingles are ideal for steeper roof slopes, typically starting at 4:12. This asphalt shingle roof slope ensures proper water drainage and longevity.

Selecting the right roofing system based on slope is vital for effective performance and durability.

Membrane Roofing for Flat Roofs

For flat and very low slope roofs, membrane roofing systems like TPO and EPDM are highly recommended. These materials offer a durable and watertight solution, ideal for pitches up to 3:12.

However, stagnant water on low slope roofs can cause insulation damage and reduced thermal efficiency.

Metal Roofing Options

Standing seam metal roofs offer excellent weather resistance and longevity, suitable for various roof slopes. These roofs are more expensive but can last up to 50 years with proper installation and ventilation.

They also offer better aesthetics and more color options compared to membrane roofs.

Summary

Understanding and adhering to minimum roof slope requirements is crucial for the longevity and effectiveness of your roofing system. Having outlined the importance of proper slope measurement, the common minimum slope requirements for asphalt shingles, and the risks associated with insufficient slope, we hope you feel confident ensuring your roof remains durable and leak-free!

Frequently Asked Questions

What is the minimum roof slope for asphalt shingles?

The minimum roof slope for asphalt shingles is 2:12, although a slope of 3:12 with added protection is advisable for better performance.

Why is measuring roof slope important?

Measuring roof slope is vital for ensuring effective shingle installation and preventing water damage. Accurate slope measurements help maintain the roof’s integrity and functionality.

What are the risks of not meeting minimum roof slope requirements?

Not meeting minimum roof slope requirements poses significant risks, including water pooling, leaks, potential structural damage, and the possibility of voiding warranties. Ensuring proper slope is essential for the longevity and integrity of your roofing system.

What materials are recommended for low slope roofs?

TPO membranes are highly recommended for low slope roofs, as they provide excellent performance compared to asphalt shingles. Their durability makes them an ideal choice for these applications.

How does roof slope affect warranty coverage?

Roof slope significantly impacts warranty coverage, as failing to meet minimum slope requirements can result in voided warranties and expose homeowners to costly repairs.

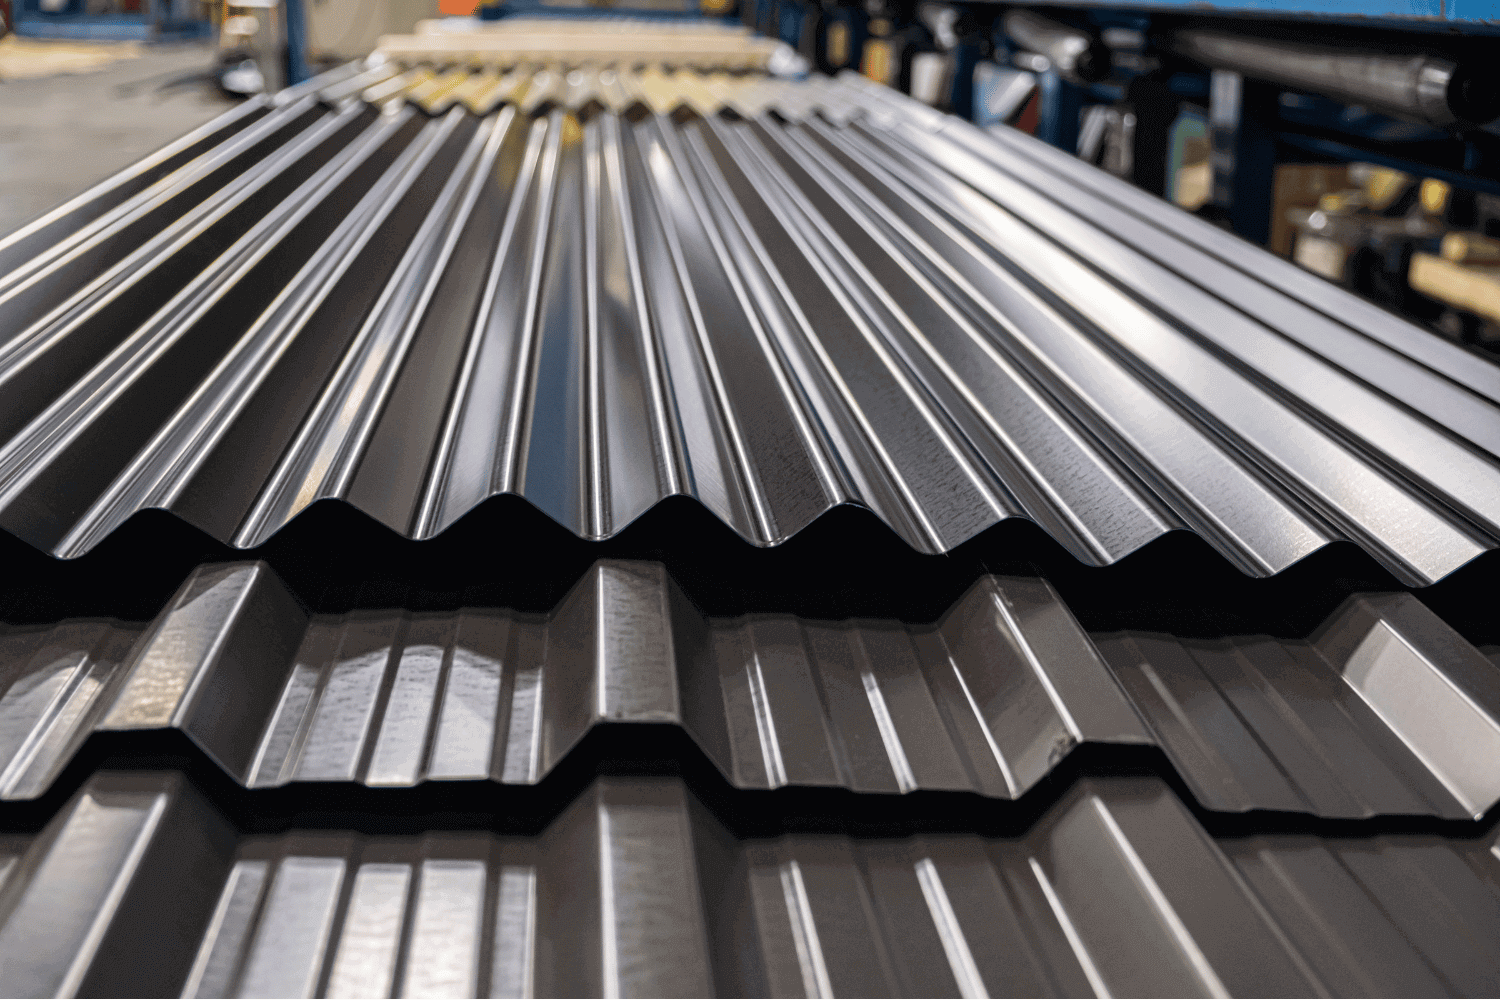
An image depicting corrugated metal roofing panels in various colors and textures

Standing Seam Metal Roof vs Corrugated: Which is Right for You?

Standing Seam Metal Roof vs Corrugated: Which is Right for You?

Deciding between a standing seam metal roof vs corrugated metal roof? This article compares their durability, cost, and style to help you choose the best option for your home.

Key Takeaways

  • Metal roofing, including standing seam and corrugated options, offers exceptional durability, energy efficiency, and lower maintenance costs over time.
  • Standing seam roofs provide superior leak resistance and longevity, making them ideal for severe weather conditions, while corrugated roofs are more affordable but may require more frequent maintenance.
  • Choosing between the two involves considering factors such as budget, climate, aesthetic preferences, and installation complexity, with standing seam roofs being suitable for modern designs and corrugated roofs appealing to cost-conscious homeowners.

Why Choose Metal Roofing?

An image comparing standing seam metal roofs and corrugated metal roofs

Metal roofing is increasingly popular due to its unique benefits and a variety of styles, including standing seam and corrugated options. One of the most compelling reasons to choose a metal roof is its exceptional durability. Unlike traditional roofing materials such as asphalt shingles, metal roofs can last over 50 years with proper maintenance. This longevity translates to long-term value for homeowners, as it reduces the need for frequent replacements and lowers overall maintenance costs.

Another significant benefit is energy efficiency. Metal roofs reflect sunlight, which helps keep buildings cooler and reduces heating and cooling costs. This reflective quality makes metal roofing an environmentally friendly choice, as it can significantly cut down on your home’s energy consumption.

With better warranties and lower maintenance needs compared to traditional roofing materials, investing in a metal roof offers substantial long-term value.

Understanding Standing Seam Metal Roofs

Standing seam metal roofs are characterized by their interlocking metal panels that form a continuous seal, providing superior protection against varying weather conditions. These roofs feature a unique design with raised seams that not only enhance their aesthetic appeal but also improve leak resistance. The interlocking seams prevent water accumulation and allow the standing seam panels to expand and contract with temperature changes, ensuring long-term durability. A standing seam metal roof offers these benefits effectively.

Additionally, many standing seam roofing materials are made from recycled products, making them an environmentally friendly option.

Seam Design

The seam design of standing seam metal roofs is a distinctive characteristic. It sets them apart from other roofing options. These roofs boast raised seams that interlock tightly, providing a sleek, modern appearance and excellent leak resistance. This design is particularly effective in areas with heavy rainfall, as it prevents water accumulation and enhances the roof’s overall integrity.

The ability of the panels to expand and contract freely without compromising their structural integrity is another significant advantage.

Durability and Longevity

When it comes to durability, standing seam metal roofs are hard to beat. These roofs can last 75 years or longer with proper maintenance, far surpassing the lifespan of traditional roofing materials like asphalt shingles. The concealed fasteners reduce wear and tear, ensuring the roof remains intact even under severe weather conditions.

They are designed to withstand category 4 hurricane-force winds and other harsh weather, making them a reliable choice for any climate.

Energy Efficiency

Standing seam metal roofs are also highly energy efficient. Their reflective coatings reduce heat absorption, significantly lowering indoor temperatures during hot weather. These roofs reflect the majority of sunlight, which helps reduce energy costs and makes them ideal for energy-efficient homes.

The raised seams create an airspace that acts as an additional barrier against heat transfer, further enhancing their energy efficiency.

Installation and Cost

The installation process for standing seam metal roofs is complex and requires professional expertise. Due to their intricate design, precision is key, and hiring a professional roofing contractor is essential to ensure a proper installation.

While the initial installation costs may be higher compared to other roofing options, the long-term benefits and reduced maintenance needs can make it a cost-effective option in the long run.

Exploring Corrugated Metal Roofing

An image depicting corrugated metal roofing panels in various colors and textures

Corrugated metal roofing is known for its wavy or rippled profile, a design that has been a staple in commercial, agricultural, and non-residential settings for years. The alternating curved and wavy ribs provide not only structural strength but also a unique aesthetic. Additionally, a corrugated metal roof offers durability and longevity.

This type of roofing is particularly favored for its cost-effectiveness, making it an attractive option for many homeowners and businesses looking to balance functionality with budget constraints.

Affordability

One of the most significant advantages of corrugated metal roofing is its affordability. The lower material and installation costs make it a budget-friendly option for homeowners. Despite being cost-effective, corrugated metal roofs do not compromise on aesthetic flexibility, allowing homeowners to achieve a desired look without breaking the bank.

Ease of Installation

Corrugated metal roofing is notably easy to install, which makes it a viable option for DIY enthusiasts as well as professional contractors. The lightweight nature of corrugated metal panels simplifies the installation process, leading to quicker and more efficient setups.

Moreover, the design helps resist oil canning, adding stiffness and enhancing the roof’s overall durability.

Maintenance Requirements

However, maintenance requirements for corrugated roofs are higher due to the exposure of fasteners. Improperly installed fasteners can lead to significant leak vulnerabilities, necessitating regular checks and occasional recoating to maintain the roof’s integrity.

Key Differences Between Standing Seam and Corrugated Metal Roofs

An image showing various factors to consider when choosing metal roofing

While both standing seam and corrugated metal roofs offer durability and aesthetic appeal, there are critical differences to consider. Standing seam roofs typically have a higher initial cost due to their complex design and premium materials, whereas corrugated metal roofing is more affordable and easier to install.

Additionally, standing seam roofs are designed to endure severe weather conditions with minimal maintenance, while corrugated roofs may require more frequent upkeep due to exposed fasteners.

Aesthetic Appeal

From an aesthetic standpoint, standing seam roofs are often favored for their sleek, clean design, featuring vertical seams that create a modern and sophisticated look. Corrugated metal roofs offer a traditional, rustic charm with their wavy profiles and exposed fasteners.

Both styles have their unique appeal, catering to different aesthetic preferences and architectural styles.

Weather Resistance

In terms of weather resistance, standing seam roofs excel due to their concealed fasteners, which effectively prevent water penetration and leaks. Corrugated roofs, on the other hand, are more susceptible to leaks because of their exposed fasteners, making them less reliable in severe weather conditions.

They are rigorously tested for air leakage and water penetration, ensuring superior weather resistance.

Suitability for Different Roof Slopes

Standing seam roofs are versatile and can be installed on lower slopes with a minimum requirement of 1:12 pitch, making them suitable for a variety of architectural designs. This flexibility allows homeowners to choose standing seam roofing for both steep and less steep roof slopes, enhancing their applicability across different building styles.

Factors to Consider When Choosing Your Metal Roof

An image showing various factors to consider when choosing metal roofing

Choosing between standing seam and corrugated metal roofs involves considering several factors such as aesthetic preferences, budget, climate, and installation preferences. Each roofing type has its unique advantages and disadvantages, and understanding these can help you make a decision that aligns with your needs and circumstances.

Budget Constraints

Budget is often a primary consideration when choosing a roofing material. Standing seam metal roofs generally have a higher upfront cost due to the premium materials and specialized installation process they require. They can cost up to twice as much as corrugated metal roofs. This significant initial investment should be weighed against the long-term benefits and reduced maintenance costs standing seam roofs offer.

Climate Considerations

Climate plays a crucial role in determining the suitability of your roofing material. Standing seam roofs are highly effective in regions with severe weather, offering enhanced protection against leaks and damage.

In milder climates, corrugated metal roofs can be an adequate and more cost-effective choice. They are suitable for environments where extreme weather resistance is not a primary concern.

Installation Preferences

Your installation preferences will significantly influence your choice of roofing. Standing seam metal roofs require a complicated, labor-intensive installation process that necessitates professional expertise.

On the other hand, corrugated metal roofs are easier to install, making them more suitable for DIY projects or quicker professional installations.

Advantages and Disadvantages of Each Roofing Type

An image depicting the advantages and disadvantages of standing seam and corrugated metal roofing

Understanding the pros and cons of standing seam and corrugated metal roofing can help you make an informed decision. Metal roofs generally require lower maintenance compared to traditional roofing, and they often come with long warranties, ranging from 30 to 50 years. Understanding the advantages and disadvantages of each type will help you select the best roofing option for your needs.

Pros of Standing Seam Metal Roofs

Standing seam metal roofs are renowned for their long-term durability, often lasting over 50 years with proper maintenance. They are considered a good investment due to their longevity, energy efficiency, and modern aesthetic appeal.

The sleek lines and flat panels of standing seam roofs enhance the visual appeal of homes, while their design allows for excellent energy efficiency by reflecting sunlight and reducing heat absorption.

Cons of Standing Seam Metal Roofs

However, standing seam metal roofs come with a higher initial cost compared to other roofing options. They can be two to three times more expensive than corrugated metal roofs, which is a significant financial commitment. Additionally, the installation process is complex and labor-intensive, requiring skilled labor and specialized equipment.

Pros of Corrugated Metal Roofing

Corrugated metal roofing offers significant advantages, including affordability, ease of installation, and a traditional aesthetic. Its lower material and installation costs make it a popular choice among budget-conscious homeowners.

The ease of installation allows for quicker setups, making corrugated roofs suitable for DIY projects or professional installations that need to be completed swiftly.

Cons of Corrugated Metal Roofing

On the downside, corrugated metal roofs have multiple exposed fasteners, which can lead to potential leak risks. They are more prone to leaks and require higher maintenance due to the exposed fasteners. Regular maintenance, including general upkeep every 15 years, is necessary to maintain the integrity of corrugated metal roofs, especially in extreme weather conditions.

Making Your Decision

Choosing the right roofing option involves considering various factors, including budget, climate, and installation preferences. Reputable roofing services like Skywalker Roofing, known for their high-quality custom metal roofs, can ensure a successful installation and long-term satisfaction. Evaluating the reputation and services of different roofing companies can also play a crucial role in your decision-making process.

Ideal Scenarios for Standing Seam Roofs

Standing seam roofs are particularly well-suited for structures with complex rooflines and contemporary architectural styles. These roofs provide excellent performance and aesthetics in specific architectural scenarios, making them a preferred choice for homeowners seeking a modern and durable standing seam roof solution.

Ideal Scenarios for Corrugated Roofs

Corrugated metal roofing is recommended for budget-conscious homeowners looking for a cost-effective option. Its affordability and simpler installation process make it suitable for DIY projects or quicker professional installations.

Additionally, its traditional charm appeals to those who prefer a rustic aesthetic, despite the higher maintenance needs due to exposed fasteners.

Summary

In summary, both standing seam metal roofs and corrugated metal roofs offer unique advantages and challenges. Standing seam roofs provide superior durability, energy efficiency, and a modern aesthetic, making them ideal for areas with severe weather. On the other hand, corrugated metal roofs are more affordable and easier to install, making them a practical choice for budget-conscious homeowners. By considering your budget, climate, and aesthetic preferences, you can make an informed decision that will enhance the longevity and appeal of your home.

Frequently Asked Questions

What are the main differences between standing seam and corrugated metal roofs?

Standing seam roofs feature concealed fasteners and a sleek design, making them more modern, whereas corrugated roofs have exposed fasteners and a wavy profile that reflects a more traditional aesthetic.

Which type of metal roofing is more affordable?

Corrugated metal roofing is typically the more affordable option, offering lower material and installation costs compared to other types of metal roofing.

Are standing seam roofs better for severe weather conditions?

Absolutely, standing seam roofs excel in severe weather due to their superior leak resistance and durability. This design helps ensure longevity and reliability in challenging conditions.

Can I install corrugated metal roofing myself?

Yes, you can install corrugated metal roofing yourself, as it is designed for ease of installation and is suitable for DIY projects.

How long can a standing seam metal roof last?

A standing seam metal roof can last 75 years or more with proper maintenance. Investing in this type of roofing ensures long-term durability.

An image of the preparation process for roof panels before ridge cap installation

Best Practices: Installing Ridge Cap for Corrugated Metal Roof

Best Practices: Installing Ridge Cap for Corrugated Metal Roof

Wondering how to install a Ridge Cap for Corrugated Metal Roof? A ridge cap seals the roof peak, prevents leaks, and boosts longevity. This guide covers everything you need to know for an effective installation.

Key Takeaways

  • Ridge caps are essential for protecting corrugated metal roofs from weather elements and preventing leaks, with options for vented and non-vented types based on airflow needs.
  • Cost factors for ridge caps include material type, gauge, and project size, with average prices ranging from $2.00 to $3.50 per lineal foot, affecting budgeting decisions.
  • Proper installation techniques, including alignment, marking with a chalk line, and securing with foam closures, are crucial for ensuring a watertight and aesthetically pleasing finish in metal roofing.

Understanding Ridge Caps for Corrugated Metal Roofs

An image showing different types of ridge caps for corrugated metal roofs

Ridge caps are the final pieces of trim placed at the peak where two roof slopes meet, acting as a protective barrier against weather elements like rain and wind. They are essential for the durability and longevity of your metal roofing, as they shield the ridge, which is the most vulnerable part of the roof. A properly installed ridge cap keeps your roofing system watertight and secure, preventing leaks and potential damage.

There are two main types of ridge caps: vented and non-vented. A vented ridge cap, such as those that use ProfileVent®, allows for better airflow, reducing moisture buildup and promoting a healthier roofing system. In contrast, non-vented ridge caps focus solely on sealing the peak without providing additional ventilation. Understanding the differences between these types will help you choose the right ridge cap for your specific roofing needs.

Cost Factors of Ridge Caps for Metal Roofing

Cost is a significant consideration when planning to install a metal roofing ridge cap. Prices vary based on the type of metal used, with steel options like galvanized or galvalume ranging from $1.50 to $3.50 per square foot. Additionally, the gauge of the metal affects pricing; heavier gauges such as 24 gauge can be up to 40% more expensive than lighter gauges like 26 gauge. Paint finishes also play a role, with high-quality PVDF coatings typically costing 30% to 40% more than standard SMP finishes.
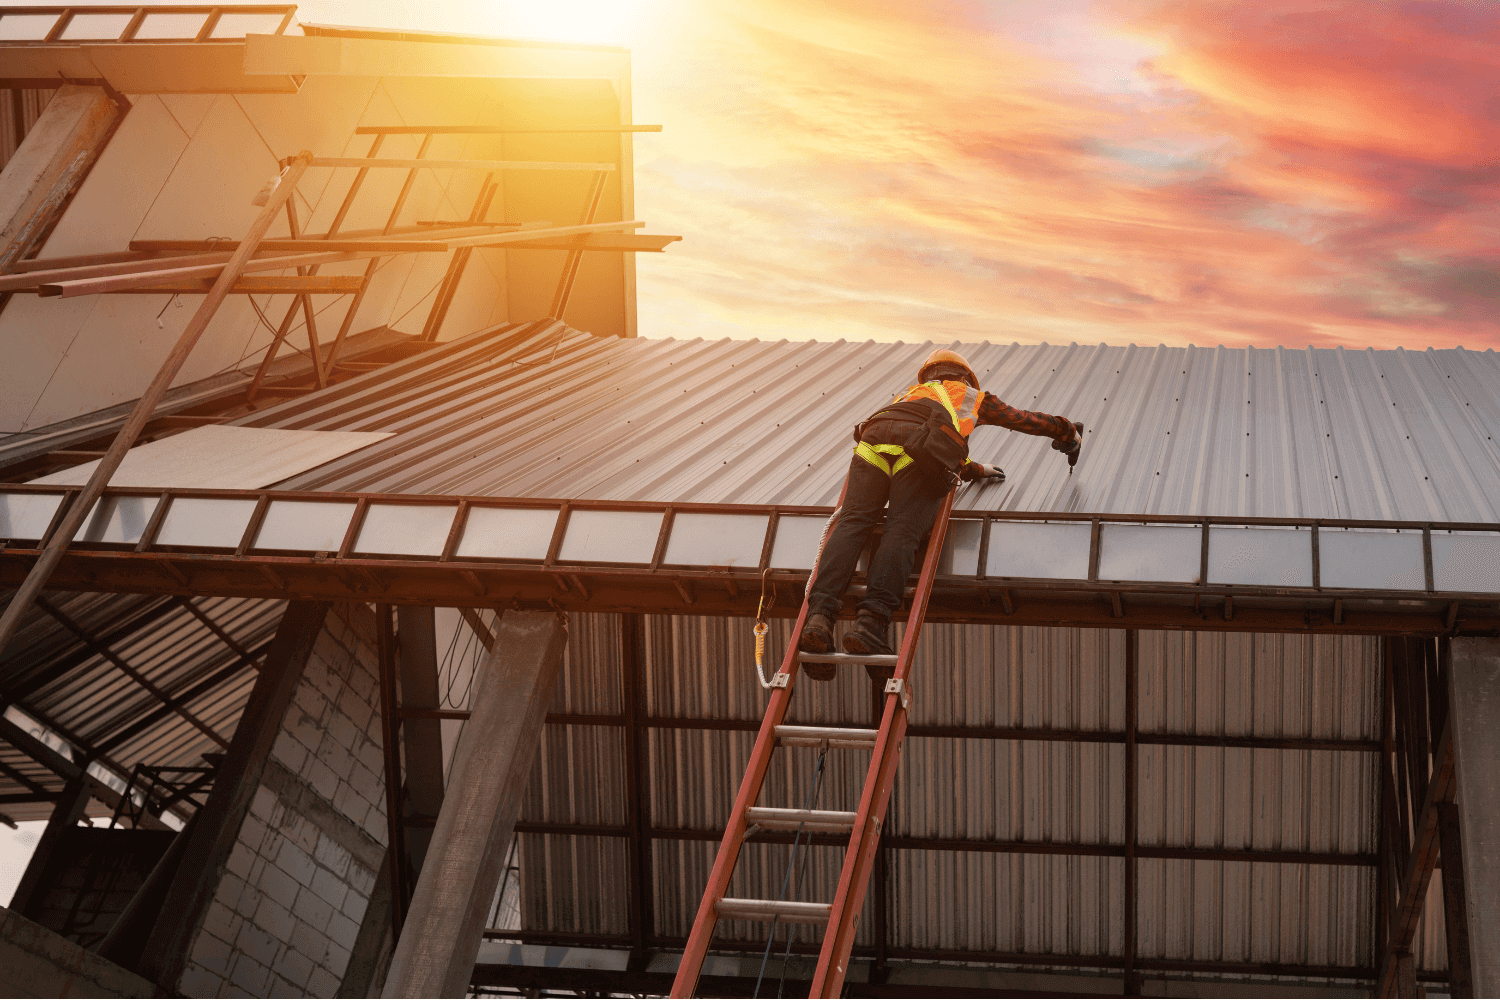
The size of your project influences overall costs as well. Larger jobs tend to have lower material costs per square foot compared to smaller ones. The average cost per lineal foot for a ridge cap is between $2.00 and $3.50. This pricing can vary based on specific factors.

Understanding these cost factors helps you budget for your project and choose materials that meet your financial and aesthetic requirements.

Essential Tools and Supplies for Installing Ridge Cap

Before you start installing a metal roofing ridge cap, gathering the right tools and supplies is crucial. Essential items include a ladder for safe roof access, a carpenter pencil for marking precise locations, and a caulk gun for applying sealant. A drill with magnetic drill bits is indispensable for holding screws in place, and metal screws with sealing washers are necessary to secure the ridge caps adequately. Metal snips will help you cut excess metal pieces, ensuring a clean fit.

Preparing the roof panels by cleaning them ensures proper adhesion of the ridge cap. For non-vented installations, apply butyl tape sealant along the chalk line before placing foam closures.

Refer to the manufacturer’s instructions and comply with local building codes to avoid common installation errors and ensure a reliable roofing system.

Preparing Your Roof Panels for Ridge Cap Installation

An image of the preparation process for roof panels before ridge cap installation

Properly preparing your roof panels, including ensuring correct alignment and using a chalk line to mark precise locations, is critical for a successful ridge cap installation.

These preliminary steps set the stage for a professional and effective installation.

Aligning Roof Panels

Aligning your roof panels ensures a clean and professional finish. Panels should be even along the eaves, flush at the eaves, and maintain a 2-inch gap at the peak to prevent water infiltration and ensure straightness.

Correctly aligned roofing panels enhance the visual appeal of your roof, ensure a snug fit for the ridge cap, and provide maximum protection, preventing future maintenance issues and prolonging the roof’s life.

Marking with Chalk Line

Using a chalk line is one of the most effective ways to ensure accurate placement of your ridge cap. Marking the centerline along the roof peak creates a guide for correct ridge cap positioning, enhancing precision and appearance.

A chalk line also outlines where closure strips will be placed, ensuring consistent spacing and alignment for a cleaner, more professional look. Using a chalk line prevents mistakes and saves time during installation.

Cutting and Finishing Ridge Cap Ends

An image depicting the cutting and finishing process of ridge cap ends

Cutting and finishing the ends of your ridge cap is a detailed task that requires precision. Start by making a one-inch mark on the outside of the ridge cap and prying open the hems within that mark. Then, cut away one inch of the hem on both sides. Using a speed square aligned to the roof’s pitch, mark a straight cutting line on the ridge cap before making the cut.

After cutting, fold the uncut side down 90 degrees and the cut side up 90 degrees for a proper finish. This technique ensures the ridge cap fits snugly and securely, providing a clean and professional look.

Finishing the ridge cap ends properly is essential for both functionality and appearance, giving it a clean edge.

Installing Ridge Cap Foam Closures

Foam closure strips play a vital role in sealing your ridge cap installation. They create a barrier that prevents water infiltration and enhances the overall security of the roof.

Depending on whether your installation is vented or non-vented, the process for installing these closures will vary.

Non-Vented Ridge Cap Installation

For non-vented ridge cap installations, foam closure strips are essential. Apply sealant tape along the ridge, about one inch above the chalk line, before placing the closure strips. This ensures a secure fit and prevents water infiltration. Position the closure strips along the full length of the ridge, making sure they are 1/4 inch above the chalk line.

Skipping the vented step, the closure strips should be installed carefully to ensure a tight seal. This step maintains the roof’s integrity and prevents potential leaks and damage.

Vented Ridge Cap Installation

Installing a vented ridge cap involves using a ridge vent like ProfileVent® to enhance airflow and moisture control. This type of installation is beneficial for reducing moisture buildup and promoting a healthier roofing system. Begin by placing the ridge vent along the ridge line, ensuring it is positioned correctly for optimal airflow.

Vented ridge caps provide superior ventilation compared to non-vented options, making them ideal for areas with high humidity or significant temperature fluctuations. Proper vented ridge cap installation ensures an efficient and long-lasting roofing system.

Overlapping Ridge Caps on Larger Roofs

An image demonstrating how to overlap ridge caps on larger roofs

For larger roofs, overlapping ridge caps is essential to ensure proper coverage and protection. The overlap length should be six inches to provide adequate coverage and prevent water infiltration. When cutting the last piece of ridge cap, account for the six-inch overlap and an additional inch for preparation of the end.

Applying silicone sealant two inches from the inside of the overlap helps secure the ridge caps and enhances water resistance. Make sure the overlaps are facing away from the main sight line, such as the driveway, to maintain a clean appearance.

Overlapping ridge caps correctly is crucial for larger roofs to ensure continuous protection and a professional finish.

Fastening Ridge Cap to Roof Panels

Fastening the ridge cap to the roof panels requires precision to ensure watertight joints along the ridgeline. For non-vented ridge caps, use foam closure strips to prevent water infiltration and secure the ridge cap. It’s essential to cover exposed nail heads with roofing cement after installation to protect against potential leaks.

When installing the ridge cap, fasteners should penetrate through the center of every second major rib of the roof panels. This ensures a secure attachment and prevents the ridge cap from shifting or coming loose. Fastening the ridge cap correctly is critical for maintaining the roofing system’s integrity and longevity.

Tips for Ensuring a Secure and Aesthetic Finish

To achieve a secure and aesthetically pleasing finish, attention to detail is key. Trimming the unexposed parts of ridge cap shingles enhances the visual appeal while protecting the peak of roofs.

Start the installation at the end opposite the prevailing wind direction to improve wind resistance. Overlapping the ridge cap shingles slightly ensures complete coverage and prevents water infiltration. Using roofing cement to secure the shingles creates a watertight seal and adds an extra layer of protection.

These tips ensure your ridge cap installation is functional and visually appealing.

Additional Resources for Metal Roof Installation

An image of various resources for metal roof installation

Additional resources can be incredibly valuable for those looking to delve deeper into metal roof installation. Instructional videos offer visual guidance on preparing ridge cap edges, while articles and online resources further enhance your understanding and skills.

Regular maintenance and inspections identify and fix issues early, prolonging the ridge cap’s lifespan and maintaining its aesthetic quality. Using these resources ensures a high-quality installation and keeps you informed about best practices and new techniques in metal roofing.

Summary

In conclusion, installing a ridge cap for a corrugated metal roof involves several critical steps, from understanding the types of ridge caps to preparing roof panels, cutting and finishing ridge cap ends, and ensuring a secure and aesthetic finish. Each step is essential for protecting your roof from the elements and enhancing its longevity.

By following the guidelines and tips provided in this guide, you can achieve a professional-looking installation that stands the test of time. Proper installation not only secures your roof but also adds to its visual appeal, ensuring a beautiful and durable roofing system.

Frequently Asked Questions

What is the purpose of a ridge cap on a metal roof?

A ridge cap is essential for protecting the peak of a metal roof from weather elements, ensuring a watertight seal and enhancing the roof’s durability. Investing in a quality ridge cap will extend the life of your roof.

How much does a metal roofing ridge cap cost?

A metal roofing ridge cap typically costs between $1.50 and $3.50 per square foot, with an average price of $2.00 to $3.50 per lineal foot. It’s important to consider factors like metal type and finish when estimating your total expenses.

What tools are needed for installing a ridge cap?

To install a ridge cap effectively, you will need a ladder, a carpenter pencil, a caulk gun, a drill with magnetic bits, metal screws with sealing washers, metal snips, and cleaning supplies. Having these tools on hand will ensure a smooth installation process.

How do you ensure the ridge cap is installed correctly?

To ensure the ridge cap is installed correctly, focus on proper alignment of the roof panels, mark accurately with a chalk line, utilize foam closures, and adhere strictly to the manufacturer’s instructions. This approach will yield optimal results.

What are the benefits of using a vented ridge cap?

Using a vented ridge cap improves airflow and minimizes moisture buildup, leading to a healthier and more efficient roofing system.

A professional roofing contractor inspecting a hail-damaged roof

What Does Hail Roof Damage Look Like?

What Does Hail Roof Damage Look Like?

So what does hail roof damage look like? Hail storms can wreak havoc on your roof, leaving it vulnerable to leaks and further issues. In this guide, we’ll show you how to spot the signs of hail damage on various roofing materials, such as asphalt shingles, wood shingles, and metal roofs, so you can take action before the damage worsens.

Key Takeaways

  • Different roofing materials react uniquely to hail, making it essential to identify specific damage signs like dents, granule loss, and fractures quickly.
  • Timely inspections by professional contractors after a hail storm can prevent further roof damage and ensure accurate insurance claims.
  • Understanding your insurance policy regarding hail damage, including ACV and RCV coverage, is crucial for minimizing out-of-pocket costs during repairs.

Identifying Hail Damage on Different Roofing Materials

An image showing roofing materials affected by hail damage

Hail storms can wreak havoc on roofs, but the damage they cause can vary significantly depending on the type of roofing material. Recognizing these differences allows for proper assessment and repair. Whether you have asphalt shingles, wood shingles, or metal roofing, understanding how hail impacts these materials will help you spot roof hail damage more effectively.

Each type of roofing material reacts differently to hail impacts. For instance, what might appear as a minor dent on a metal roof could be a significant crack on asphalt shingles. Understanding these distinctions helps accurately identify hail damage and determine the necessary repairs. This knowledge not only helps in maintaining your roof but also in filing accurate insurance claims.

Let’s delve deeper into how to identify hail damage on different roofing materials.

Asphalt Shingles

Asphalt shingles are a popular roofing material due to their cost-effectiveness and durability. However, they are not immune to the impacts of a hail storm. Common signs of hail damage on roof shingles include discoloration, small dark spots, cracks, and bald spots where granules have been knocked off. Hail can also cause bruises, holes, and fractures, weakening the shingles and making them more susceptible to further damage from UV exposure.

Addressing any observed damage promptly can prevent costly repairs later on.

Wood Shingles

Wood shingles offer a classic aesthetic but can suffer significantly in hail storms. Hail can cause various types of damage to wood shingles, including dents, splits, and splintering. Dents are typically on the surface, while more severe impacts lead to splits and splintering, compromising the shingles’ integrity.

Large hailstones can even crack or shatter dense wood shingles, necessitating immediate repairs to prevent water infiltration.

Metal Roofs

Metal roofs are known for their durability, but they are not completely impervious to hail damage. Common signs of hail damage on metal roofs include dents and punctures. While some dents might be purely cosmetic, significant impacts can cause punctures that lead to leaks.

If you suspect hail damage on your metal roof, having a professional assess the situation can help determine the extent of the hail roof damage and the necessary repairs.

Key Indicators of Hail Damage

An example of hail damage on a roof, highlighting dents and impact marks

Identifying hail damage on your roof is not always straightforward, but certain key indicators can help you spot the signs. These indicators include dents, impact marks, granule loss, and cracked or broken shingles. Inspecting your roof thoroughly after a hail storm helps catch any damage early and address it promptly.

Inspecting not just the shingles but also roof vents, gutters, roof flashing, and other roof penetrations for hail damage is critical. Additionally, checking for signs of hail damage beyond the roof, such as dents in siding and outdoor items, can provide further clues. Recognizing these indicators helps identify hail damage more effectively, ensuring timely repairs and preventing further issues.

Let’s break down these key indicators in more detail.

Dents and Impact Marks

Dents and impact marks are some of the most evident signs of hail damage. These can appear as:

  • Soft, bruise-like hits on the roof, indicating that the shingles have been compromised
  • Random hits on asphalt shingles without a clear pattern
  • Splits with distinct brown or orange coloration on wood shingles

While hail damage on metal roofs is often cosmetic, significant impacts can cause punctures. Noticing these dents and impact marks early can prevent further damage.

Granule Loss

Granule loss is another critical indicator of hail damage, especially on asphalt shingles. Hail impact can result in shiny patches and loss of granules, exposing the underlying asphalt to UV damage and increasing the risk of cracking and water leaks. An unusual amount of shingle granules in your gutters can also be a sign of hail damage.

This loss of granules can drastically affect the roof’s integrity and should be addressed promptly.

Cracked or Broken Shingles

Hail can cause significant damage to shingles, leading to cracks and breaks. These cracks can appear as splits with brown or orange coloration, indicating structural damage. Cracked or broken shingles can lead to potential leaks and further damage to the roof, making it crucial to repair or replace them as soon as possible.

Identifying and addressing these issues early can prevent more extensive and costly repairs later.

Factors Affecting Hail Damage Severity

A visual representation of factors affecting hail damage severity, including hail size and wind direction

The severity of hail damage to your roof can be influenced by several factors, including the size and shape of the hail, wind speed and direction, and the age and condition of your roofing materials. Recognizing these factors can help you better prepare for and respond to hail damage.

Different roofing materials react uniquely to hail, affecting the appearance and extent of the damage. The combination of storm conditions and the current state of your roof plays a critical role in determining the severity of damage.

Let’s explore these factors in more detail.

Hail Size and Shape

Hailstones can vary significantly in size, ranging from tiny pellets to large baseball-sized stones. Hail over 1 inch in diameter is generally capable of causing noticeable damage to roofing materials. The impact speed of hailstones, which can range from 44 to 72 mph for sizes between 2 and 4 inches, also contributes to the potential for significant damage.

Recognizing the size and shape of hailstones can help gauge the potential damage to your roof.

Wind Speed and Direction

High wind speeds during a hail storm can significantly increase the severity of the damage inflicted on roofs. The wind direction can also play a crucial role in determining which parts of the roof are most affected. Wind-driven hail can cause more extensive damage, particularly on older or already compromised roofing materials.

Recognizing these factors helps identify the most vulnerable areas of your roof.

Roofing Material Age and Condition

The age and condition of your roofing materials are critical factors in determining their vulnerability to hail damage. Older roofing materials tend to be more susceptible to damage due to wear and degradation over time. Asphalt shingles with significant granule loss are more vulnerable to hail impacts. Similarly, wood shingles can split or splinter more easily if they have already experienced age-related deterioration.

Regular maintenance and timely repairs can mitigate these vulnerabilities.

Why Timely Roof Inspections Are Crucial

Hail damage to metal roofing

Timely roof inspections after a hail storm help identify damage that may not be immediately visible. These inspections help roofing professionals assess the extent of the damage and provide appropriate repair recommendations. Addressing minor damage quickly can prevent it from escalating into more significant problems and help avoid costly repairs.

Failing to inspect your roof after a hail storm can lead to water leaks inside the home, causing further damage and potentially leading to mold growth and structural problems. Acting quickly after roof damage is identified can prevent future leaks from minor issues.

The Role of a Professional Roofing Contractor

If you suspect hail damage on your roof, it is advisable to call a professional roofing contractor for inspection. Professional roofers have the expertise and equipment to conduct thorough inspections, covering all aspects of the roof, not just storm damage.

They also take photos of any damage for documentation and assessment, which is crucial for filing insurance claims. Hiring a professional ensures a comprehensive and safe inspection, potentially avoiding future headaches.

Insurance Claims

Timely roof inspections are crucial for insurance claims. Dents and impact marks on the roof surface are key indicators of hail damage that prompt inspections should identify. Having a contractor inspect the roof alongside the insurance adjuster is crucial, as insurance companies often look for reasons not to replace the roof.

Proper documentation, including photos and professional assessments, supports your claim and ensures appropriate coverage for repairs.

Repairing Hail-Damaged Roofs

A professional roofing contractor inspecting a hail-damaged roof

Repairing hail-damaged roofs promptly is essential to maintaining the integrity of your home. Neglecting hail damage can result in roof leaks and water damage. This raises the risk of costly interior damage, mold growth, and structural issues. Addressing hail damage promptly is crucial for maintaining roof integrity and may help avoid a complete roof replacement.

Depending on the severity of the damage, different repair options are available. Temporary solutions can provide immediate protection, while more extensive damage may require a full roof replacement. Let’s explore these repair methods in more detail.

Temporary Solutions

Temporary solutions can be effective in protecting your roof from further damage until permanent repairs are completed. Covering damaged areas with a tarp can prevent leaks. Roofing cement can seal small leaks temporarily, protecting the interior from water damage.

Roofing tape is another quick way to patch minor cracks and holes in shingles until more permanent solutions are available. These measures can provide immediate relief and buy time for more comprehensive repairs.

Full Roof Replacement

Extensive hail damage may necessitate a full roof replacement to ensure structural integrity and prevent future leaks. If the damage compromises the roof’s protective ability, replacing the entire roof might be the best option.

A professional roofing contractor can assess the damage and recommend whether a full replacement is required, ensuring your home remains safe and secure.

Does Insurance Cover Hail Damage?

Most homeowners’ insurance policies cover hail damage, but it’s crucial to review your specific policy to understand the coverage details. Not all insurance policies provide the same level of coverage, so knowing what your policy includes is essential to avoid unexpected expenses.

Knowing your insurance policy can help you navigate the claims process more effectively. Insurance policies for hail damage generally fall under two categories: Actual Cash Value (ACV) and Replacement Cost Value (RCV). Knowing the difference between these types of coverage can significantly impact your out-of-pocket costs.

Understanding Your Policy

Insurance policies covering hail damage typically fall under two categories: Actual Cash Value (ACV) and Replacement Cost Value (RCV) policies. An ACV policy provides the depreciated value of the hail-damaged roof, meaning you receive a payout based on the current value of your roof, not its replacement cost.

In contrast, an RCV policy covers the full cost to replace the roof with a new one, ensuring you receive enough to cover the entire cost of a new roof, minus your deductible. Knowing these differences is crucial when reviewing your policy, as it affects your out-of-pocket costs after a hail storm.

Filing an Insurance Claim

Filing an insurance claim for hail damage involves several steps to ensure you receive the coverage you deserve. Start by taking detailed photos of the damage for documentation. Next, obtain estimates from licensed contractors to support your claim and provide a realistic picture of repair costs.

Most insurance policies allow up to one year to file a claim for hail damage, so acting promptly is important. Having a professional roofing contractor inspect the damage alongside the insurance adjuster can also help ensure that all damage is accurately assessed and properly documented.

Summary

In conclusion, identifying and addressing hail roof damage promptly is vital to maintaining the integrity of your home. Understanding how hail impacts different roofing materials, recognizing key indicators of damage, and knowing the factors that affect the severity of the damage can help you take swift action. Timely roof inspections by a professional roofing contractor are crucial for spotting damage early and filing effective insurance claims. Whether you need temporary repairs or a full roof replacement, addressing hail damage quickly can prevent further issues and save you from expensive future repairs. Stay proactive, keep your roof in top condition, and ensure your home remains safe and secure.

Frequently Asked Questions

What are common signs of hail damage on a roof?

If you notice dents, impact marks, granule loss, or cracked shingles on your roof, it’s likely showing signs of hail damage. Addressing these issues promptly can save you from more extensive repairs down the line!

How can I tell if my roof needs a full replacement?

A full roof replacement is necessary if you notice extensive hail damage like widespread cracks, punctures, or significant granule loss. Take action now to protect your home!

Does my homeowners’ insurance cover hail damage?

Yes, most homeowners’ insurance policies cover hail damage, but it’s crucial to review your policy to ensure you’re fully protected. Take the time to understand your coverage and stay prepared!

What should I do immediately after a hail storm?

Immediately after a hail storm, check your roof for damage. If damage is found, take photos for documentation and reach out to a professional roofing contractor. Acting quickly can save you from costly repairs down the line!

How can I find a reliable roofing contractor?

To find a reliable roofing contractor, focus on those with positive reviews, proper licenses, and recognized certifications like GAF Master-Elite®. Ask for referrals from friends or family and check for complaints with the Better Business Bureau to ensure you’re making a trustworthy choice.

Cost and warranties of architectural shingles explained

Architectural Shingles for Roof: Benefits and Features

Architectural Shingles for Roof: Benefits and Features

Architecture shingles are known for their beauty and durability, making them a top choice for homeowners’ roofs. This article will cover what architectural shingles are, their benefits, and how they stack up against traditional options.

Key Takeaways

  • Architectural shingles offer superior durability, aesthetic appeal, and enhanced weather resistance compared to traditional three-tab shingles.
  • These shingles can last between 30 to 50 years with proper installation and maintenance, providing long-term value and reliability for homeowners.
  • Choosing architectural shingles involves considering factors such as climate, budget, and desired aesthetics, with a variety of brands and warranty options available.

Understanding Architectural Shingles

An overview of architectural shingles for roof

Architectural shingles, also known as laminated shingles or dimensional shingles, are renowned for their dimensional appearance and durability. Their construction not only enhances the longevity of the roofing but also adds a layered look that significantly boosts the visual appeal of roofs.

What Are Architectural Shingles?

Architectural shingles are designed to offer superior weather protection and enhance the aesthetic appeal of homes. Composed of a heavy fiberglass mat embedded with water-resistant asphalt shingle and ceramic-coated granules, these roofing shingles and architectural roofing shingles are highly durable.

These shingles protect homes from various weather conditions and provide an aesthetic upgrade. Their ability to mimic the appearance of more expensive roofing materials like wood shakes or slate makes them a versatile and attractive option for homeowners seeking both functionality and beauty in their roofing choices.

How Do Architectural Shingles Differ from Traditional Shingles?

Architectural shingles differ from traditional three-tab shingles in several key ways:

  • Their multiple layers enhance durability
  • They create a more textured, visually appealing look compared to the flat, single-layer design of traditional shingles
  • This layered construction makes them more resilient against harsh weather conditions like high winds and hail

Overall, architectural shingles provide better home protection.

Benefits of Architectural Shingles

The aesthetic benefits of architectural shingles

The benefits of architectural shingles extend beyond just their good looks. They are favored by homeowners for their combination of visual appeal and durability, making them a popular choice for new roofs. Architectural shingles offer a unique blend of aesthetic and structural advantages that set them apart from other roofing options, significantly enhancing both the curb appeal and value of homes.

Their enhanced durability and cost-effectiveness make architectural shingles a reliable and attractive roofing solution. Whether aiming to increase roof longevity or add elegance to your home’s exterior, architectural shingles offer a versatile solution for various needs and preferences.

Enhanced Durability and Longevity

A standout benefit of architectural shingles is their superior durability and longevity. They are designed to withstand severe weather conditions, including high winds and hail, making them suitable for various climates. With proper care, architectural shingles can last between 30 to 50 years, offering a reliable long-term roofing option. Premium designer shingles provide superior weather resistance and often come with lifetime warranties, reflecting their higher durability and performance.

The layered construction of architectural shingles enhances their robustness, helping them better resist damage from debris and environmental factors. This durability results in fewer repairs and replacements over the years, ultimately providing significant value for homeowners.

Aesthetic Appeal and Architectural Interest

Architectural shingles are about both function and form. They offer a three-dimensional look that can mimic more expensive materials like slate and wood shakes, adding a premium aesthetic without the associated weight. This allows homeowners to achieve a high-end look at a more affordable price.

Choosing architectural shingles can significantly enhance curb appeal, impacting the overall aesthetic and potentially increasing market value. New color options introduced in 2023, such as Midnight Plum and Desert Rose, cater to various architectural styles, allowing for a customized aesthetic.

Cost-Effectiveness

Although the initial cost of architectural shingles may be higher than traditional options, their long-term value is undeniable. Their durability, aesthetic appeal, and relatively low maintenance costs make them an affordable choice for many homeowners.

Compared to metal roofs, which have higher initial costs, architectural shingles balance affordability and performance, leading to significant savings over time.

Installation and Maintenance of Architectural Shingles

Proper installation techniques for architectural shingles

Proper installation and maintenance maximize the benefits of architectural shingles. Correct installation according to local building codes and manufacturer guidelines significantly impacts performance and longevity. Regular maintenance, such as clearing debris and conducting periodic inspections, extends the life of architectural shingles and maintains their aesthetic appeal.

Proper installation and maintenance help homeowners protect their investment and enjoy the full range of benefits architectural shingles offer. Following best practices and addressing common issues promptly ensures roofs remain in excellent condition for years.

Proper Installation Techniques

Professional installation ensures architectural shingles are applied correctly and meet local building regulations. Effective installation techniques include thorough preparation, such as inspecting the roof and gathering necessary materials, to ensure a seamless process.

Skilled installers follow manufacturer guidelines to ensure optimal performance and long-lasting protection.

Maintenance Tips for Longevity

Regular maintenance is key to extending the lifespan of architectural shingles. Homeowners should schedule periodic inspections to check for debris, damage, and signs of wear. Identifying issues early, such as cracked or missing shingles, can prevent more significant problems like leaks and structural damage.

Cleaning the roof to remove debris and prevent moisture buildup maintains the shingles’ integrity. Managing algae and moss growth using appropriate cleaning solutions and ensuring proper ventilation helps keep the roof looking its best and performing well.

Trimming trees to allow sunlight and airflow can significantly reduce the risk of algae and moss damage.

Common Issues and Solutions

Typical issues with architectural shingles include algae growth and discoloration due to their organic content. Regular maintenance, like clearing debris and inspecting for damage, can help prevent these problems and extend the life of the shingles.

Installing algae-resistant shingles and ensuring proper ventilation effectively minimize discoloration and other common issues.

Choosing the Right Architectural Shingles

Choosing the right architectural shingles for roofing

Choosing the right architectural shingles involves considering several factors, including climate, home style, and budget. The choice of shingles significantly impacts the performance, longevity, and aesthetic appeal of your roof. Evaluating these factors carefully ensures an informed decision that meets your needs and preferences.

Top brands like GAF and IKO offer various architectural shingles with unique features and warranties, providing homeowners with a range of asphalt shingle options. Understanding the different factors and available options allows homeowners to select the best shingles for their specific requirements and enhance the overall look and value of their homes.

Factors to Consider

When choosing architectural shingles, consider the climate conditions in your area, as they can affect the performance and longevity of the roofing materials. Homeowners should also weigh factors such as the architectural design of their home, budget, and desired aesthetic appeal. The complexity and accessibility of the roof can influence the overall cost of installation.

Evaluating these factors ensures the selected shingles enhance the home’s appearance and provide necessary protection against the elements. The cost per square foot for architectural asphalt shingles typically ranges around $5.86, making it a cost-effective choice for many homeowners.

Popular Brands and Options

Prominent brands in the architectural shingles market include GAF and IKO, known for their distinctive offerings and extensive warranties. GAF’s Timberline HD Ultra Shingles are particularly popular for their combination of durability and aesthetic appeal. These brands offer a variety of styles and colors, allowing homeowners to choose shingles that best match their preferences and home design.

Color Selection and Matching

Selecting the right color for your architectural shingles enhances the visual appeal of your home. Consider the existing exterior elements, such as brick or siding, to ensure a cohesive look.

Many manufacturers offer interactive online tools to help homeowners visualize how different shingle colors will appear on their homes, making it easier to select the perfect match.

Cost and Warranties of Architectural Shingles

Cost and warranties of architectural shingles explained

Understanding the costs and warranties of architectural shingles is crucial for making an informed decision. Architectural shingles are generally more affordable than materials like tile or slate and they offer significant long-term savings due to their durability and lower maintenance requirements. Investing in architectural shingles can lead to a good return on investment, as their aesthetic appeal and longevity can increase Home value.

Warranties for architectural shingles often provide substantial coverage, offering peace of mind for homeowners. Standard warranties typically span 30 years, with some options extending to 50 years or even lifetime coverage. Enhanced warranty options are also available, providing full roof system coverage and additional protections against mold and wind damage.

Average Costs

The cost of installing architectural shingles varies based on factors such as roof complexity, labor costs, and the specific type of shingles chosen. Basic architectural shingles generally have an installed cost between $5 and $15 per square foot. For shingles with a 30-year warranty, the typical installation cost falls between $5 and $6 per square foot, while those with a 50-year warranty range from $7 to $12 per square foot.
On average, homeowners can expect to pay about $10,500 for the installation of architectural shingles on a 1,500 square foot roof. However, for more complex roof installations, the cost can rise up to $22,500.

It’s important to obtain multiple quotes and consider the long-term value when budgeting for a new roof.

Warranty Options

Architectural shingles come with a variety of warranty options that can significantly impact the overall value and peace of mind for homeowners. Standard warranties typically last 30 years, with some manufacturers offering enhanced warranties that cover the entire roofing system for up to 50 years or even a lifetime.

For instance, some companies may provide a lifetime limited warranty, making them a reliable choice for long-term protection. Enhanced warranties may also offer additional protections against mold and wind damage, ensuring comprehensive coverage for homeowners.

Architectural Shingles vs. Other Roofing Materials

Comparing architectural shingles with other roofing materials helps homeowners understand the unique advantages and potential drawbacks of each option. Architectural shingles are known for their aesthetic appeal and durability, often serving as an upgrade from traditional shingles. They originated in the 1980s as an advanced type of dimensional shingle, designed to provide both functional and visual benefits.

When evaluating different roofing options, it’s important to consider factors such as cost, installation complexity, weight, and overall longevity. This comparison can help homeowners make an informed decision about the best roofing material for their specific needs.

Architectural Shingles vs. Metal Roofing

Architectural shingles and metal roofing each have their own set of benefits and drawbacks. Asphalt shingles, including architectural ones, are substantially cheaper to install, costing between $2 and $6 per square foot, compared to $8 to $16 for metal roofing. Metal roofs generally require more installation expertise and are heavier, which can complicate the installation process.

However, metal roofs offer superior longevity and energy efficiency, which can lead to long-term savings despite their higher initial cost.

Architectural Shingles vs. Tile and Slate

Tile and slate roofing materials are often favored in luxury markets for their aesthetic appeal and superior longevity. However, they add significant weight to a structure, often requiring additional structural support compared to architectural shingles. The installation of tile roofs is more labor-intensive and costly due to the heavier materials, which may also necessitate more complex structural adjustments.

While architectural shingles can mimic certain aesthetics, the genuine material of tile and slate is often preferred for its luxurious appearance.

Real-Life Examples

Real-life examples provide valuable insights into the practical benefits and performance of architectural shingles. Enhanced resale value and improved aesthetics can be achieved with this type of roofing material. By examining specific projects and hearing from satisfied homeowners, you can better understand the impact of architectural shingles on your own home.

Customer Testimonials

Homeowners frequently express high satisfaction levels with architectural shingles, citing their longevity, durability, and attractive appearance as significant benefits. Many testimonials highlight the excellent performance of architectural shingles during severe weather conditions, showcasing their resilience. Overall, positive feedback from homeowners reflects a strong endorsement for architectural shingles as a roofing choice.

Summary

In summary, architectural shingles offer a compelling combination of durability, aesthetic appeal, and cost-effectiveness. They provide a versatile and reliable roofing solution that can enhance the overall look and value of a home. By understanding the benefits, proper installation and maintenance practices, and how to choose the right shingles, homeowners can make informed decisions that ensure long-lasting satisfaction and protection. Whether you’re considering a new roof or replacing an old one, architectural shingles are a worthy investment that can transform your home.

Frequently Asked Questions

What are architectural shingles made of?

Architectural shingles are primarily composed of a heavy fiberglass mat, water-resistant asphalt, and ceramic-coated granules, which contribute to their durability and aesthetic appeal.

How do architectural shingles compare to traditional three-tab shingles?

Architectural shingles outperform traditional three-tab shingles by offering superior durability and a more attractive, layered appearance. This makes them a better choice for long-lasting and visually appealing roofing solutions.

How long do architectural shingles typically last?

Architectural shingles typically last between 30 to 50 years with proper care, making them a durable roofing choice.

What are the average costs of installing architectural shingles?

The average cost of installing architectural shingles typically ranges from $5 to $15 per square foot, influenced by the roof’s type and complexity. It’s essential to consider these factors when budgeting for your roofing project.

What types of warranties are available for architectural shingles?

Architectural shingles usually come with standard warranties ranging from 30 to 50 years, with some offering lifetime coverage. Enhanced warranties can also include protections against mold and wind damage.

A variety of roofing materials including asphalt shingles and roofing tools

Step-by-Step Guide to Shingling Roof

Step-by-Step Guide to Shingling Roof

Wondering how to start shingling roof? This guide offers step-by-step instructions, detailing everything from gathering essential materials and tools to executing key installation techniques safely. You’ll also learn about roof deck preparation, removing old shingles, and laying new ones.

Key Takeaways

  • Gather essential materials like asphalt shingles, roofing nails, and safety gear before starting the roofing project.
  • Preparation of the roof deck and proper installation techniques, including underlayment and flashing, are crucial for ensuring a durable roofing system.
  • Follow manufacturer guidelines for shingle placement, nailing, and sealing to prevent leaks and enhance the roof’s longevity.

Essential Roofing Materials and Tools

A variety of roofing materials including asphalt shingles and roofing tools

Before starting your roofing project, gather all the necessary materials and tools. Specific items are needed to ensure a smooth and efficient process. The core materials include asphalt shingles, roofing nails, hammers, and nail guns. These items form the backbone of your roofing materials and will play a critical role in the success of your shingle installation.

A roofing nail gun, in particular, is essential for the quick application of shingles, making the process far more efficient than using a manual hammer. Additionally, preparing your work area by cleaning debris, covering plants, and moving lawn furniture will set the stage for a hassle-free installation.

Now, let’s focus on the specific materials and tools you’ll need, beginning with asphalt shingles.

Asphalt Shingles

Asphalt shingles are a popular choice for many homeowners due to their affordability and variety. They come in standard and architectural varieties, with the latter offering greater durability. Asphalt roofing shingles are also known for their versatility and ease of installation.

Before installing roof shingles, follow these steps:

  1. Measure the roof area in square feet.
  2. Refer to the shingle packaging for coverage details.
  3. Always buy extra shingles to account for mistakes and future repairs.

Follow the manufacturer’s guidelines for nailing patterns and quantities, typically using 4-6 nails per shingle. In high-wind areas, it’s advisable to use six nails per shingle. Proper installation is crucial as shingles rely on gravity to shed water and prevent ingress.

Roofing Nails and Tools

Having the right tools is vital for your roofing project. Essential tools include roofing nails, hammers, and nail guns. Roofing nails are specifically designed to securely attach shingles and withstand environmental stressors. Using a nail gun not only speeds up the process but also ensures that the nails are driven consistently and securely.

Other tools like utility knives for cutting shingles and magnetic sweepers for collecting stray nails enhance the efficiency and safety of your roofing project. Invest in the right tools to achieve a durable and aesthetically pleasing finish.

Safety Gear

Safety is paramount when working on a roof. Personal fall arrest systems are necessary for roofers working at heights of six feet or more. Safety boots with thick soles protect against injuries from nails or other sharp objects that may protrude through the roofing material.

Always wear appropriate safety gear to prevent accidents and ensure a safe working environment.

Preparing Your Roof Deck

A clean and prepared roof deck ready for shingle installation

Preparation is crucial for a successful shingle installation. Ensure compliance with local building codes and obtain necessary permits before starting. A clean and flat roof deck surface ensures a smooth and aesthetically pleasing finish on your new roof.

The first step is to thoroughly clean and inspect the roof deck. Remove any debris and check for damage that needs to be addressed before you start shingling. Make sure the roof deck is dry and securely fastened to prevent movement and provide a solid foundation for your shingles.

Cleaning and Inspecting the Roof Deck

Clean the roof deck thoroughly, removing large debris and using magnetic sweepers to collect stray nails. Inspect the roof deck for any hidden damage that could compromise the integrity of your new shingles. A detailed inspection will identify potential hazards and ensure the surface is ready for shingle installation.

Magnetic devices or metal detectors can find and remove remaining nails, ensuring homeowner safety and project quality.

Installing Drip Edge

Installing a drip edge is crucial for preparing your roof deck. It should extend at least 1/4 inch over the edge to direct water into the gutters. This component helps prevent water damage by ensuring that water is directed away from the fascia and into the gutter system.

Secure and align the drip edge correctly during installation. This enhances the roof’s durability and contributes to a neat, finished appearance.

Removing Old Shingles

A worker using a roofing shovel to remove old shingles from a roof

Before you install roof shingles, you must remove the old ones. Start the removal process from the peak of the roof, using a roofing shovel to lift the shingles. This tool is designed to efficiently pry up and remove the shingles from the roof deck.

Removing old existing shingles safely ensures a solid foundation for new roofing materials.

Using a Roofing Shovel

A roofing shovel is more efficient than a garden fork for removing shingles. Its design facilitates shingle removal. Insert the blade under the shingle and leverage it to lift the shingle off safely.

Disposing of Old Shingles

Proper disposal of old shingles maintains a clean worksite and adheres to local regulations. Drop the shingles in a trash bin or designated pile for proper disposal. This keeps the work area tidy and ensures compliance with local disposal guidelines.

Installing Underlayment

Underlayment provides additional protection against water infiltration and adds extra insulation to the roof. Complete the application of underlayment and valley flashing before applying roof shingles.

Types of Underlayment

Two main types of roof underlayment exist: asphalt-saturated felt and synthetic. Asphalt-saturated felt, a traditional underlayment, is created by saturating a paper or fiberglass mat with asphalt and is available in grades No.15 and No.30. Synthetic underlayment, made from polymers, offers better longevity and moisture resistance.

Choose between these options based on budget, desired longevity, and moisture resistance needs. Both types provide essential moisture protection, ensuring a durable roofing system.

Installation Process

When installing underlayment, begin at the eave and overlap each course by at least four inches to ensure proper sealing. Ensure it overhangs the drip edge by 1/4” to 3/4”. Avoid creases or bubbles for a smooth surface. This layer acts as a secondary barrier, enhancing the durability and effectiveness of your roofing system.

A chalk line helps maintain alignment while applying underlayment, ensuring a professional and polished finish.

Flashing Installation

Flashing prevents water damage by protecting the seams and intersections of the roof. It acts as a barrier against water leaks around roof structures such as chimneys, skylights, and vents.

Applying roofing cement to the edges of shingles around these structures enhances waterproofing and prevents leaks.

Metal Flashing

A drip edge, a metal flashing, directs water away from the fascia and into the gutter, preventing water damage. Measure the perimeter of the roofing areas to determine the amount of drip edge flashing required. Proper installation places the drip edge under ice and water at the eaves and over it on rakes.

A comprehensive post-installation inspection checks for issues like leaks and structural integrity, ensuring all components are correctly installed.

Ice and Water Protector

The ice and water protector prevents ice dams and adds water-shedding protection, especially in cold climates. Install it along the roof edge, extending at least 24 inches inside the vertical extension of the wall.

Laying the First Row of Shingles

The first row of newly installed asphalt shingles on a roof

Laying the first row of shingles sets a solid foundation for the rest of the roof. Start by placing a narrow row of shingles along the roof’s edge to establish a base for the first full row.

Proper shingle overlap ensures both aesthetic appeal and functional water resistance.

Starter Strip Shingles

Starter shingles, the first layer at roof edges, ensure water runoff and prevent leaks. These can be either designated starter shingles or standard three-tab shingles used at the roof edges.

Proper installation of starter shingles ensures a durable and waterproof roofing system.

Aligning the First Row

A chalk line helps maintain straightness in shingle arrangement. Snap a chalk line along the bottom edge before laying shingles to establish the first row.

Aligning the first row of shingles ensures a professional finish on your roof.

Installing Shingle Courses

Follow the manufacturer’s suggested layout and mounting technique for a successful installation. Properly cut shingles to ensure a tight fit and prevent gaps that could lead to leaks.

Use a utility knife or specialized shingle cutter to trim shingles for a snug fit around roof features, minimizing gaps.

Overlapping Shingles

Proper shingle overlap prevents potential leaks and moisture ingress. Each course should overlap by at least six inches to effectively channel water off the roof.

Stagger shingles properly to avoid a straight line vertically across the roof, which can compromise integrity and aesthetic appeal.

Nailing Technique

Proper nail placement and driving them flush without cutting into the shingle ensures wind-resistance. Use nails at least two inches long for adequate penetration into multiple layers.

Longer nails, typically at least two inches, are recommended for anchoring ridge cap shingles. Nail down the final ridge cap piece and cover the nail heads with asphalt roof cement for sealing.

Working Around Roof Structures

Properly cut shingles to accommodate these features while maintaining a watertight seal. Proper alignment around these structures prevents water intrusion and maintains the roof’s integrity.

Cutting Shingles to Fit

Use a utility knife for precise cuts when fitting shingles around roof structures. Some installers prefer to cut shingles after they are applied, allowing for precise adjustments along the edge.

A circular saw can be effective for cutting shingles, especially on hip roofs, when combined with a snap line for guidance. Ensure cuts fit around roof features like vents or chimneys for proper sealing.

Sealing Edges with Roofing Cement

Sealing edges with roofing cement prevents water leaks that can cause significant damage. Apply roofing cement along the edges of shingles or flashing, ensuring a good bond to prevent water infiltration.

Ensure the surface is clean and dry before applying roofing cement. Use a putty knife to smooth it out evenly for effective sealing.

Installing Ridge Cap Shingles

Ridge cap shingles being placed on a newly shingled roof

Separate ridge cap shingles where perforated and bend them over the roof peak for installation. Properly install by bending the shingles over the ridge and securing them with nails.

Placing Ridge Caps

Installing ridge cap shingles ensures maximum durability and resistance against wind damage. Start at the end opposite the prevailing wind direction for optimum wind-resistance.

Securely nailing down ridge caps maintains the durability and weather resistance of your roof.

Securing Ridge Caps

Use longer nails to ensure proper penetration when nailing ridge cap shingles. Seal the last ridge cap piece by nailing it in place and covering the nail heads with asphalt roof cement.

Finally, seal the last ridge shingle with roofing cement for added protection.

Clean-Up and Inspection

After completing the installation, conduct a thorough clean-up to remove leftover materials and debris. Lay tarps around the work area to collect debris, simplifying the clean-up process.

Place old shingles in a rental trash container to facilitate proper disposal and avoid cluttering the worksite.

Removing Debris

Using a leaf blower can expedite the removal of leaves and debris from the roof surface. It is essential to remove debris safely from the roof to prevent accidents and ensure a clean work area.

Always handle debris with care and dispose of it properly to avoid creating hazards.

Final Inspection

After debris removal, inspect the roof for stains or growths to identify potential issues. Proper disposal of debris not only enhances safety but also prevents potential hazards from sharp or heavy materials left on-site.

Conducting a final inspection ensures that the newly shingled roof is free of issues and ready to withstand the elements.

Summary

In summary, shingling a roof involves several critical steps, from gathering the necessary materials and tools to installing underlayment and flashing, laying shingles, and securing ridge caps. Each step is essential for ensuring the durability and effectiveness of your roof. By following this step-by-step guide, you can achieve a professional-quality roofing installation that will protect your home for years to come.

Whether you’re doing it yourself or overseeing a roofing contractor, understanding these steps empowers you to ensure the job is done right. Embrace the challenge and take pride in your newly shingled roof, knowing that you’ve equipped yourself with the knowledge to tackle any roofing project confidently.

Frequently Asked Questions

How do I determine the number of shingles needed for my roof?

To determine the number of shingles needed for your roof, measure the total roof area in square feet and check the shingle packaging for coverage. It’s advisable to purchase additional shingles for mistakes and future repairs.

What safety gear is necessary for installing roof shingles?

It is crucial to use personal fall arrest systems when working at heights above six feet and to wear safety boots with thick soles to protect against injuries from sharp objects. Prioritizing this gear will enhance your safety during roof shingle installation.

Why is it important to install a drip edge?

Installing a drip edge is crucial as it helps direct water into the gutters, thereby preventing water damage to both the fascia and roof deck. This simple addition protects the integrity and longevity of your roofing system.

How do I properly overlap shingles during installation?

To ensure effective water drainage, overlap each course of shingles by at least six inches and stagger them to prevent a continuous vertical line. This technique will help maintain the integrity of your roof.

What is the role of underlayment in roofing?

Underlayment plays a crucial role in enhancing your roof’s protection against water infiltration and provides additional insulation. This secondary layer is essential for maintaining the integrity and efficiency of your roofing system.

An illustration showing water seeping through a basement wall, highlighting the causes of water leakage

How to Fix Water Seeping Through Basement Wall Quickly

How to Fix Water Seeping Through Basement Wall Quickly

Water seeping through basement walls is a serious issue that needs quick action. In this article, you’ll learn how water seeping through basement walls can occur, how to spot the early signs, and the steps you can take to fix it immediately and prevent future issues.

Key Takeaways

  • Water seepage in basements is often caused by hydrostatic pressure, drainage issues, and foundation cracks, which necessitate preventive measures.
  • Identifying early signs of water seepage, such as mold, water stains, and damp odors, is crucial for timely action to prevent serious damage.
  • Effective long-term solutions include exterior and interior waterproofing, proper landscaping, and professional intervention for persistent issues.

Causes of Water Seeping Through Basement Walls

An illustration showing water seeping through a basement wall, highlighting the causes of water leakage

Knowing why water is seeping through your basement walls is crucial to finding a solution. Hydrostatic pressure is a primary culprit. It builds up in the soil around your foundation, pushing water inside where the basement walls meet the floor. Improper drainage can worsen this issue.

Another common issue arises from the seals at the top of the foundation wall and even from leaking ceilings. These areas can become weak points where water leaks into the basement. Additionally, cracks in the foundation, whether vertical or horizontal, provide a direct path for water to enter. These cracks may seem minor but can lead to significant problems over time.

Improper drainage systems and issues with basement windows or window wells also contribute to water leakage in a leaky basement. Water from rain or surface runoff that isn’t directed away from your foundation pools around your home, seeping through entry points. Proper maintenance of exterior walls and drainage systems can prevent water damage.

Signs of Water Seepage in Your Basement

Signs of water seepage in a basement, including wet spots and mold growth

Spotting the signs of water seepage early can save significant trouble and expense. A persistent damp or musty odor often indicates hidden moisture in the basement and can be a precursor to mold growth, which damages Home and poses health risks.

Visible mold is another clear indicator of water leakage. Mold can appear as black, green, or white spots on walls, floors, or ceilings. Water stains on surfaces, peeling paint or wallpaper, and efflorescence—a white, chalky residue—indicate that water is penetrating your basement walls or floors. These visual clues suggest prolonged water presence and potential ongoing leakage.

Pooling water on the basement floor or darkened, damp walls and floors are also major red flags. These signs indicate water is entering your wet basement, potentially leading to severe issues like flooding. Identifying these signs early allows for timely preventive action.

Immediate Steps to Take When You Notice Water Seepage

When you first notice water seepage in your basement, quick action is crucial. Minimize soil saturation around the foundation to help prevent moisture issues. Ensure the soil slopes away from the foundation to redirect water away from your home.

Regularly maintaining gutters and downspouts by keeping them clear of debris prevents overflow and water seepage. Ensuring these systems are in good working order helps prevent water from pooling around your foundation.

Installing window well covers can reduce water infiltration by directing rainwater away from basement windows and preventing debris from entering basement’s window wells. These covers offer a simple yet effective solution to stop water from entering through the window wells.

Long-term Solutions for Preventing Water Seepage

A photo illustrating long-term solutions for preventing water seepage in basements

Immediate actions are essential, but long-term solutions provide lasting protection for your basement. Comprehensive waterproofing measures, including both exterior and interior methods, as well as landscaping and drainage improvements, are effective against persistent water seepage.

Addressing the root causes of water leaking and implementing long-term solutions can prevent water damage and protect your home for years. Here are some detailed methods.

Exterior Waterproofing Methods

Exterior waterproofing is essential to prevent water from entering your basement. Installing an exterior French drain addresses yard drainage issues by directing water away from the foundation, managing surface runoff, and reducing hydrostatic pressure.

Applying masonry waterproofing paint to exterior walls creates a moisture barrier, preventing water leakage through the exterior wall. This simple yet powerful technique enhances your home’s exterior waterproofing.

Exterior waterproofing methods are crucial for keeping your basement dry. Addressing entry points and redirecting water away from the foundation significantly reduces the risk of water seepage.

Interior Waterproofing Techniques

Interior waterproofing techniques complement exterior methods by providing extra protection. A sump pump, which removes accumulated water and prevents flooding, is highly effective. Activated by a float switch when the water level rises, it ensures efficient water removal.

Installing a drain tile system is another crucial technique. Perforated pipes placed underground around the basement perimeter collect and channel water away from the home, managing groundwater and preventing accumulation to keep your basement dry.

Sealing foundation cracks with polyurethane caulk or hydraulic cement is vital. Even small cracks can lead to significant water infiltration, so addressing these vulnerabilities is key to preventing water seepage.

Landscaping and Drainage Improvements

Proper landscaping and drainage improvements are vital for preventing water seepage. Installing gutter extensions to deposit water at least 5 feet away from the foundation can greatly reduce the risk of pooling around your home.

Regularly cleaning your gutters, at least twice a year, prevents clogs that can lead to overflow and water damage. Additionally, grading your landscape to slope away from the foundation helps reduce water accumulation near the walls.

Choosing appropriate plant placement is important to mitigate the risk of roots affecting the foundation walls. Strategically planting vegetation enhances your home’s drainage and prevents further foundation damage. To fully understand these benefits, it’s essential to view this site properly.

Professional Help for Persistent Water Seepage

A professional inspecting a basement for persistent water seepage issues

When water seepage becomes persistent, seeking professional help is often the best course of action. Prompt water damage restoration prevents mold growth and structural damage. Professionals offer thorough basement sealing, waterproofing, foundation repair, and concrete leveling services.

Consulting professional waterproofing experts ensures severe water seepage issues are effectively addressed. These experts have the knowledge and tools to identify root causes and implement comprehensive solutions to prevent future problems.

A&M Home Services is a reliable option for homeowners dealing with water seepage. They offer a range of services, including waterproofing, and are dedicated to getting the job done right the first time.

Cost Considerations for Fixing Water Seepage

Addressing water seepage in your basement can vary in cost depending on the severity and solutions needed. Waterproofing a basement averages between $3 and $10 per square foot, translating to $3,000 to $10,000 for a 1,000 square foot basement.

Damp proofing is a less expensive option, costing around $3 to $6 per square foot but is generally less effective than comprehensive waterproofing methods. Basic acrylic waterproofing paint costs between $1 and $8 per square foot, making it affordable for some homeowners.

Additional costs include foundation repairs, ranging from $2,000 to $8,000, and mold remediation services, costing between $500 and $3,500 depending on severity. Hiring a professional for basement waterproofing typically costs about $200 per hour.

Summary

In summary, water seeping through basement walls is a common but manageable issue. By understanding the causes, recognizing the signs, and taking both immediate and long-term actions, you can protect your home from water damage. Exterior and interior waterproofing techniques, along with proper landscaping and drainage improvements, provide comprehensive solutions.

If water seepage persists, seeking professional help is crucial. Addressing these issues promptly can prevent mold growth and structural damage. With the right approach, you can ensure that your basement remains dry and safe for years to come.

Frequently Asked Questions

What are the common causes of water seeping through basement walls?

Water seeping through basement walls is commonly caused by hydrostatic pressure, improper drainage, cracks in the foundation, and problems with basement windows and window wells. Addressing these issues promptly can help prevent further damage.

How can I spot signs of water seepage in my basement?

To effectively spot water seepage in your basement, check for musty odors, mold growth, water stains, peeling paint, efflorescence, pooling water, and any damp or darkened walls and floors. Identifying these signs early can help prevent further damage.

What immediate steps should I take when I notice water seepage?

Act quickly to minimize soil saturation around your foundation, ensure gutters and downspouts are functioning properly, and consider installing window well covers to prevent further water infiltration. This proactive approach will help protect your Home from significant water damage.

What long-term solutions are available for preventing water seepage?

Implementing exterior and interior waterproofing methods, including French drains and sump pumps, along with sealing foundation cracks and enhancing landscaping and drainage, serves as effective long-term solutions to prevent water seepage. These strategies can significantly improve water management and protect your Home over time.

When should I seek professional help for water seepage issues?

You should seek professional help for water seepage issues if it persists despite your attempts to fix it, as experts can address severe problems more effectively.