Step-by-Step Guide to Shingling Roof
Step-by-Step Guide to Shingling Roof
Wondering how to start shingling roof? This guide offers step-by-step instructions, detailing everything from gathering essential materials and tools to executing key installation techniques safely. You’ll also learn about roof deck preparation, removing old shingles, and laying new ones.
Key Takeaways
- Gather essential materials like asphalt shingles, roofing nails, and safety gear before starting the roofing project.
- Preparation of the roof deck and proper installation techniques, including underlayment and flashing, are crucial for ensuring a durable roofing system.
- Follow manufacturer guidelines for shingle placement, nailing, and sealing to prevent leaks and enhance the roof’s longevity.
Essential Roofing Materials and Tools

Before starting your roofing project, gather all the necessary materials and tools. Specific items are needed to ensure a smooth and efficient process. The core materials include asphalt shingles, roofing nails, hammers, and nail guns. These items form the backbone of your roofing materials and will play a critical role in the success of your shingle installation.
A roofing nail gun, in particular, is essential for the quick application of shingles, making the process far more efficient than using a manual hammer. Additionally, preparing your work area by cleaning debris, covering plants, and moving lawn furniture will set the stage for a hassle-free installation.
Now, let’s focus on the specific materials and tools you’ll need, beginning with asphalt shingles.
Asphalt Shingles
Asphalt shingles are a popular choice for many homeowners due to their affordability and variety. They come in standard and architectural varieties, with the latter offering greater durability. Asphalt roofing shingles are also known for their versatility and ease of installation.
Before installing roof shingles, follow these steps:
- Measure the roof area in square feet.
- Refer to the shingle packaging for coverage details.
- Always buy extra shingles to account for mistakes and future repairs.
Follow the manufacturer’s guidelines for nailing patterns and quantities, typically using 4-6 nails per shingle. In high-wind areas, it’s advisable to use six nails per shingle. Proper installation is crucial as shingles rely on gravity to shed water and prevent ingress.
Roofing Nails and Tools
Having the right tools is vital for your roofing project. Essential tools include roofing nails, hammers, and nail guns. Roofing nails are specifically designed to securely attach shingles and withstand environmental stressors. Using a nail gun not only speeds up the process but also ensures that the nails are driven consistently and securely.
Other tools like utility knives for cutting shingles and magnetic sweepers for collecting stray nails enhance the efficiency and safety of your roofing project. Invest in the right tools to achieve a durable and aesthetically pleasing finish.
Safety Gear
Safety is paramount when working on a roof. Personal fall arrest systems are necessary for roofers working at heights of six feet or more. Safety boots with thick soles protect against injuries from nails or other sharp objects that may protrude through the roofing material.
Always wear appropriate safety gear to prevent accidents and ensure a safe working environment.
Preparing Your Roof Deck

Preparation is crucial for a successful shingle installation. Ensure compliance with local building codes and obtain necessary permits before starting. A clean and flat roof deck surface ensures a smooth and aesthetically pleasing finish on your new roof.
The first step is to thoroughly clean and inspect the roof deck. Remove any debris and check for damage that needs to be addressed before you start shingling. Make sure the roof deck is dry and securely fastened to prevent movement and provide a solid foundation for your shingles.
Cleaning and Inspecting the Roof Deck
Clean the roof deck thoroughly, removing large debris and using magnetic sweepers to collect stray nails. Inspect the roof deck for any hidden damage that could compromise the integrity of your new shingles. A detailed inspection will identify potential hazards and ensure the surface is ready for shingle installation.
Magnetic devices or metal detectors can find and remove remaining nails, ensuring homeowner safety and project quality.
Installing Drip Edge
Installing a drip edge is crucial for preparing your roof deck. It should extend at least 1/4 inch over the edge to direct water into the gutters. This component helps prevent water damage by ensuring that water is directed away from the fascia and into the gutter system.
Secure and align the drip edge correctly during installation. This enhances the roof’s durability and contributes to a neat, finished appearance.
Removing Old Shingles

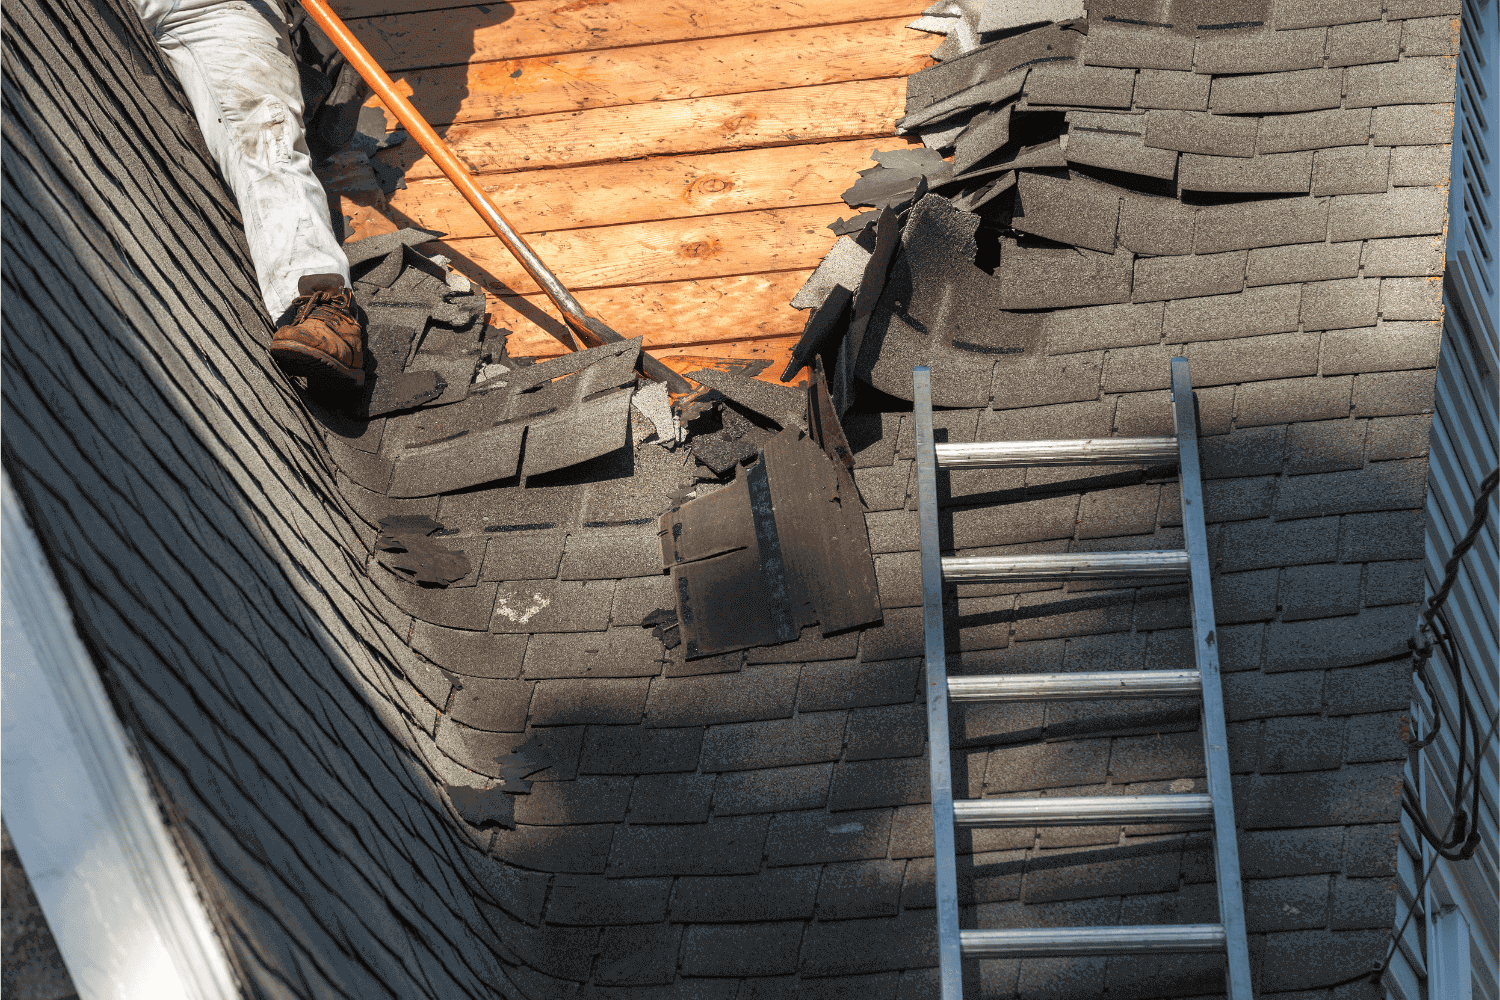
Before you install roof shingles, you must remove the old ones. Start the removal process from the peak of the roof, using a roofing shovel to lift the shingles. This tool is designed to efficiently pry up and remove the shingles from the roof deck.
Removing old existing shingles safely ensures a solid foundation for new roofing materials.
Using a Roofing Shovel
A roofing shovel is more efficient than a garden fork for removing shingles. Its design facilitates shingle removal. Insert the blade under the shingle and leverage it to lift the shingle off safely.
Disposing of Old Shingles
Proper disposal of old shingles maintains a clean worksite and adheres to local regulations. Drop the shingles in a trash bin or designated pile for proper disposal. This keeps the work area tidy and ensures compliance with local disposal guidelines.
Installing Underlayment
Underlayment provides additional protection against water infiltration and adds extra insulation to the roof. Complete the application of underlayment and valley flashing before applying roof shingles.
Types of Underlayment
Two main types of roof underlayment exist: asphalt-saturated felt and synthetic. Asphalt-saturated felt, a traditional underlayment, is created by saturating a paper or fiberglass mat with asphalt and is available in grades No.15 and No.30. Synthetic underlayment, made from polymers, offers better longevity and moisture resistance.
Choose between these options based on budget, desired longevity, and moisture resistance needs. Both types provide essential moisture protection, ensuring a durable roofing system.
Installation Process
When installing underlayment, begin at the eave and overlap each course by at least four inches to ensure proper sealing. Ensure it overhangs the drip edge by 1/4” to 3/4”. Avoid creases or bubbles for a smooth surface. This layer acts as a secondary barrier, enhancing the durability and effectiveness of your roofing system.
A chalk line helps maintain alignment while applying underlayment, ensuring a professional and polished finish.
Flashing Installation
Flashing prevents water damage by protecting the seams and intersections of the roof. It acts as a barrier against water leaks around roof structures such as chimneys, skylights, and vents.
Applying roofing cement to the edges of shingles around these structures enhances waterproofing and prevents leaks.
Metal Flashing
A drip edge, a metal flashing, directs water away from the fascia and into the gutter, preventing water damage. Measure the perimeter of the roofing areas to determine the amount of drip edge flashing required. Proper installation places the drip edge under ice and water at the eaves and over it on rakes.
A comprehensive post-installation inspection checks for issues like leaks and structural integrity, ensuring all components are correctly installed.
Ice and Water Protector
The ice and water protector prevents ice dams and adds water-shedding protection, especially in cold climates. Install it along the roof edge, extending at least 24 inches inside the vertical extension of the wall.
Laying the First Row of Shingles

Laying the first row of shingles sets a solid foundation for the rest of the roof. Start by placing a narrow row of shingles along the roof’s edge to establish a base for the first full row.
Proper shingle overlap ensures both aesthetic appeal and functional water resistance.
Starter Strip Shingles
Starter shingles, the first layer at roof edges, ensure water runoff and prevent leaks. These can be either designated starter shingles or standard three-tab shingles used at the roof edges.
Proper installation of starter shingles ensures a durable and waterproof roofing system.
Aligning the First Row
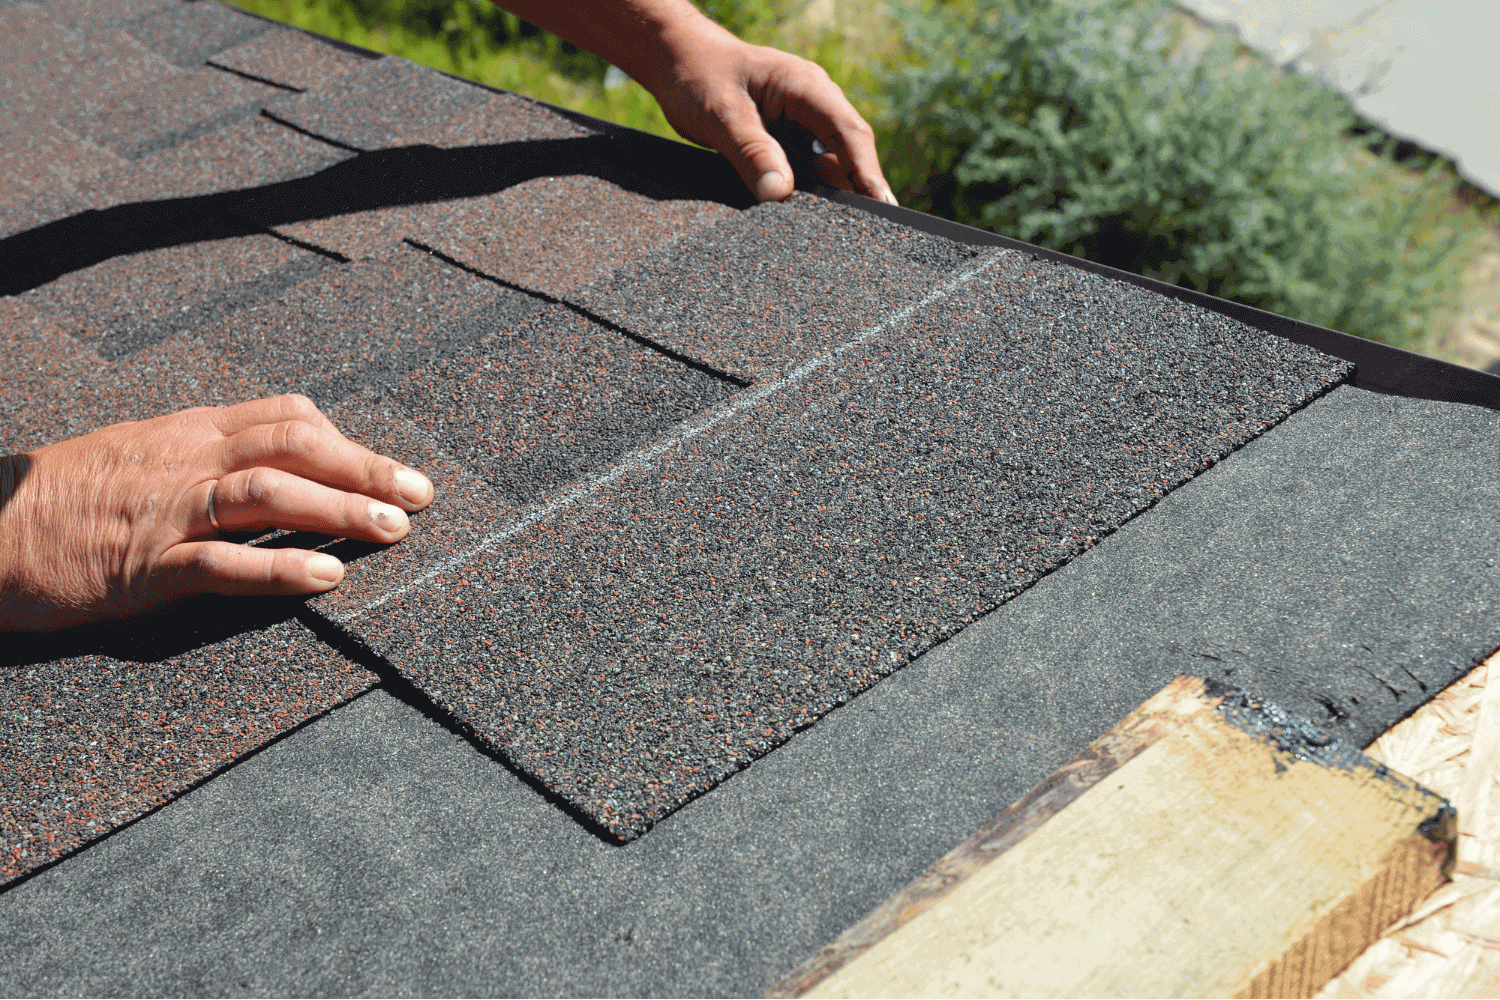
A chalk line helps maintain straightness in shingle arrangement. Snap a chalk line along the bottom edge before laying shingles to establish the first row.
Aligning the first row of shingles ensures a professional finish on your roof.
Installing Shingle Courses
Follow the manufacturer’s suggested layout and mounting technique for a successful installation. Properly cut shingles to ensure a tight fit and prevent gaps that could lead to leaks.
Use a utility knife or specialized shingle cutter to trim shingles for a snug fit around roof features, minimizing gaps.
Overlapping Shingles
Proper shingle overlap prevents potential leaks and moisture ingress. Each course should overlap by at least six inches to effectively channel water off the roof.
Stagger shingles properly to avoid a straight line vertically across the roof, which can compromise integrity and aesthetic appeal.
Nailing Technique
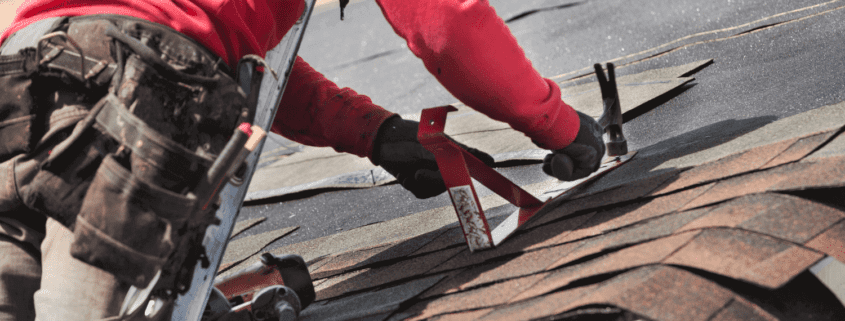
Proper nail placement and driving them flush without cutting into the shingle ensures wind-resistance. Use nails at least two inches long for adequate penetration into multiple layers.
Longer nails, typically at least two inches, are recommended for anchoring ridge cap shingles. Nail down the final ridge cap piece and cover the nail heads with asphalt roof cement for sealing.
Working Around Roof Structures
Properly cut shingles to accommodate these features while maintaining a watertight seal. Proper alignment around these structures prevents water intrusion and maintains the roof’s integrity.
Cutting Shingles to Fit
Use a utility knife for precise cuts when fitting shingles around roof structures. Some installers prefer to cut shingles after they are applied, allowing for precise adjustments along the edge.
A circular saw can be effective for cutting shingles, especially on hip roofs, when combined with a snap line for guidance. Ensure cuts fit around roof features like vents or chimneys for proper sealing.
Sealing Edges with Roofing Cement
Sealing edges with roofing cement prevents water leaks that can cause significant damage. Apply roofing cement along the edges of shingles or flashing, ensuring a good bond to prevent water infiltration.
Ensure the surface is clean and dry before applying roofing cement. Use a putty knife to smooth it out evenly for effective sealing.
Installing Ridge Cap Shingles

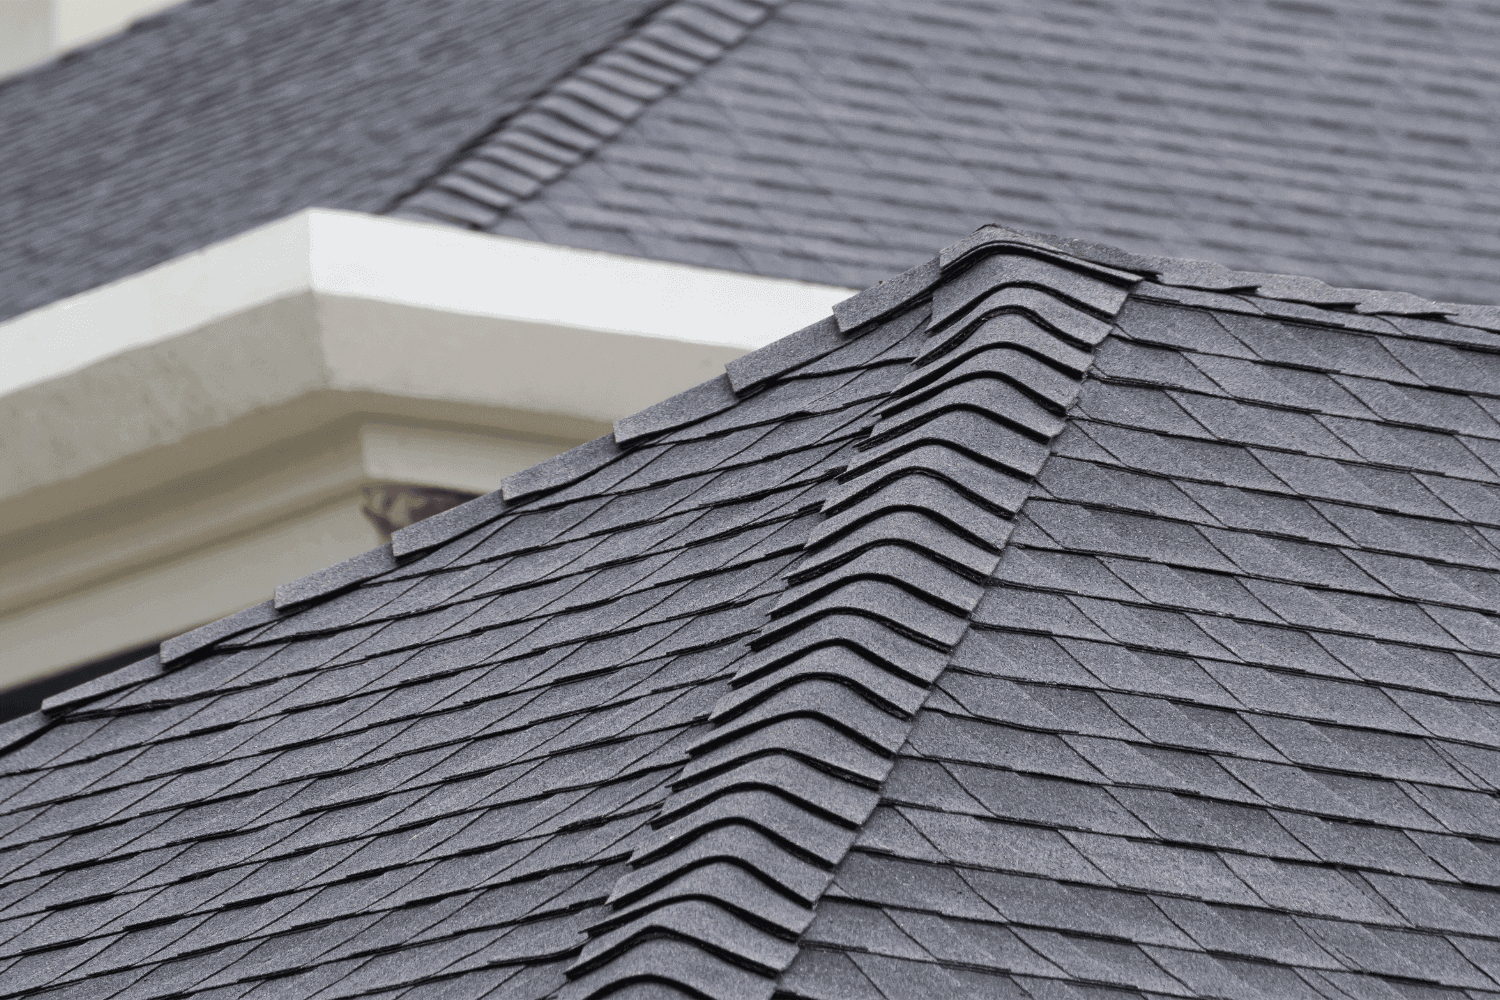
Separate ridge cap shingles where perforated and bend them over the roof peak for installation. Properly install by bending the shingles over the ridge and securing them with nails.
Placing Ridge Caps
Installing ridge cap shingles ensures maximum durability and resistance against wind damage. Start at the end opposite the prevailing wind direction for optimum wind-resistance.
Securely nailing down ridge caps maintains the durability and weather resistance of your roof.
Securing Ridge Caps
Use longer nails to ensure proper penetration when nailing ridge cap shingles. Seal the last ridge cap piece by nailing it in place and covering the nail heads with asphalt roof cement.
Finally, seal the last ridge shingle with roofing cement for added protection.
Clean-Up and Inspection
After completing the installation, conduct a thorough clean-up to remove leftover materials and debris. Lay tarps around the work area to collect debris, simplifying the clean-up process.
Place old shingles in a rental trash container to facilitate proper disposal and avoid cluttering the worksite.
Removing Debris
Using a leaf blower can expedite the removal of leaves and debris from the roof surface. It is essential to remove debris safely from the roof to prevent accidents and ensure a clean work area.
Always handle debris with care and dispose of it properly to avoid creating hazards.
Final Inspection
After debris removal, inspect the roof for stains or growths to identify potential issues. Proper disposal of debris not only enhances safety but also prevents potential hazards from sharp or heavy materials left on-site.
Conducting a final inspection ensures that the newly shingled roof is free of issues and ready to withstand the elements.
Summary
In summary, shingling a roof involves several critical steps, from gathering the necessary materials and tools to installing underlayment and flashing, laying shingles, and securing ridge caps. Each step is essential for ensuring the durability and effectiveness of your roof. By following this step-by-step guide, you can achieve a professional-quality roofing installation that will protect your home for years to come.
Whether you’re doing it yourself or overseeing a roofing contractor, understanding these steps empowers you to ensure the job is done right. Embrace the challenge and take pride in your newly shingled roof, knowing that you’ve equipped yourself with the knowledge to tackle any roofing project confidently.
Frequently Asked Questions
How do I determine the number of shingles needed for my roof?
To determine the number of shingles needed for your roof, measure the total roof area in square feet and check the shingle packaging for coverage. It’s advisable to purchase additional shingles for mistakes and future repairs.
What safety gear is necessary for installing roof shingles?
It is crucial to use personal fall arrest systems when working at heights above six feet and to wear safety boots with thick soles to protect against injuries from sharp objects. Prioritizing this gear will enhance your safety during roof shingle installation.
Why is it important to install a drip edge?
Installing a drip edge is crucial as it helps direct water into the gutters, thereby preventing water damage to both the fascia and roof deck. This simple addition protects the integrity and longevity of your roofing system.
How do I properly overlap shingles during installation?
To ensure effective water drainage, overlap each course of shingles by at least six inches and stagger them to prevent a continuous vertical line. This technique will help maintain the integrity of your roof.
What is the role of underlayment in roofing?
Underlayment plays a crucial role in enhancing your roof’s protection against water infiltration and provides additional insulation. This secondary layer is essential for maintaining the integrity and efficiency of your roofing system.
 574-318-3326


