Top Tips for Rainwater Gutter Installation: A Step-by-Step Guide
Proper rainwater gutter installation is imperative to safeguard your home from water damage. This step-by-step guide will help you choose the right materials and walk you through the entire installation process.
Key Takeaways
-
Choosing the right gutter material, such as aluminum, ensures durability and extends lifespan, averaging up to 50 years with proper maintenance.
-
Meticulous planning, including measuring roofline lengths and ensuring proper downspout placement, is essential for an effective gutter installation.
-
Regular maintenance, including cleaning and inspecting gutters, is crucial for optimal performance and longevity, preventing costly water damage.
Understanding Rainwater Gutters
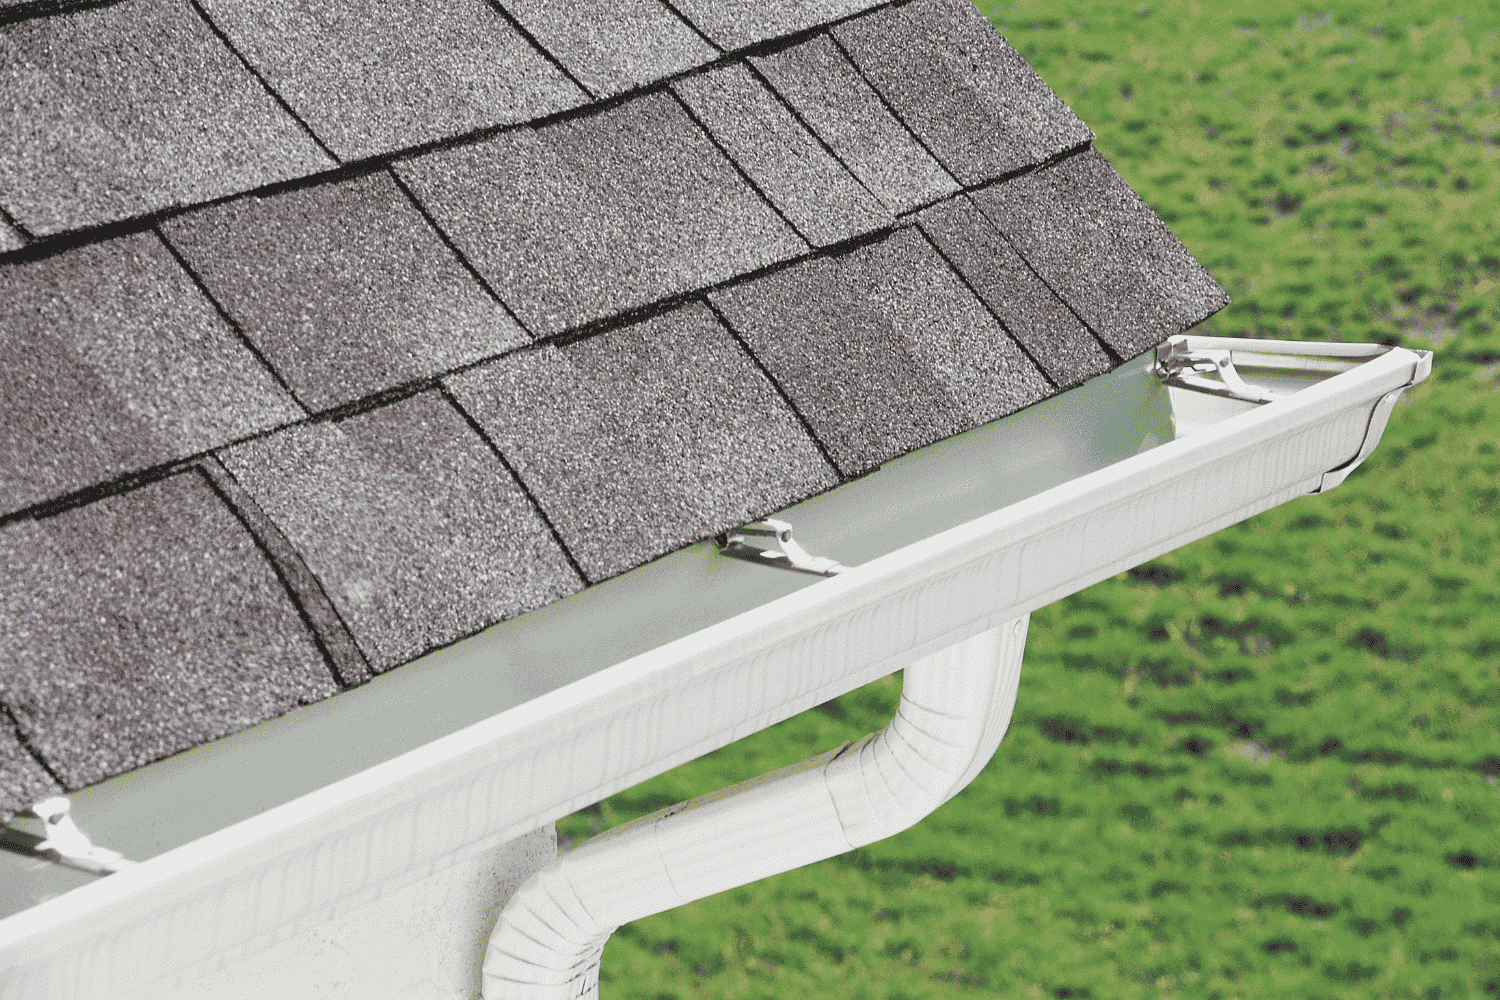
Rain gutters are crucial for protecting your home from water damage, including foundation erosion and roof leaks. They channel rainwater away from the house, preventing it from seeping into the foundation and causing structural issues. Without them, water can pool around your home’s exterior, leading to expensive repairs.
There are several types of rain gutters available, each with its own set of advantages and disadvantages. Seamless gutters, stainless steel, aluminum, and vinyl are among the most popular options. Aluminum gutters are particularly favored for their durability and ability to withstand harsh weather conditions, making them a reliable choice for many homeowners. On the other hand, vinyl gutters are easier to install due to their snap-together design but may not hold up as well in severe weather conditions.
The right gutter material not only ensures functionality but can also enhance your home’s aesthetic appeal and value. Aluminum gutters, for example, come in various colors, allowing customization. Additionally, aluminum is recyclable, making it a greener choice than vinyl.
Aluminum gutters can last up to 50 years with proper maintenance, compared to the 10-20 year lifespan of vinyl gutters, making aluminum a more cost-effective option over time.
Tools and Materials for Gutter Installation
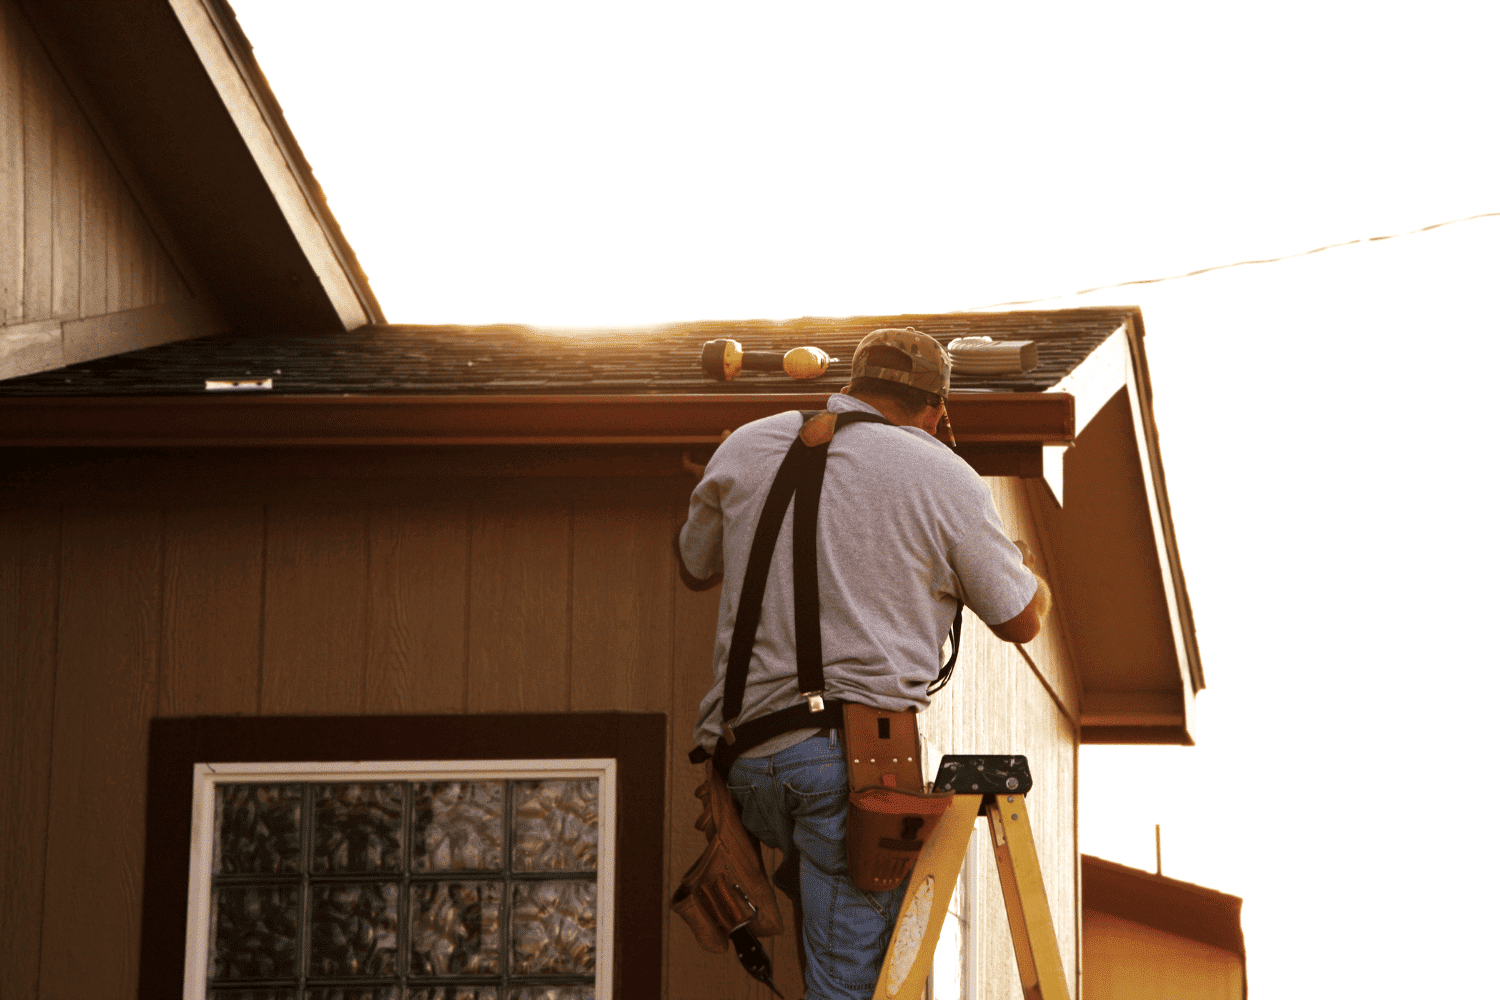
Installing rain gutters necessitates a set of essential tools and materials for a safe and accurate job. A ladder is needed for accessing the roofline. Essential tools include a rivet gun with rivets for securing components, and a cordless drill with a hex head driver for efficient assembly to install rain gutters.
A chalk line and tin snips are indispensable for marking and cutting gutter sections accurately. In terms of materials, you’ll need gutter hangers, fascia brackets, and gutter sealant. Gutter hangers hold the gutters securely to the roof, ensuring they stay in place even during heavy rainfall. Fascia brackets should typically be placed approximately every 32 inches to provide proper support for the gutters.
The right tools and materials make installation smoother and ensure your gutter system’s longevity and effectiveness. Investing in high-quality tools and materials helps avoid frequent replacements and repairs. A proper setup equips you to install gutters that efficiently divert rainwater and protect your home.
Planning Your Gutter Layout
Meticulous planning of your gutter layout is crucial. Start by measuring the roofline length to determine the required gutter material. Measuring the roof’s total area helps ensure you choose gutters with the right capacity to handle water flow, preventing overflow and ensuring system efficiency.
Next, plan the downspout location carefully. Ideally, you should have one downspout for every 20 to 30 feet of gutter length. Proper placement of downspouts is crucial for directing water away from the foundation and preventing pooling. Consider any obstacles such as corners, vents, or other architectural features when determining the placement of gutters and downspouts.
Correct gutter slope is crucial for proper water flow and preventing pooling. Aim for a slope of at least 1/4 inch for every 10 feet. Also, ensure the fascia board is level to maintain this slope. These steps lead to an efficient and durable gutter system.
Preparing the Fascia Board
Preparing the fascia board is a key step before installing gutters. Inspect it for water damage or rot, as these can compromise its ability to support gutters. Look for soft or discolored areas, which are common indicators of rot.
Repair any damage before installation, which might involve replacing sections of the fascia board or treating it with a wood preservative. A well-maintained fascia board is crucial for the stability and longevity of your gutter system.
After preparing the fascia board, proceed with the gutter installation.
Installing Gutters
While some homeowners choose to do gutter sections, A&M recommends seamless gutters which can be custom-made to fit the exact dimensions of your roofline, eliminating the need for multiple sections and reducing the risk of leaks. Whether you are working with gutter sections or seamless gutters, you will begin at the highest point of the slope, marking it on the fascia board about 1 ¼ inches below the metal drip-edge flashing. Position the gutter along the roofline, ensuring it aligns with the downspout locations for effective drainage. Use a chalk line to mark the desired slope, ensuring proper water flow. If using gutter sections, cut to size, accounting for overlaps and end caps. If multiple pieces are required for a single run, overlap the sections by 8 inches to prevent leaks.For seamless gutters, secure the gutter to the fascia with gutter hangers, spacing them approximately every 32 inches for optimal support.
Finally, install the downspout outlets by cutting appropriate holes in the gutter, ensuring they are correctly positioned to direct water flow, and attach the outlets with pop rivets or screws, applying silicone sealant around the outlet perimeter for a watertight connection.
A&M works with seamless gutters because the design not only enhances the aesthetic appeal of your home but also minimizes maintenance by reducing the number of joints where debris can accumulate.
Securing Downspouts
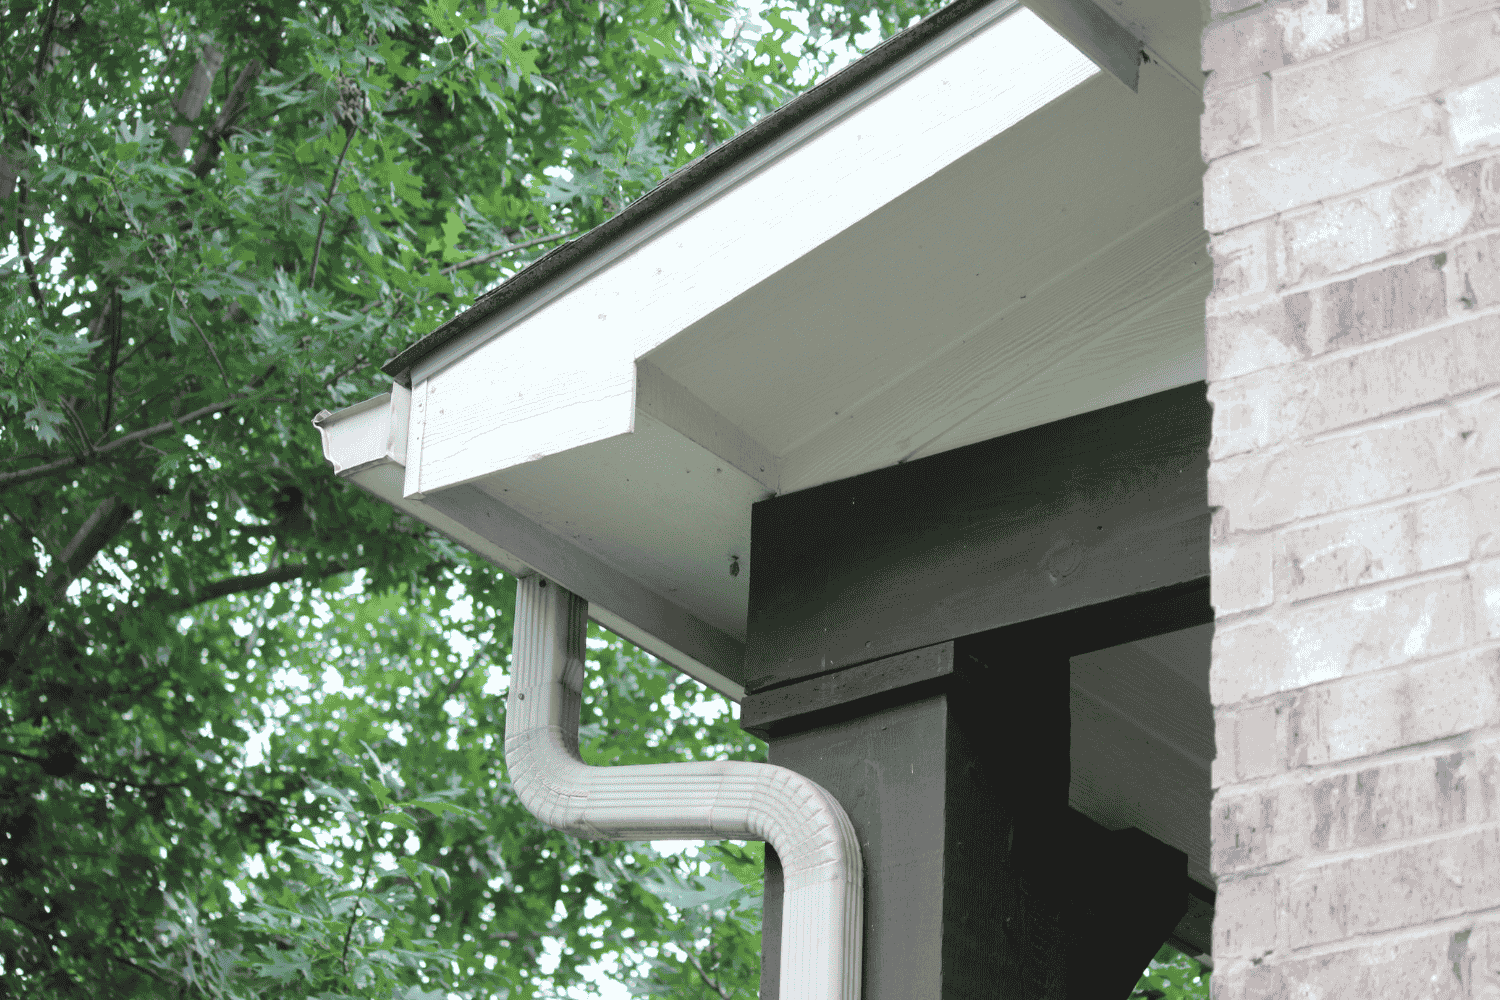
Position the downspouts at the ends or corners of the gutter system for efficient water diversion. Use U-shaped elbow brackets to attach the downspout piece to the gutter, ensuring a secure connection that prevents detachment during heavy rain.
Secure downspouts to the exterior of your home using brackets for added stability. Install downspout straps approximately every three feet to keep them firmly in place.
Connect downspout sections using two pop rivets on each side to ensure a strong hold and prevent leaks. Properly secured downspouts efficiently direct rainwater away from your home’s foundation, preventing water damage and costly repairs.
Sealing and Testing the System
After installing gutters and downspouts, sealing and testing the system is crucial to ensure there are no leaks. Clean the joints and seams thoroughly before applying gutter sealant. Proper cleaning ensures the best adhesion and prevents leaks. Apply a generous amount of sealant to all seams and joints, especially around downspout outlets.
Wait for the sealant to cure before testing the system with water. Use a hose to run water through the gutters and downspouts, checking for leaks around seams and joints. Apply additional sealant as needed and retest until the system is watertight.
Sealing and testing the system ensures your gutters effectively divert rainwater and protect your home from water damage.
Maintaining Your Rainwater Gutters
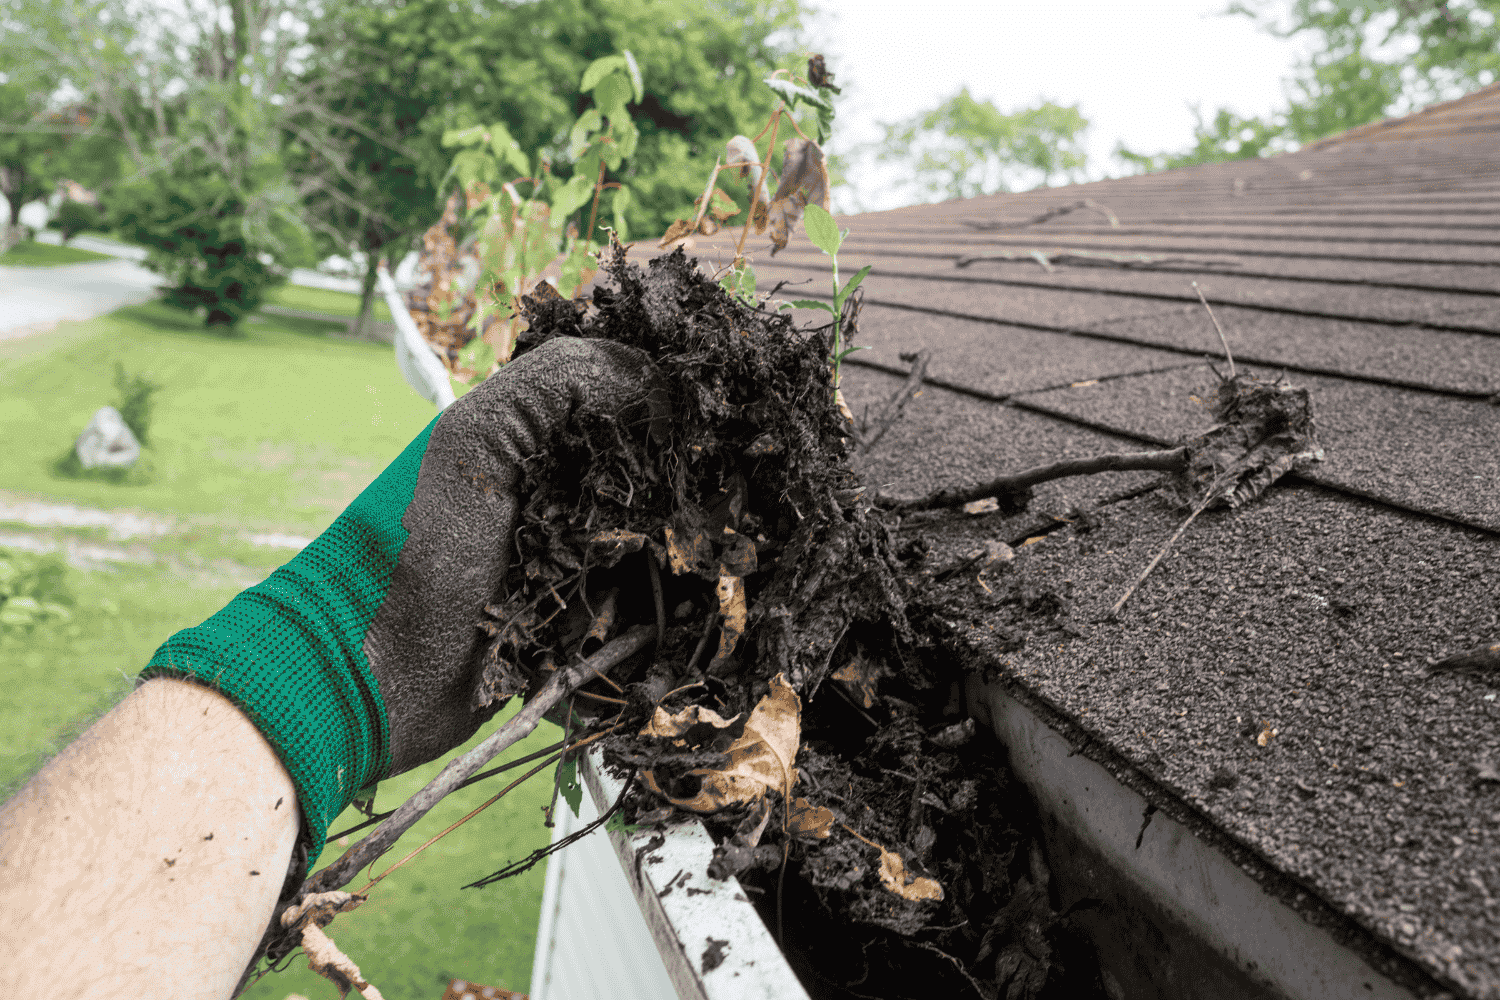
Proper maintenance is essential for effective rain gutter function. Frequent cleaning prevents debris buildup and ensures unobstructed rainwater flow. Clean gutters every few months, especially in the fall when leaves accumulate. Regular cleaning helps prevent clogs that can lead to overflow and damage.
Routine visual checks can identify issues like rust, cracks, or sagging in the gutters that may require repairs. Inspecting downspouts for blockages is equally important to prevent overflow during heavy rains.
Installing gutter guards significantly reduces the frequency of gutter cleaning by blocking debris from entering the gutters. Regular maintenance extends the lifespan of your rain gutters, ensuring they continue to protect your home from water damage. By choosing to install gutter guards and opting for professional gutter installation, you can further enhance the efficiency of your gutter system.
Summary
Installing and maintaining rain gutters is essential for protecting your home from water damage. By following the step-by-step guide, you can ensure your gutter system is installed correctly and functions efficiently. From choosing the right materials and tools to planning the layout and securing downspouts, every step is crucial for a successful installation.
Regular maintenance, including cleaning and inspections, will help keep your gutters in top shape, preventing costly repairs and extending their lifespan. A well-maintained gutter system not only protects your home but also enhances its aesthetic appeal and value. Invest time and effort into your gutters, and your home will remain secure and beautiful for years to come.
Frequently Asked Questions
What is the average cost to install rain gutters?
The average cost to install rain gutters depends heavily on the materials being used. Higher-end materials like copper can cost more than aluminum and steel. Meanwhile, materials such as vinyl and zinc are on the lower end of the cost spectrum.
What tools are essential for gutter installation?
For successful gutter installation, essential tools include a ladder, rivet gun, cordless drill, chalk line, and tin snips; each plays a crucial role in ensuring safety and precision. Investing in these tools will facilitate an effective installation process.
How often should gutters be cleaned?
Gutters should be cleaned every few months to prevent debris buildup and ensure proper rainwater flow. Regular maintenance reduces the risk of clogs and subsequent water damage.
 574-318-3326


