Best Practices for Installation of Soffit: A Step-by-Step Guide
The installation of soffit is a key part of safeguarding your home’s eaves and ensuring proper ventilation. In this guide, we’ll cover everything from surface preparation to fitting soffit panels, tailored for both open and enclosed eaves.
Key Takeaways
-
Begin soffit installation by thoroughly inspecting and securing surfaces to ensure a stable foundation and correct eave type.
-
Accurately measure, cut, and fit soffit panels while accounting for expansion gaps to maintain aesthetics and functionality.
-
Incorporate proper ventilation and choose suitable materials like vinyl or aluminum to enhance durability and reduce maintenance.
Best Practices for Installation of Soffit: A Step-by-Step Guide
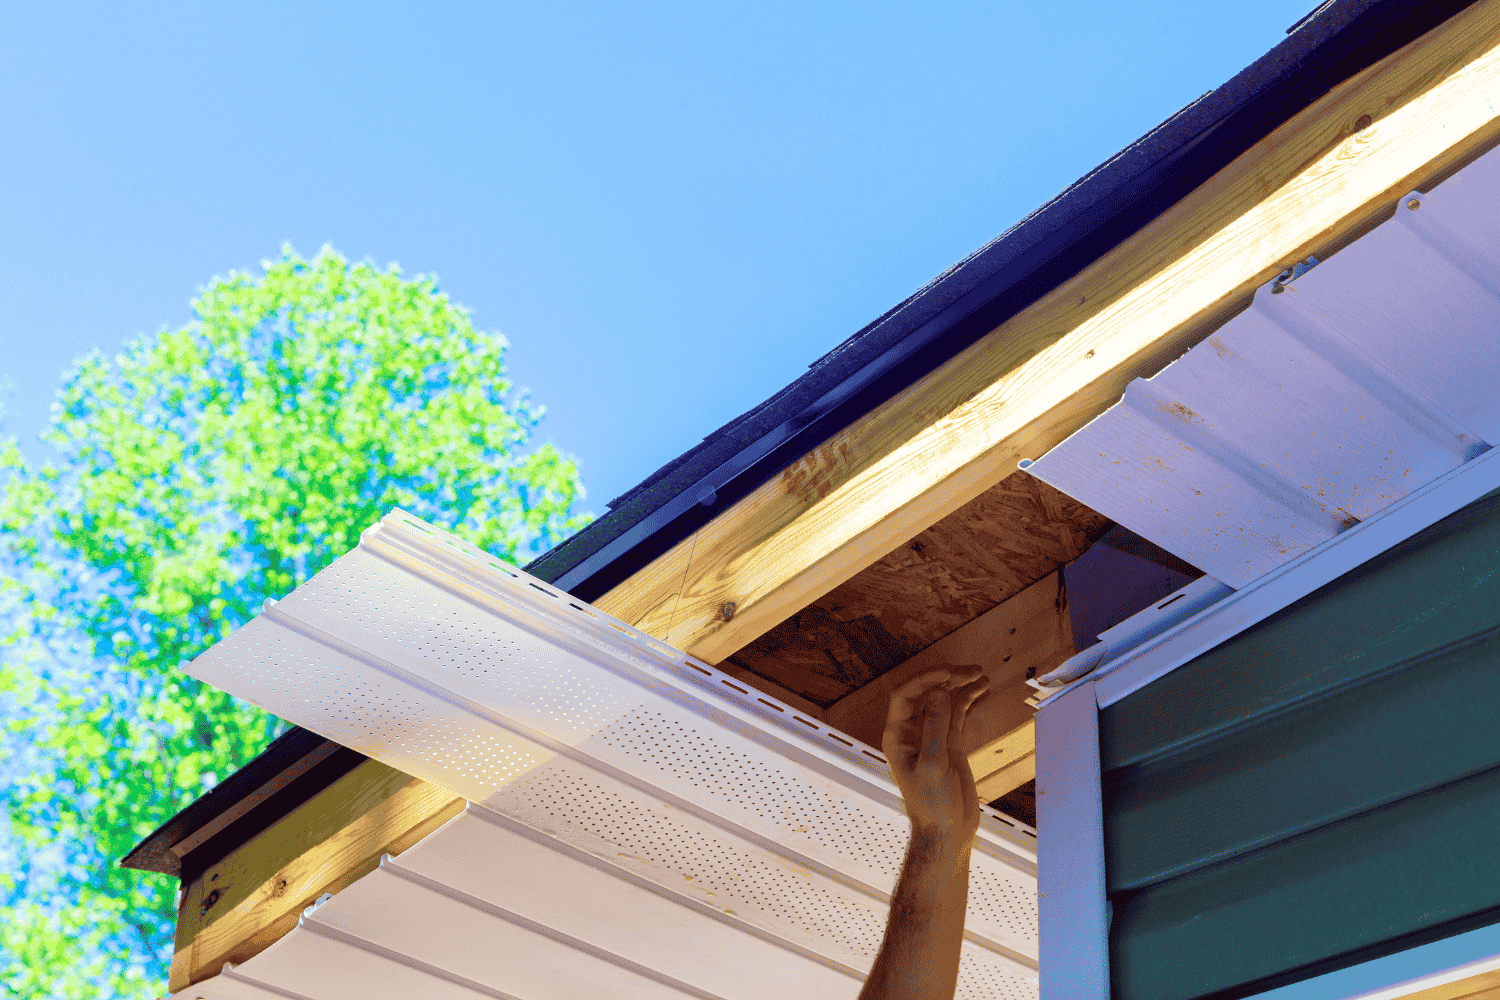
Before starting the installation process, laying the groundwork properly is important. Inspect all surfaces for any loose panels or boards and secure them firmly. A strong foundation ensures a stable installation. Check the straightness of these surfaces, as any irregularities can impact the appearance and functionality of your soffit.
It’s important to understand the types of eaves—open and enclosed—since they require different installation approaches. Open eaves often have exposed rafters, while enclosed eaves are covered, influencing how you’ll install the soffit panels.
Measure soffit lengths accurately and consider local building codes for ventilation requirements to ensure compliance and functionality.
Introduction
Soffit installation may seem daunting at first, but with the right guidance, it can be a manageable and rewarding DIY project. Our comprehensive guide is designed to empower homeowners to tackle this task themselves, offering a step-by-step approach that demystifies the process. Following these steps will save you money and deepen your appreciation for your home’s construction and maintenance as you install soffit.
You’ll learn how to measure, cut, and fit soffit panels, ensuring proper ventilation and a polished finish. The guide covers everything from surface preparation and understanding eave types to the final touches that ensure your soffit installation is durable and aesthetically pleasing.
Whether you’re working with vinyl or aluminum soffit, this guide has you covered.
Preparing for Soffit Installation
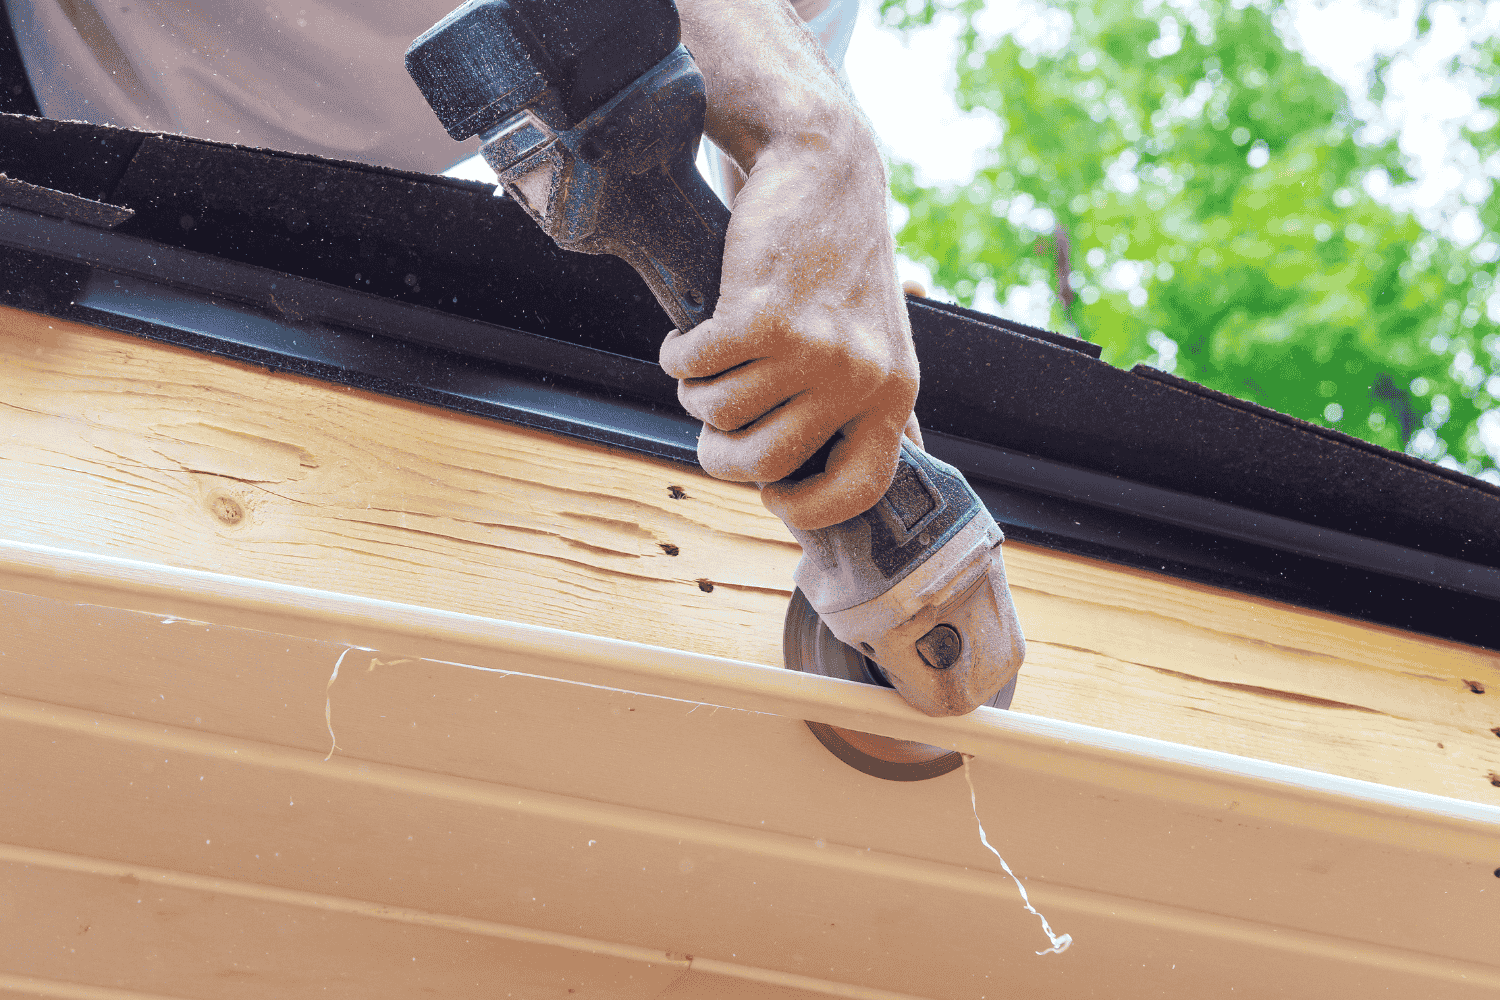
Proper preparation is key to a successful soffit installation. Begin by inspecting all surfaces for any loose panels or boards and secure them to create a stable base. Check for straightness since any deviations can affect the overall look and effectiveness of your soffit. Inspect the rafters for any signs of rot to ensure the structural integrity of your installation.
Understand the different eave types—open and enclosed eave—since it influences the installation approach. Open eaves typically feature exposed rafters, while enclosed eaves are covered, each requiring specific techniques.
Ensure that any nailing strips used are adequately secured to provide a reliable anchor for your soffit panels. Proper measurement and addressing underlying issues like water damage are also critical steps.
Tools and Materials Needed
The right tools and materials are crucial for a smooth installation process. High-quality materials contribute to the longevity and low maintenance of your soffit installation. Essential tools include a hammer, utility knife, tape measure, carpenter’s square, and tin snips. Using a cutting table for your soffit panels helps achieve cleaner and more precise cuts compared to hand tools alone.
Always prioritize safety. Scaffolding, especially for high areas, ensures both safety and efficiency during installation. Selecting appropriate materials like vinyl or aluminum soffit based on your needs and preferences contributes to the overall success of your project.
Installing Soffit Over Open Eaves
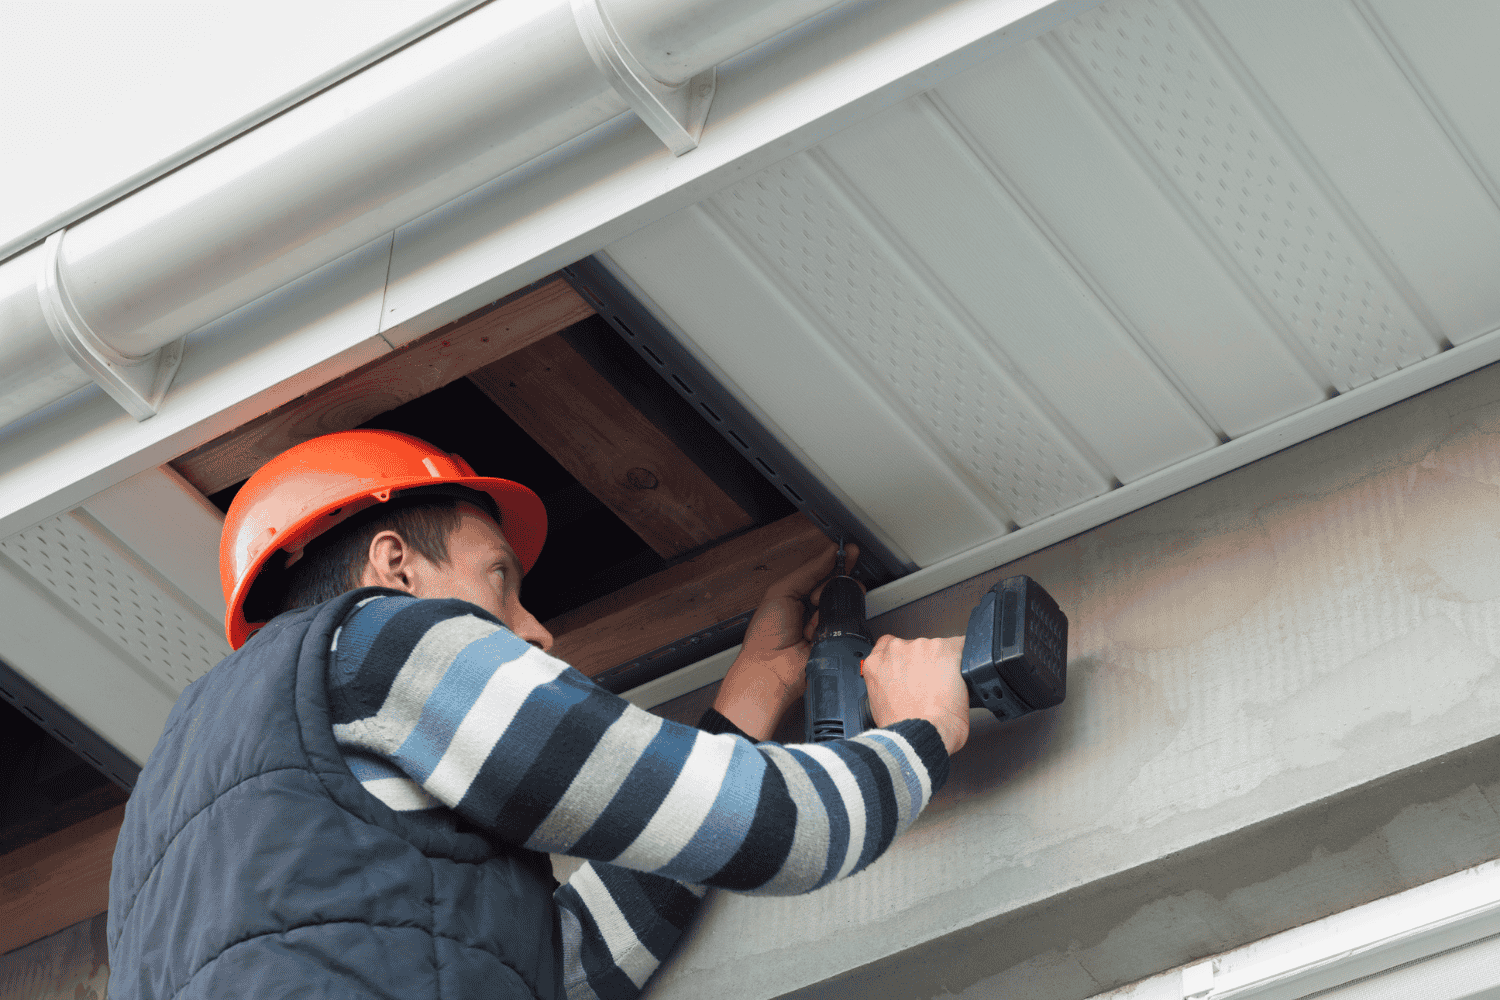
Installing soffit over open eaves needs specific techniques due to the exposed rafters or trusses typical of this eave type. Proper installation ensures effective ventilation and protects the building structure from water damage. This section guides you through the necessary steps, from securing nailing strips to fitting and securing soffit panels.
Open eaves present unique challenges, but careful planning and execution ensure a professional finish. Proper ventilation is crucial, as it prevents moisture buildup and extends the lifespan of your roof and soffit.
Nailing Strip Requirements
Nailing strips provide support to your soffit panels. For eave spans over 16 inches, install nailing strips to ensure stability. Place these strips at specified intervals to comply with manufacturers’ guidelines and local building codes. Proper placement of nailing strips ensures the soffit panels are securely fastened and do not sag over time.
Check local building codes for ventilation requirements, as they may dictate the use of vented soffit panels. Following these guidelines ensures your installation looks good and functions effectively.
Fitting Soffit Panels
Accurate measurement is crucial when fitting soffit panels. Measure the lengths carefully and subtract half an inch to allow for expansion. This helps prevent buckling and ensures a snug fit. When cutting the panels, create expansion gaps to accommodate movement.
Properly fitting panels promote adequate airflow through the eaves, essential for ventilation. This is vital for maintaining the longevity of your roof and preventing moisture buildup.
Securing Soffit Panels
Properly securing soffit panels ensures a durable and aesthetically pleasing finish. Use 1-1/2-inch trim nails to fasten the panels and fascia. Drive the nails straight in to prevent splitting the panels and maintain structural integrity. Avoid over-nailing to prevent compromising the panels’ strength.
Following these steps ensures your soffit installation is both secure and visually appealing. Properly secured panels will withstand weather conditions and maintain their appearance over time.
Installing Soffit Over Enclosed Eaves
Installing soffit over enclosed eaves is similar to open eaves, with specific considerations. Measure the soffit panels carefully, subtracting half an inch for expansion. Start the installation from the wall and move towards the fascia board, leaving room for expansion.
Enclosed eaves may need J-channels to secure the edges of the soffit panels. This method anchors the panels and prevents sagging over time, ensuring a professional and durable finish.
Using J-Channel
J-channel is crucial in soffit installation, especially for enclosed eaves. This piece of aluminum fits against the wall and secures the edges of the soffit. Install the J-channel with a gap to allow for expansion and contraction, ensuring a proper fit with the soffit double channel.
Nail the J-channel securely before installing the soffit panels to prevent sagging and maintain stability. This is crucial for achieving a clean and professional look.
Replacing Damaged Soffit
Remove any existing damaged or rotting soffit before installing new panels. This ensures the new installation is secure and free from underlying issues.
When installing vented soffit panels, cut adequate openings for ventilation if the existing soffit lacks them. This ensures proper airflow, prevents moisture buildup, and extends the lifespan of your roof and soffit.
Panel Installation Techniques
Installing soffit panels in the correct order is crucial. Start with the J-channel, followed by the soffit panels. Position fasteners in the center of the slots and avoid over-tightening to allow for expansion and prevent damage.
Ensure vented soffit panels have adequate openings for ventilation. This is vital for maintaining proper airflow and preventing moisture buildup, which can lead to damage over time.
Porch Ceilings Installation

Installing soffit on porch ceilings requires accurate measurements to minimize waste and ensure a perfect fit. Use a ladder to reach the ceiling safely and basic tools like a hammer, utility knife, tape measure, and carpenter’s square for the installation.
After installing the fascia board, reattach the gutter pipes securely and check for gaps between the boards. This ensures a clean and professional finish, enhancing the overall look of your porch.
Aluminum Soffit Installation
Aluminum soffit offers a durable and polished look, ideal for porch ceilings and other high-visibility areas. This material eliminates the need for repainting, resists peeling and rotting, providing a long-lasting solution.
Soffit panels typically come in 12-foot lengths and 12- or 16-inch widths, with options for vented and unvented types. Choosing the right type ensures proper ventilation and a professional finish.
Vinyl Soffit Installation
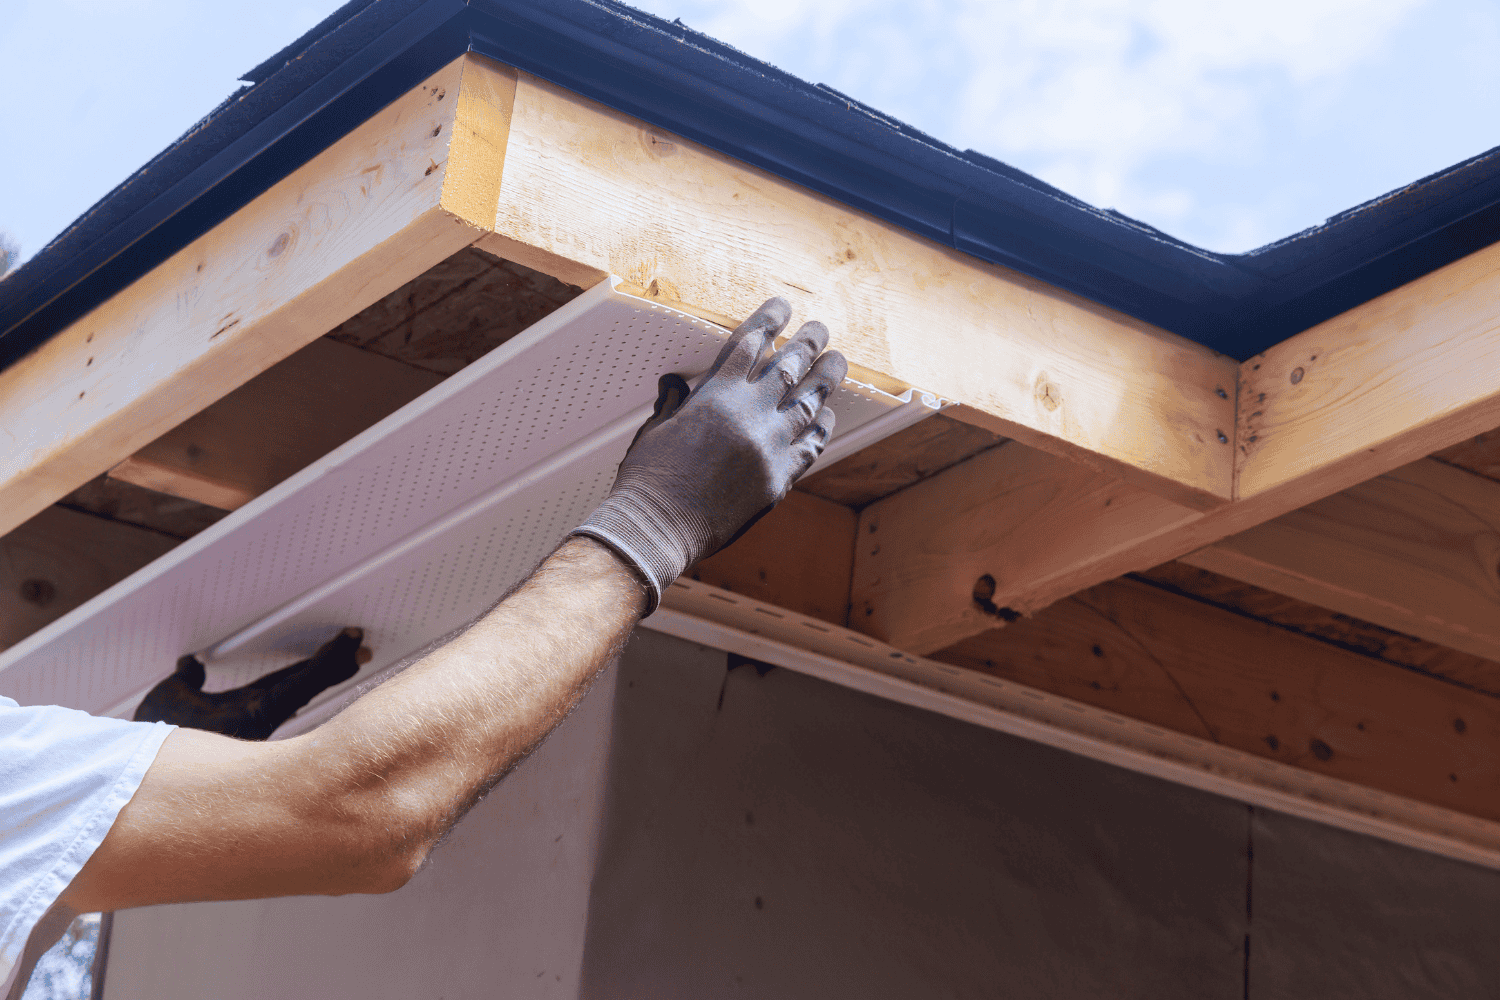
Vinyl soffit installation follows a similar process to vertical siding and vinyl siding, with panels installed lengthwise from the wall to the fascia. Subtract half an inch from the measurement to allow for expansion, ensuring a snug fit.
Corners require careful measurement and installation of J-channels, with panels cut at a 45° angle for a proper fit. This ensures a clean and professional finish.
Finishing Touches and Maintenance
Finishing touches and regular maintenance are essential for extending the lifespan of your soffit installation. Using a drip edge helps protect the top edge of the fascia trim from moisture. Regularly inspect and clean the soffit panels and fascia to remove debris and prevent damage.
Inspect the fascia covers for signs of damage or decay, especially near the gutter areas. Proper maintenance ensures your soffit and fascia remain in good condition, reducing the need for frequent repairs.
Summary
In summary, installing soffits is a manageable DIY project that can significantly enhance the appearance and functionality of your home. By following the steps outlined in this guide, you can ensure a professional and durable installation. Proper preparation, accurate measurements, and attention to detail are key to success.
Remember, regular maintenance is essential for prolonging the lifespan of your soffit and fascia. With the right materials and techniques, your home will look great and be well-protected for years to come. Happy installing!
Frequently Asked Questions
When should I consider replacing my roof instead of repairing it?
If your roof is over 20 years old, exhibits widespread damage, or requires frequent repairs, it’s advisable to opt for a full replacement instead.
What roofing material provides a good balance of durability and cost?
Architectural shingles provide an excellent balance of durability and cost-effectiveness, making them a popular choice for roofing. They also enhance the aesthetic appeal of your home.
How long does it typically take to replace a roof?
Replacing a roof typically takes one to three days, but larger or more complex roofs may extend the time required. It’s important to plan accordingly based on your specific situation.
Are there energy-efficient roofing options?
Absolutely, energy-efficient roofing options include metal roofs, cool roofs, and specialized reflective shingles that help lower heat absorption and enhance energy efficiency. Choosing these materials can significantly reduce your energy costs.
What roofing materials are suitable for Indiana’s climate?
Asphalt shingles, metal roofing, and slate are the most suitable materials for Indiana’s climate, offering durability and resilience against diverse weather conditions. Choosing the right material will ensure your roof withstands Indiana’s challenges effectively.
 574-318-3326


